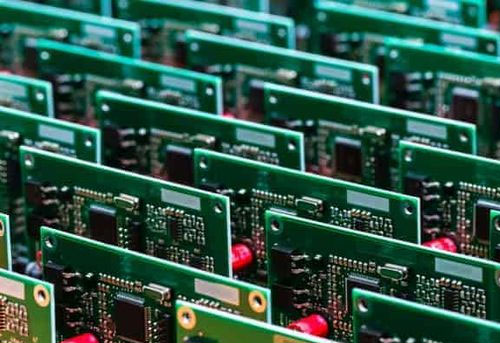
Gravare PCB cu o gravoare laser cu fibră implică utilizarea tehnologiei laser de înaltă precizie pentru a grava, a tăia, și marcați diferitele straturi și componente ale unei plăci de circuit imprimat. Această metodă înlocuiește procesele mecanice și chimice tradiționale, oferind un curatator, mai precis, și alternativă mai rapidă.

Avantajele utilizării unui gravor laser cu fibră pentru gravarea PCB
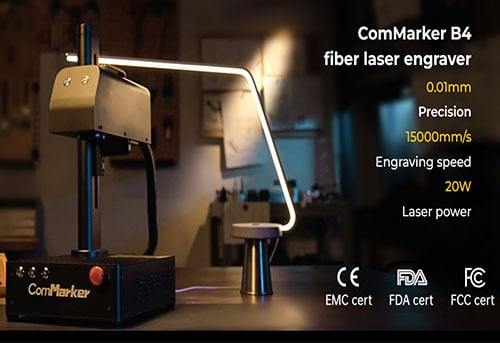
Înaltă precizie și acuratețe: Gravura laser cu fibra poate obține detalii extrem de fine, care este crucial pentru modelele și conexiunile complicate de pe un PCB. Această precizie asigură performanța fiabilă a produsului electronic final.
Eficiență și viteză: Tăierea cu laser este semnificativ mai rapidă decât metodele tradiționale, reducerea timpului de producție. Tehnologia Galvo de mare viteză a laserelor cu fibră direcționează rapid fasciculul laser, permițând o prelucrare rapidă.
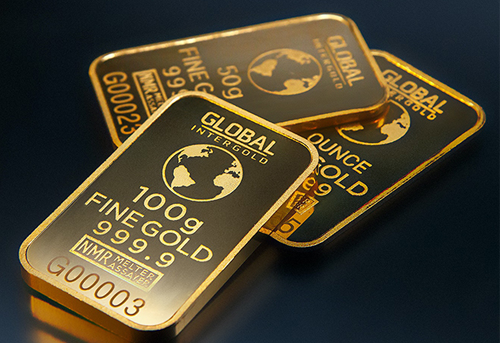
Versatilitate: Gravura laser cu fibre poate lucra cu diverse materiale PCB, inclusiv FR4, PCB-uri pe bază de aluminiu, și laminate placate cu cupru. Această versatilitate le face potrivite pentru o gamă largă de aplicații.
Deșeuri de materiale minime: Precizia gravării cu laser cu fibre reduce risipa de material, care este atât benefic din punct de vedere economic, cât și ecologic. De asemenea, produce mai puține reziduuri și resturi în comparație cu metodele de tăiere mecanică.
Proces fără contact: Gravura cu laser este un proces fără contact, ceea ce înseamnă că nu există uzură fizică a unealtei sau a materialului PCB. Acest lucru are ca rezultat costuri de întreținere mai mici și un risc mai mic de deteriorare a componentelor delicate.

Caracteristici cheie ale gravoarelor cu laser cu fibre pentru gravarea PCB
Integrare software avansată: Gravoarele laser cu fibră utilizate pentru gravarea PCB vin adesea cu software care acceptă diferite formate de design și permite controlul precis asupra procesului de gravare. Software-uri precum LightBurn și EZCAD2 sunt utilizate în mod obișnuit.
Galvanometru de mare viteză: Această componentă asigură că fasciculul laser este îndreptat cu precizie către PCB la viteze mari, menținerea preciziei chiar și în cazul proiectelor complexe.
Tehnologie de focalizare automată: Gravoarele laser cu fibră avansate includ sisteme de focalizare automată care ajustează focalizarea laser în funcție de grosimea materialului și variațiile de suprafață, asigurând o calitate constantă a gravurii.
Sisteme de racire: Sistemele de răcire eficiente sunt cruciale pentru menținerea performanței optime a gravorului cu laser, prevenirea supraîncălzirii, si asigurarea functionarii continue.

Aplicații ale gravurii PCB cu gravoare laser cu fibră
Prototiparea: Gravoarele laser cu fibră permit prototiparea rapidă a PCB-urilor, permițând designerilor să-și repete și să testeze rapid design-urile.
Producție în loturi mici: Pentru startup-uri și afaceri mici, Gravoarele laser cu fibră oferă o soluție accesibilă pentru producerea de loturi mici de PCB-uri fără a fi nevoie de unelte costisitoare.
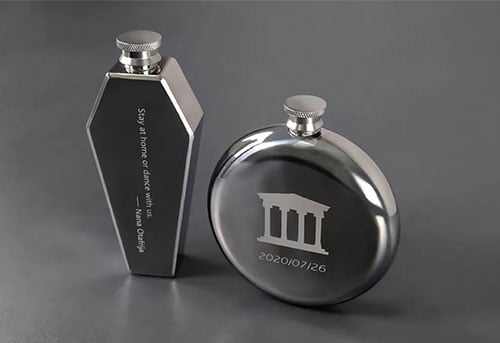
Personalizare: PCB-urile personalizate pentru aplicații sau proiecte specifice pot fi produse cu ușurință cu gravare cu laser cu fibră, oferind flexibilitate în design și funcționalitate.
Reparație și reluare: Gravoarele laser cu fibră pot fi folosite pentru a modifica PCB-urile existente, cum ar fi adăugarea de noi urme sau îndepărtarea secțiunilor deteriorate, facilitarea reparaţiilor şi modificărilor.

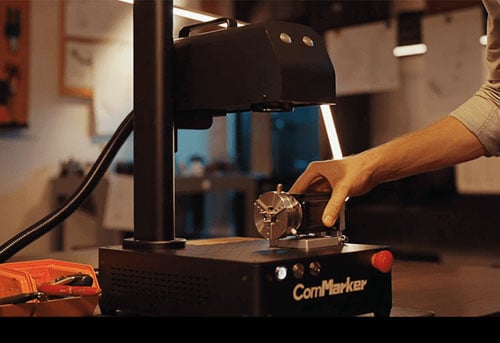
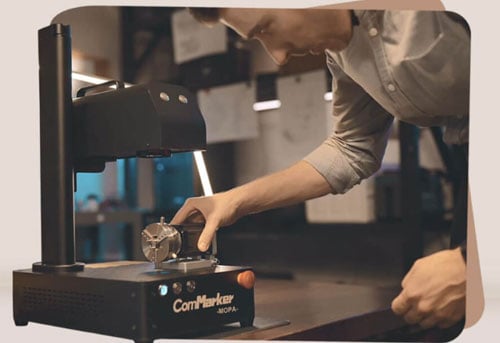
Ghid în șase pași pentru gravarea unui PCB cu gravatorul laser cu fibră ComMarker B6
Etapa 1: Proiectați schema de circuit
Începeți prin a crea cu meticulozitate schema de circuit pentru a se potrivi cu specificațiile dorite pentru placa PCB. Acuratețea și precizia în această fază de proiectare sunt cruciale, întrucât asigură funcționalitatea și fiabilitatea produsului final.
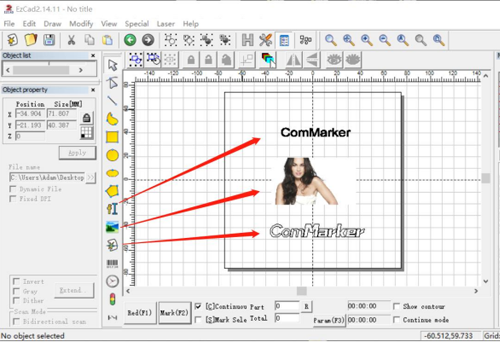
Etapa 2: Introduceți diagrama de circuit în EZCAD
Utilizați interfața ușor de utilizat a EZCAD pentru a transfera fără probleme diagrama de circuit proiectată meticulos. Acest software facilitează o tranziție lină de la faza de proiectare digitală la implementarea practică pe gravatorul laser cu fibră ComMarker B6.
Etapa 3: Setați parametrii
Reglați fin parametrii de gravare pe ComMarker B6. Luați în considerare factori precum puterea, viteză, si frecventa. Calibrarea corectă în această etapă este esențială pentru a obține performanțe optime de gravare și conservarea materialului.
Etapa 4: Previzualizați și ajustați poziția și dimensiunea
Utilizați funcționalitatea de previzualizare a ComMarker B6 pentru a afișa schema de circuit pe placa PCB. Faceți ajustările necesare la poziție și dimensiune, alinierea designului digital cu dimensiunile fizice ale plăcii PCB pentru a asigura gravarea precisă.
Etapa 5: Inițiați procesul de gravare cu laser
Începeți procesul de gravare cu laser, permițând lui ComMarker B6 să graveze schema circuitului digital pe placa PCB. Monitorizați îndeaproape procedura pentru a vă asigura că respectă parametrii setați și menține acuratețea pe tot parcursul.
Etapa 6: Verificați Rezultatul
După gravare, inspectați cu atenție placa PCB. Verificați dacă marcajele se aliniază cu designul circuitului dorit și evaluați calitatea generală a gravurii. Această verificare finală asigură acuratețea și funcționalitatea circuitului gravat, confirmând succesul procesului de gravare cu laser.