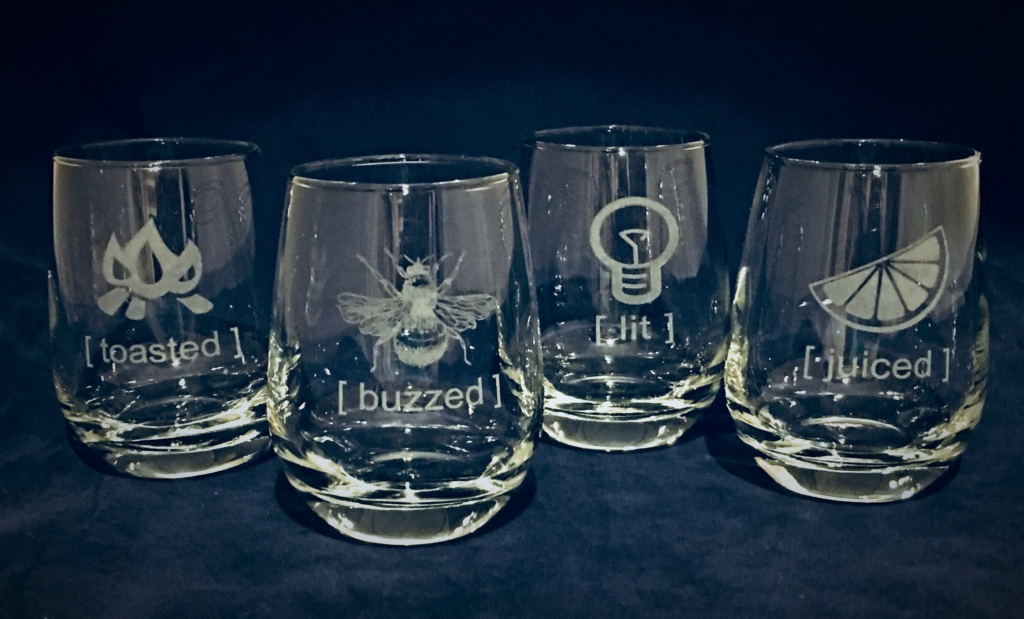
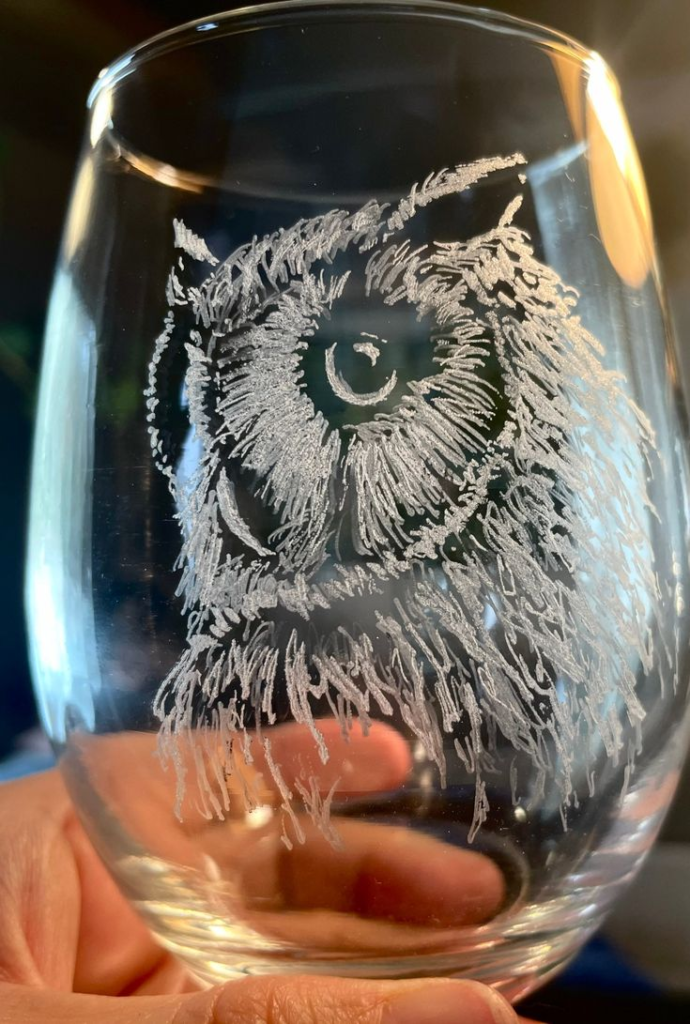
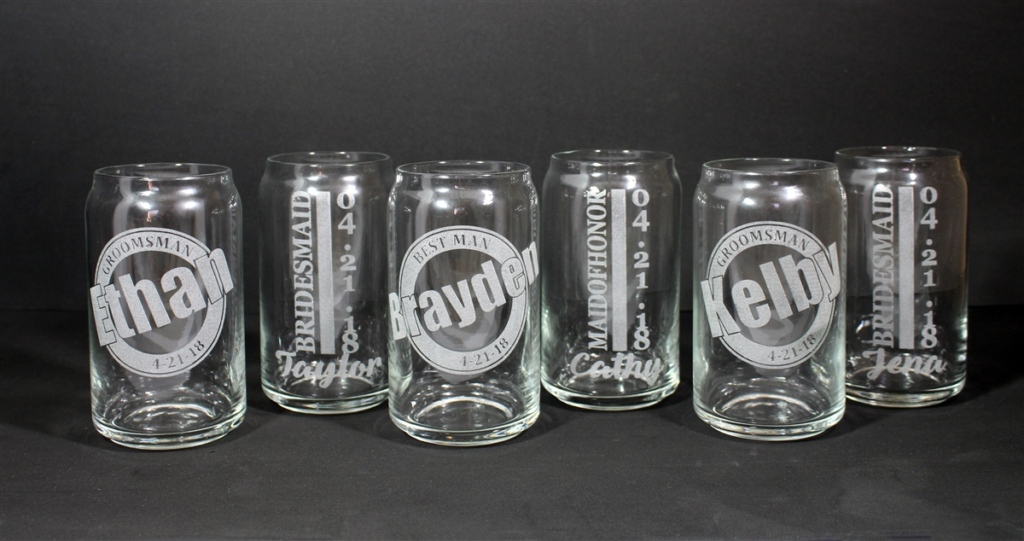
Laser engraving is an excellent technique for adding unique and intricate designs to a variety of materials, and glass is one of the most popular surfaces for this process. Whether you’re personalizing tumblers, creating custom glassware, or crafting intricate designs on decorative glass items, knowing what to put on glass for laser engraving is crucial to achieving the best results.
In dit artikel, we’ll delve into the best materials for laser engraving on glass, the specifics of engraving glass with a Laser Engraver for Tumblers, and how to select the ideal glass for your laser engraving projects. By the end of this guide, you’ll have all the information you need to enhance your laser engraving projects and optimize your processes for high-quality results.
1. Choosing the Right Glass for Laser Engraving
Before you start engraving glass, it’s important to select the right type of glass. The key factors to consider are the type of glass, its thickness, and its composition. Not all glass is suitable for laser engraving, so choosing the best glass for your project is essential.
1.1 Types of Glass Suitable for Laser Engraving
When selecting glass for engraving, there are several types that work exceptionally well with Laser Engravers for Tumblers:
- Natronkalkglas: Commonly used in tumblers, mokken, en wijnglazen, soda-lime glass engraves well with a laser, providing clear, detailed designs.
- Borosilicaatglas: Known for its resistance to thermal shock, borosilicate glass is often used in laboratory equipment and some high-quality drinkware. It can also be engraved, though care should be taken due to its higher resistance to heat.
- Acrylic Glass: While technically not “real” glas, acrylic is an excellent material for laser engraving because it provides vibrant, scherpe ontwerpen. It’s lightweight and easy to engrave but does not offer the same premium feel as actual glass.
1.2 Why Specialized Glass Works Best for Laser Engraving
Laser engraving works by focusing a laser beam on the surface of the material. The heat generated by the laser vaporizes a thin layer of material, creating the engraving. To ensure a clean, detailed engraving, it’s essential to choose glass that responds well to this heat process. Specialized glass designed for laser engraving typically has a consistent thickness and quality, allowing the laser to etch deep, fine details without distorting the surface.
1.3 Importance of Glass Thickness in Laser Engraving
When choosing glass, the thickness of the material plays a critical role. Thicker glass requires more power and slower speeds to achieve precise engravings. Aan de andere kant, thinner glass can be engraved quickly but may be more prone to cracking or shattering due to the heat buildup from the laser.
For tumblers, it is often recommended to work with glass thickness ranging from 2 mm tot 5 mm, which provides a balance between ease of engraving and durability.
2. How to Laser Engrave Tumblers and Glassware
Laser engraving on glass can be used for a wide range of products, but tumblers and drinkware are some of the most popular items. These products are perfect for customization, whether you’re engraving logos, namen, citaten, of ingewikkelde ontwerpen.
2.1 Setting Up Your Laser Engraver for Tumblers
To achieve the best results when engraving on glass tumblers, it’s important to set up your Laser Engraver for Tumblers correctly. Hier zijn de stappen om te volgen:
- Stap 1: Secure the Tumbler in the Engraver
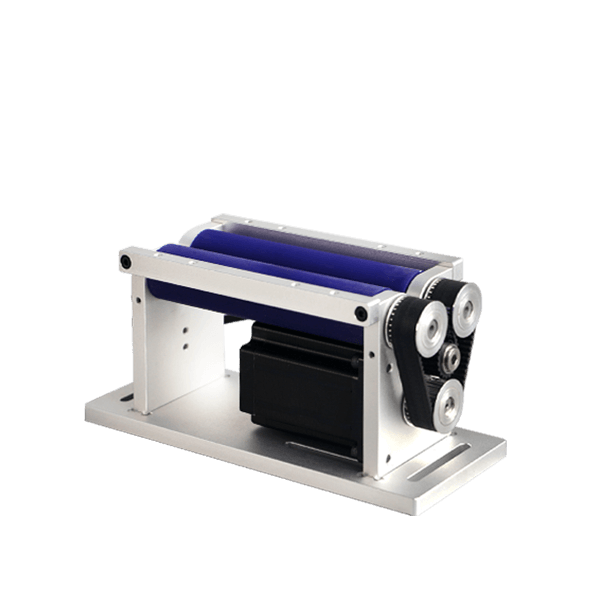
Use a rotary attachment to secure your tumbler in place, ensuring it rotates evenly during the engraving process. This is essential for achieving consistent depth and sharpness across the entire surface. - Stap 2: Choose the Right Power and Speed Settings
Voor glasgravure, a lower power setting and higher speed are recommended. This helps to avoid cracking or damaging the glass. For tumblers, you’ll typically want to use a power setting between 15-30 watt, with a speed of around 200 mm/sec, depending on the thickness and type of glass. - Stap 3: Adjust Focus for Precision
Ensuring that your laser is focused correctly is crucial for achieving fine detail. Adjust the focus to ensure the laser beam is as small and sharp as possible. - Stap 4: Test on Scrap Glass
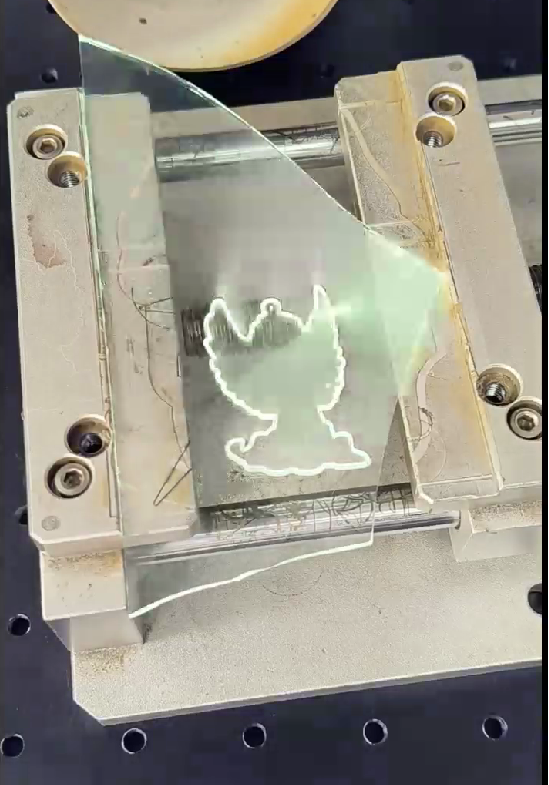
Before engraving on your final product, it’s always a good idea to test on a piece of scrap glass. This will help you adjust the settings and get a better idea of how the engraving will appear on the tumbler.
2.2 Common Glass Engraving Techniques
Bij gebruik van een Laser Engraver for Tumblers, different engraving techniques can be applied to achieve various effects. Some common techniques include:
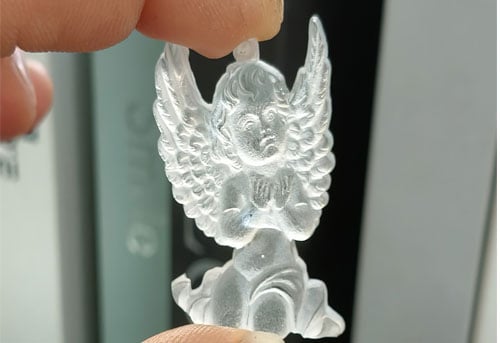
- Etsen: This technique removes a small amount of material to create a frosted or matte effect. It’s great for logos, tekst, or decorative patterns.
- Diepe gravure: This process involves engraving deeper into the glass, creating a more pronounced and permanent mark. This is ideal for high-contrast designs and adds a luxurious feel to the product.
- Kleurgravure: When using a fiber laser, color engraving can be achieved on glass by using heat to change the glass’s color, resulting in a striking, multi-dimensional effect.
3. Common Problems When Engraving Glass
Terwijl laser engraving on glass can create stunning results, there are some challenges that you may face. Understanding how to deal with these issues is key to ensuring a smooth engraving process.
3.1 Cracking or Shattering Glass
One of the most common problems when engraving on glass is the risk of cracking or shattering the material. This happens when the glass expands too quickly due to heat buildup. Om dit te voorkomen, always use lower power settings and allow the material to cool between passes. Aanvullend, using a slower engraving speed will help to evenly distribute heat.
3.2 Ongelijke gravure
If your engravings are not coming out evenly, it could be due to improper focus, inconsistent material thickness, or poor machine calibration. Make sure your Laser Engraver for Tumblers is properly calibrated, and double-check the focus before starting the engraving process. Using a rotary attachment ensures even engraving on cylindrical objects like tumblers.
3.3 Fogging or Smearing
Soms, glass can develop foggy spots during engraving, particularly if the surface is not properly cleaned. Ensure the glass is free of any dust, oliën, or fingerprints before starting the engraving process. Aanvullend, using air assist during engraving can help to blow away debris and prevent fogging.
4. Tips for Optimizing Your Laser Engraving on Glass
To ensure the best possible results when using a Laser Engraver for Tumblers, here are a few tips:
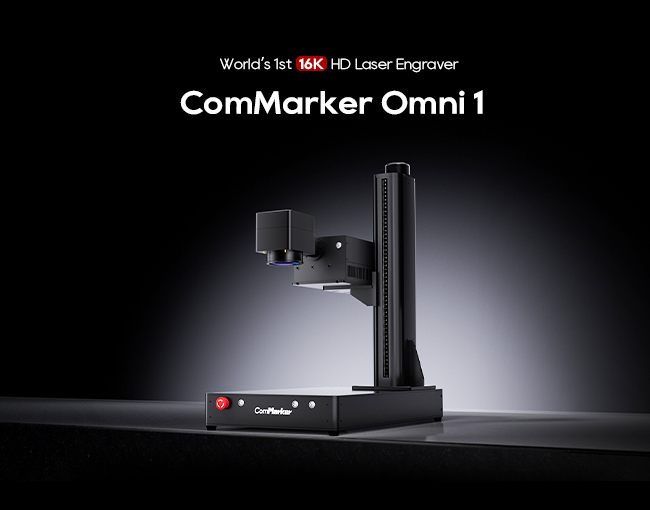
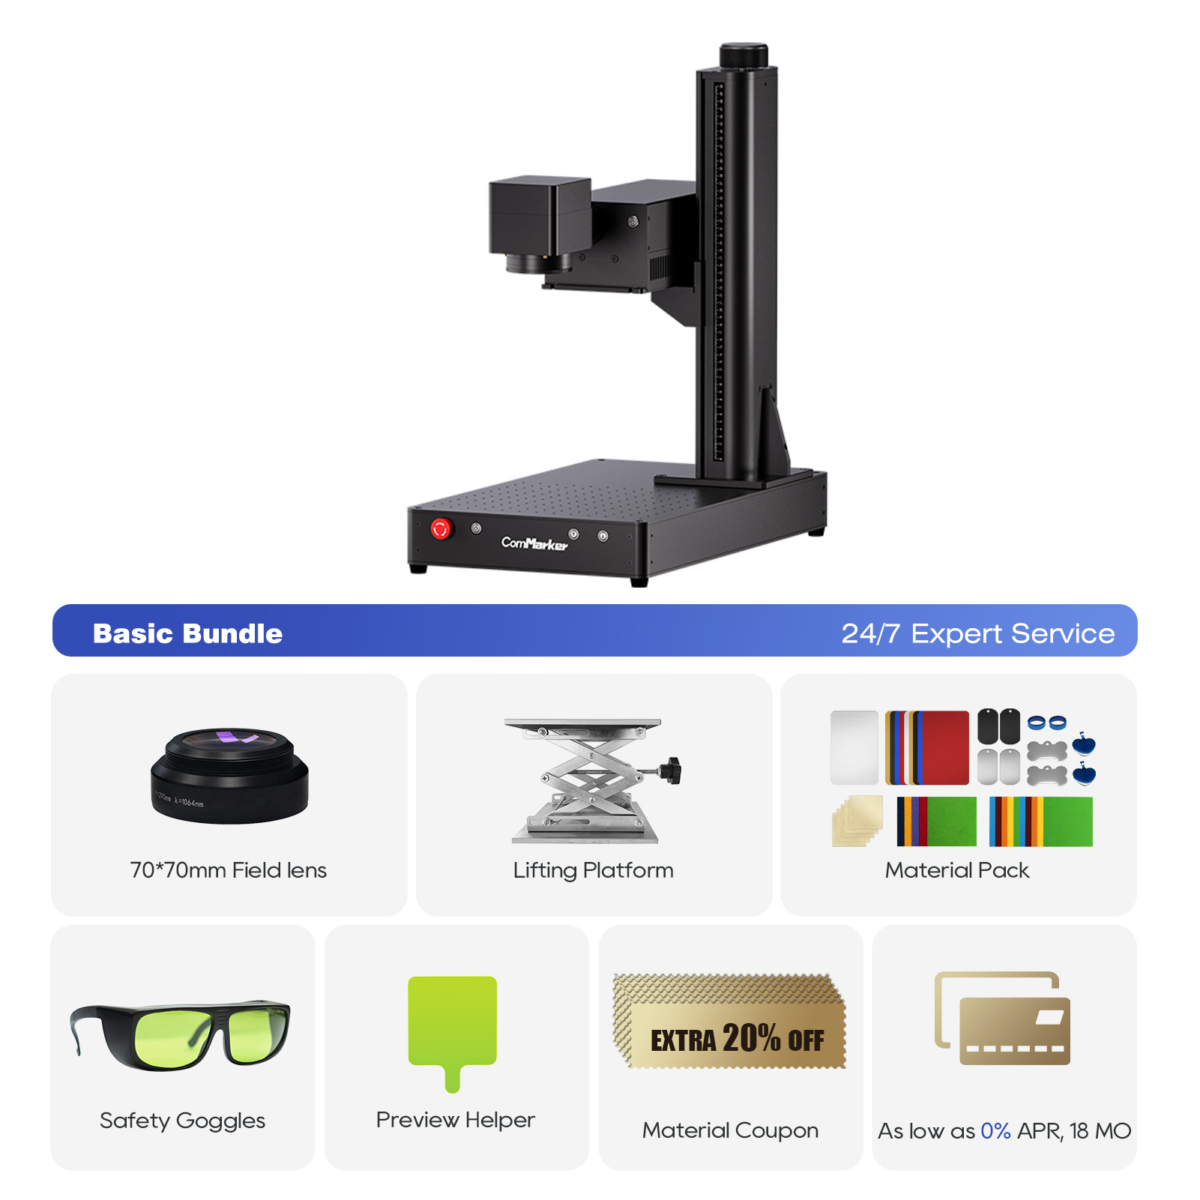
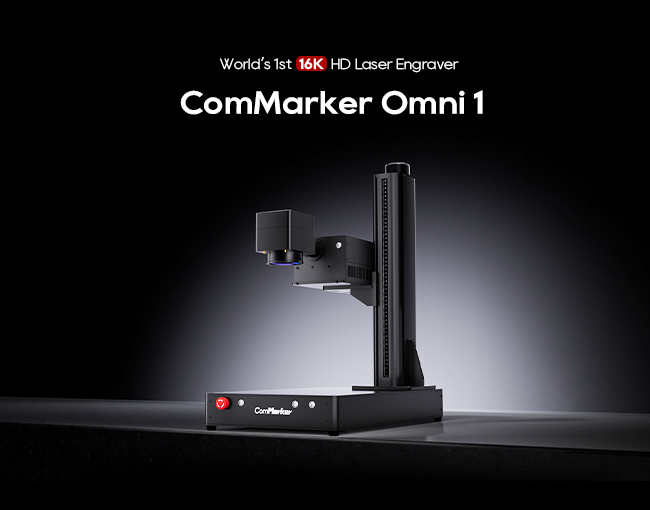
- Use a High-Quality Laser: The quality of your laser engraver can significantly affect the results. Machines with high precision and adjustable power, zoals de ComMarker Omni 1 Lasergraveerder, provide consistent, sharp engravings on glass.
- Keep the Glass Clean: Always clean the glass thoroughly before engraving. Dirt or oils on the surface can cause poor results and fogging.
- Adjust Power and Speed According to Glass Type: Thicker glass requires lower speed and higher power, while thinner glass needs higher speed and lower power to prevent damage.
- Practice on Scrap Materials: Before starting on your final product, always test on scrap pieces of glass to fine-tune your settings and perfect your design.
5. Why Laser Engraving on Glass is So Popular
Laser engraving on glass is a popular method for creating personalized gifts, customized drinkware, en decoratieve artikelen. The precision and permanence of laser engraving ensure that designs will last for years without fading or peeling, making it ideal for high-quality, aangepaste producten.
Met een Laser Engraver for Tumblers, you can create one-of-a-kind designs on tumblers, bril, and other glassware that are sure to stand out. Whether you’re creating custom wedding gifts, branded drinkware, or personalized items for special events, laser engraving offers unmatched precision and creativity.
ComMarker Omni 1 Lasergraveerder
Laser van de volgende generatie om alle materialen te ontgrendelen. ZeroBurn™-graveertechnologie 's werelds eerste 16K HD-lasergraveerder 10.000 mm/s SpeedMax™-graveersysteem Ontgrendel al het materiaal met UV-laser ColdFront™ thermische technologie Elektrisch heffen met 2 Optionele lenzen compatibel met EZCAD en LightBurn 360° roterend graveersysteem
Laser engraving on glass opens up endless possibilities for customization and creativity. Whether you’re working on tumblers, decorative glass items, or custom gifts, using the right materials and settings ensures the best results. Met hulpmiddelen als de ComMarker Omni 1 Lasergraveerder, you can achieve stunning engravings on glass that will impress your clients and customers.
By following the tips and techniques outlined in this article, you’ll be well on your way to creating beautiful and precise engravings on glass. Gelukkig graveren!


