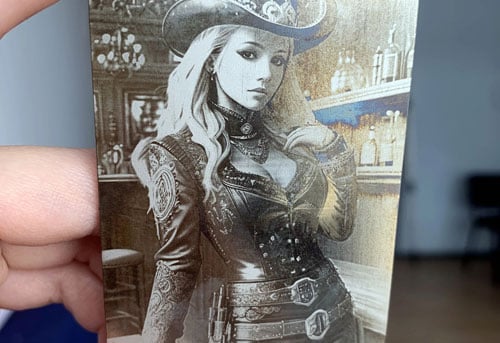
Laser engraving photos is a unique way to create personalized, intricate designs on various materials like wood, Metall, Acryl, und Glas. Whether you’re a hobbyist or a professional looking to offer custom engravings, mastering the process can lead to high-quality, Professionelle Ergebnisse. In diesem Schritt-für-Schritt-Anleitung, we will walk you through everything you need to know to laser engrave photos on different surfaces and give you expert tips on optimizing your engraving settings.
Was ist Lasergravur??
Laser engraving is the process of using a high-powered laser beam to carve or etch designs into a material’s surface. Unlike traditional printing, laser engraving involves physical alteration of the material, eine dauerhafte erstellen, high-contrast image. The laser engraver works by vaporizing a thin layer of the material, which produces intricate and precise results.
Laser engraving photos, Jedoch, requires a slightly different approach than standard design engravings. The key is to focus on the image quality, Materialien, and the settings that best bring out the details.
Choosing the Right Material for Laser Engraving Photos
Bevor Sie in den Gravurprozess eintauchen, it’s crucial to choose the right material. Some materials work better for photo engraving because of their ability to provide clear contrast and fine details. Here are the best materials for laser engraving photos:
| Material | Am besten für | Leistungseinstellung | Key Tip |
|---|---|---|---|
| Holz | Rustic gifts, Zeichen | 30-50% | Use light-colored wood for contrast. |
| Acryl | Awards, Dekorationen | 25-40% | Mask with tape to prevent scratches. |
| Metall | Premium jewelry | 70-100% | Use fiber laser for best results. |
| Glas | Elegant 3D engraving | 15-25% | Apply water during engraving to reduce heat. |
Tipp: Light-colored woods work best for photo engraving, as they provide greater contrast than darker woods. Acrylic and metal give sharp, clean results, while glass allows for stunning 3D effects.
Preparing Your Photo for Laser Engraving
The success of photo engraving depends largely on how well you prepare your image. Let’s break down the steps to ensure your photo is ready for the laser engraver:
1. Choose a High-Resolution Photo
For the best engraving results, start with a high-quality, high-resolution photo. Je höher die Auflösung, the better the details will be during the engraving. Ensure your image is clear and sharp, as blurred or pixelated images won’t engrave well.
2. Convert the Photo to Grayscale
Laser engraving works best with grayscale images. Use photo editing software like Adobe Photoshop or GIMP to convert your photo to grayscale. This allows the laser to interpret the light and dark areas correctly and create better contrast during the engraving process.
Tipp: Adjust the contrast to ensure that the dark areas of the photo are sufficiently dark, and the light areas are bright enough.
3. Resize and Crop the Image
Once your photo is converted to grayscale, resize and crop the image to fit the material you’ll be engraving. Ensure the dimensions match the area you want to engrave, whether it’s a small pendant, a plaque, or a large piece of wood.
4. Prepare the Image for Laser Engraving
Jetzt, you’ll need to fine-tune the image for the laser engraver. Set the resolution to 300-600 DPI (Punkte pro Zoll) for sharp results. The laser will use this resolution to process the image and engrave it with high detail.
Richten Sie Ihren Laserstecher ein
Now that your image is ready, let’s talk about how to set up your laser engraver to get the perfect engraving:
1. Select the Right Laser Engraver
For photo engraving, it’s essential to use the right type of laser engraver. A CO2-Lasergravierer works best for materials like wood, Acryl, und Glas. Faserlaser are ideal for metal engraving, offering higher precision for detailed work.
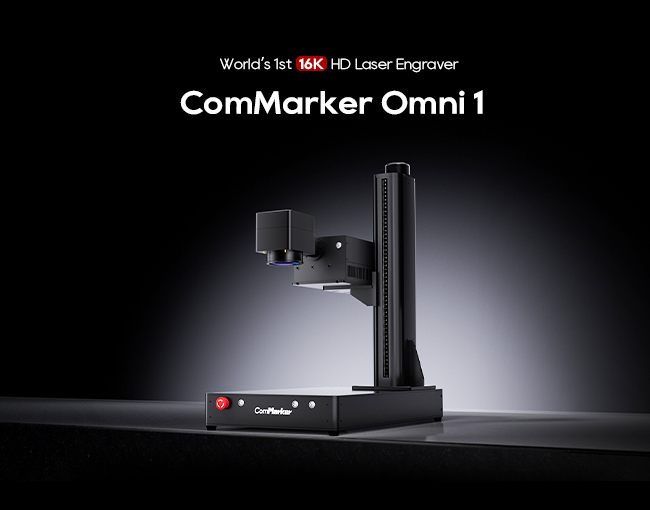
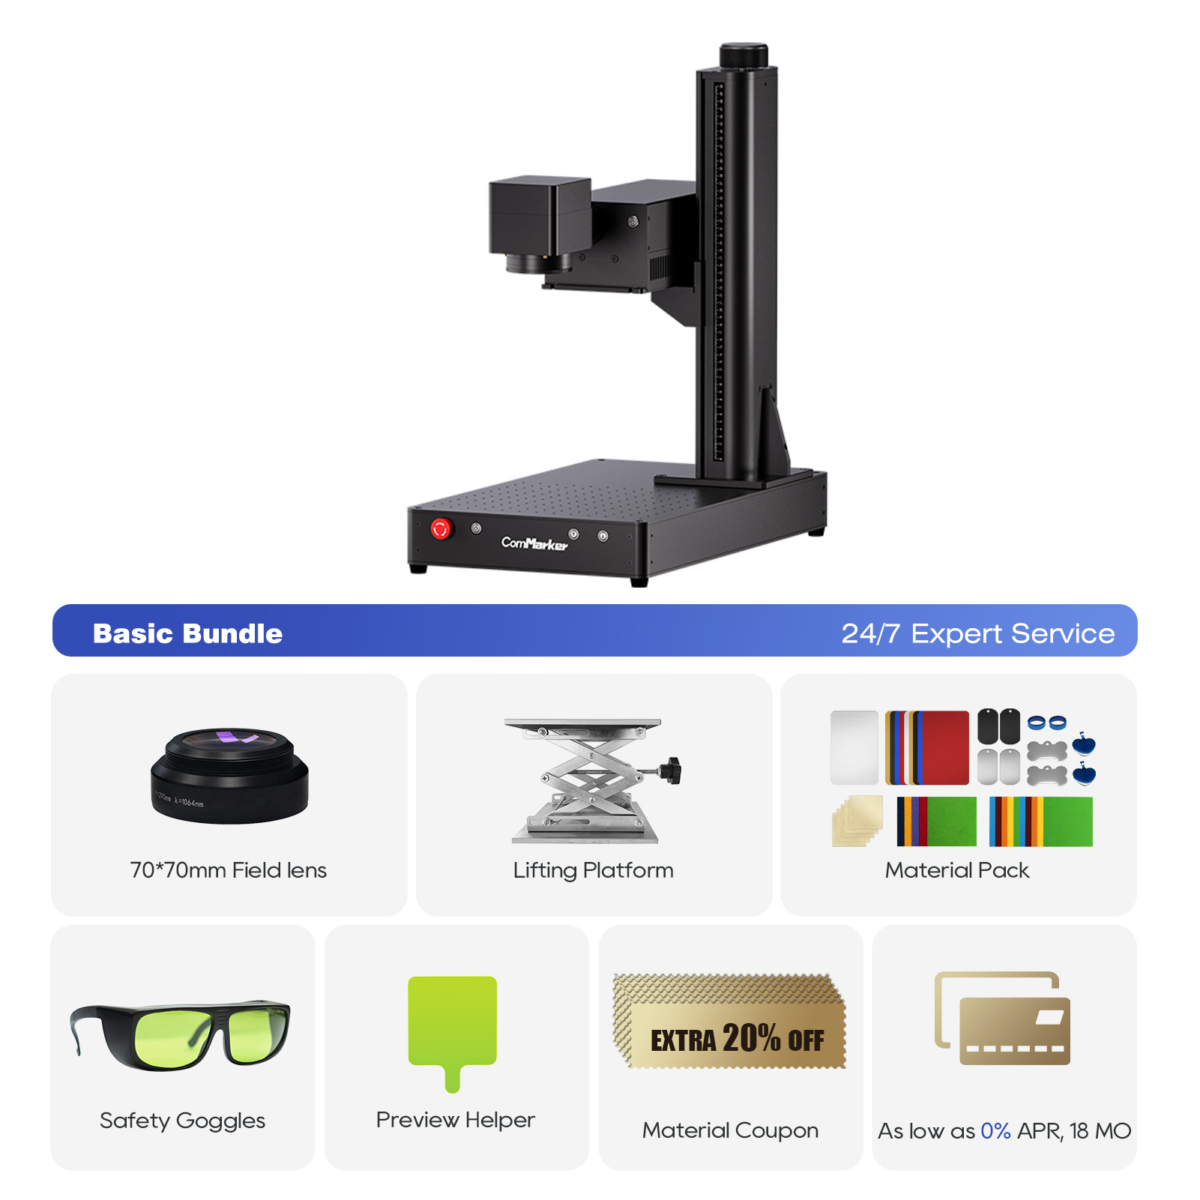
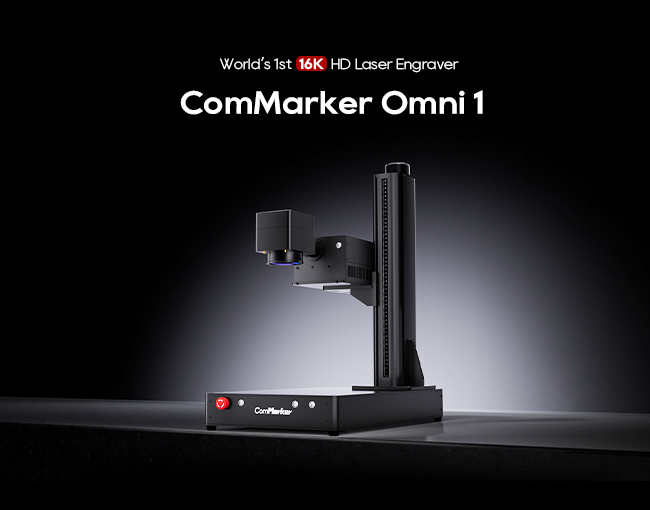
Der ComMarker Omni 1 Lasergravierer is an excellent choice for beginners and professionals alike. It’s designed for engraving a variety of materials with high precision and great results.
2. Set Laser Power and Speed
The engraving power and speed depend on the material you’re working with. Below are general settings for different materials:
- Holz: Use a power setting of 30-50%, moderate speed.
- Acryl: Set power to 25-40% für saubere Schnitte, with faster speeds.
- Metall: Faserlaser require higher power, usually 70-100% for deep engraving.
- Glas: Verwenden 15-25% Leistung and a slower speed to prevent cracking.
3. Fokussieren Sie den Laser
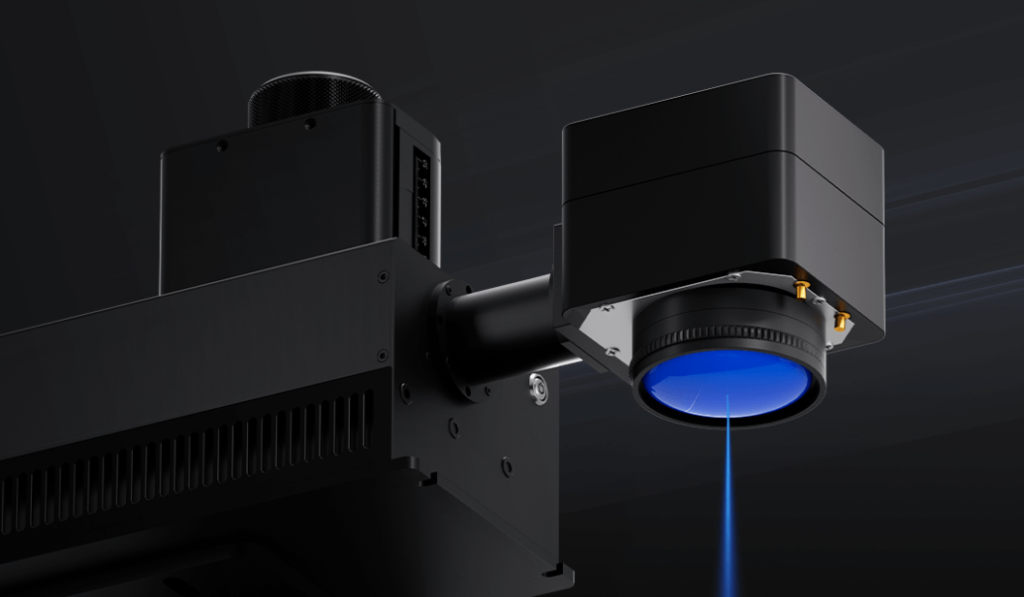
It’s important to adjust the focus of the laser to ensure that it’s sharp and precise. Most modern laser engravers, wie ComMarker Omni 1, come with a built-in tool to help you focus the laser. Proper focusing is essential for clear and crisp engravings.
4. Test the Settings
Vor Beginn des tatsächlichen Gravurs, run a small test on a scrap piece of the material. This will help you determine whether the power and speed settings need any adjustments.
Engraving the Photo
Now that your setup is ready, it’s time to engrave the photo:
1. Load the Image
Load the grayscale image into the engraving software (wie zum Beispiel LightBurn or the software provided by your engraver). Position the image within the boundaries of the material.
2. Align and Secure the Material
Make sure your material is properly secured on the engraving bed. This prevents movement during the engraving process, which could result in blurry or misaligned engravings.
3. Starten Sie die Gravur
Once everything is aligned, klicken Start in the engraving software. The laser will begin etching the photo onto your material. Depending on the size of the photo and the material, engraving could take anywhere from a few minutes to a few hours.
Tipps nach der Gravur
Sobald die Gravur abgeschlossen ist, there are a few steps you should follow to finish the process:
1. Clean the Material
Nachdem die Gravur abgeschlossen ist, clean off any residue or smoke marks left on the material. Use a soft cloth for wood, Acryl, oder Leder. For glass or metal, a gentle cleaning solution works well.
2. Apply a Protective Coating (Optional)
For certain materials like wood, applying a clear finish can help protect the engraving and give it a glossy, polished look. For metal engravings, you may want to apply a protective layer to prevent tarnishing.
3. Inspect the Engraving
Inspect the engraved image to make sure all the details are clear and sharp. Wenn benötigt, adjust the settings and re-engrave for better results.
Troubleshooting Common Laser Engraving Issues
If your engraved photo doesn’t turn out as expected, Hier finden Sie einige Tipps zur Fehlerbehebung:
1. Verschwommene Gravur
Blurriness can result from incorrect focus or an improper engraving speed. Make sure the laser is properly focused and adjust the engraving speed. Run a test engraving to refine your settings.
2. Schlechter Kontrast
If the engraving lacks contrast or details, adjust the contrast of the original photo before engraving and ensure that your laser power is set appropriately for the material.
3. Verbrennungsmarken
If you notice burn marks, lower the power and increase the speed. You may also need to adjust the laser’s focus for finer detail.
ComMarker Omni 1 Lasergravierer
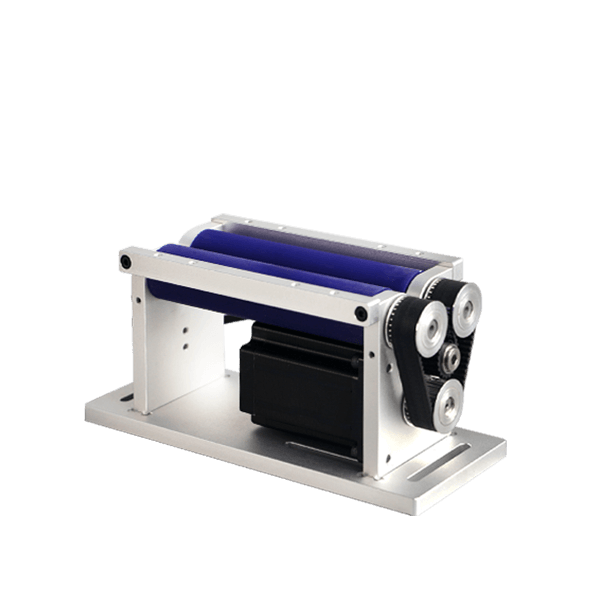
Laser der nächsten Generation zur Freischaltung aller Materialien. ZeroBurn™-Graviertechnologie Weltweit erster 16K-HD-Lasergravierer 10.000 mm/s SpeedMax™-Graviersystem Entriegeln Sie alle Materialien mit UV-Laser ColdFront™-Thermotechnologie Elektrisches Heben mit 2 Optionale Objektive, die mit EZCAD und dem LightBurn 360°-Rotationsgravursystem kompatibel sind
Laser engraving photos is a fantastic way to create personalized, high-quality designs on a variety of materials. By following the steps outlined in this guide, you’ll be able to laser engrave photos with precision and achieve stunning results every time.
Whether you’re engraving gifts, Auszeichnungen, or unique home decor, Die ComMarker Omni 1 is an excellent choice for turning your ideas into reality with professional-quality engravings.
Start engraving today and bring your favorite photos to life with laser precision!


