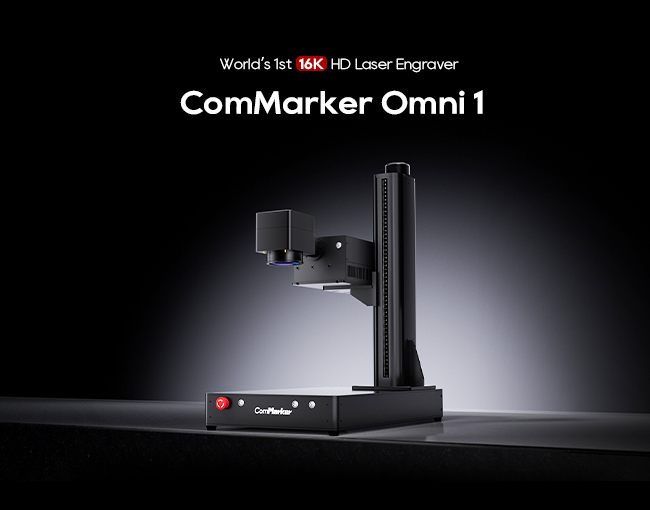
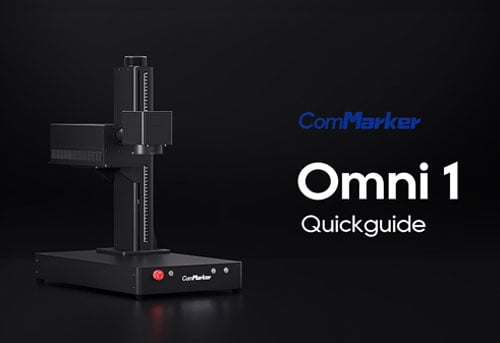
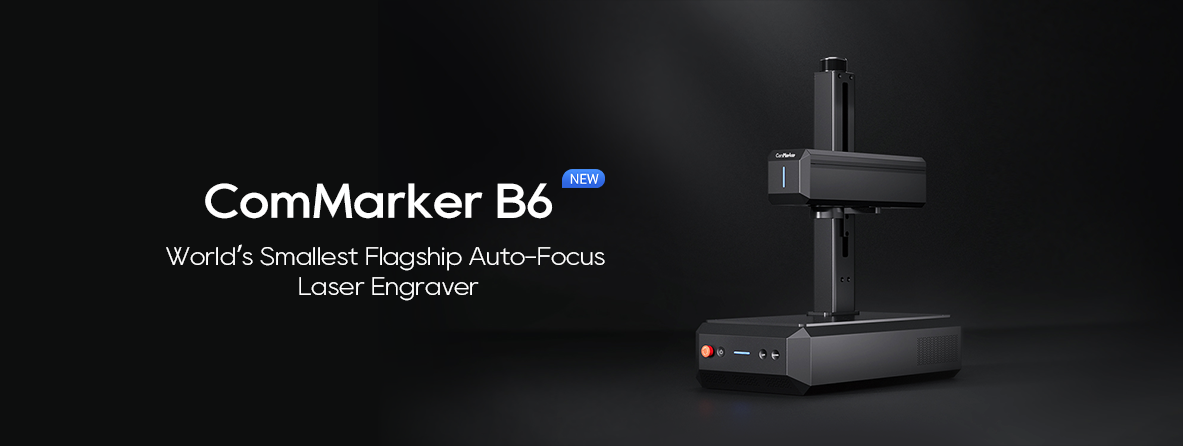
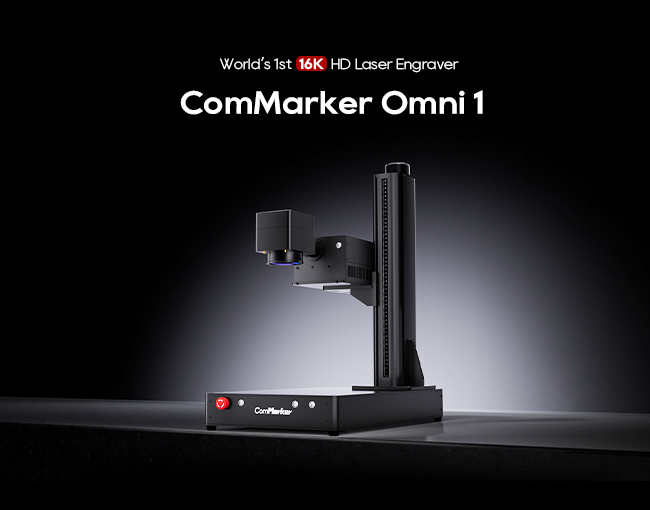
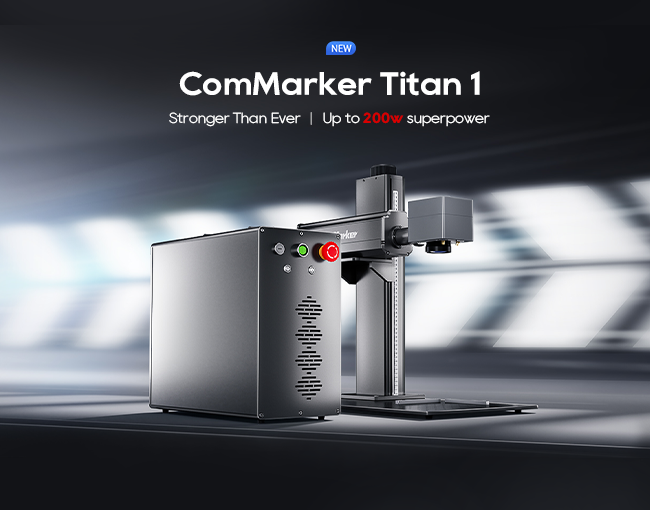
A gravura a laser tornou -se uma parte essencial da fabricação moderna e design criativo. Com a crescente demanda por personalizados, produtos de alta qualidade, Empresas e profissionais estão cada vez mais recorrendo à tecnologia de gravação a laser para sua precisão e versatilidade. O ComMarker Omni 1 gravador a laser é uma ferramenta de destaque neste campo, oferecendo avançado Tecnologia laser UV Isso oferece gravuras impressionantes em uma variedade de materiais - de vidro e metal a madeira, acrílico, e até copos.
Este guia foi projetado para ajudá -lo, Como profissional na indústria de gravura a laser, Configure e use o Commarker Omni 1 para todo o seu potencial. Abordaremos todos os aspectos - desde o desbaste de técnicas avançadas - consumindo que você possa alcançar os resultados da mais alta qualidade. Se você é novo na gravura a laser ou procurando otimizar seu processo existente, Este guia abrangente o equipará com o conhecimento e as habilidades necessárias para ter sucesso.
O que é o Commker Omni 1 gravador a laser?
O ComMarker Omni 1 O gravador a laser é um compacto, alta precisão Sistema de laser UV que oferece desempenho incomparável para gravar uma ampla gama de materiais. Conhecido por sua velocidade excepcional, precisão, e versatilidade, o Omni 1 é perfeito para produzir gravuras detalhadas em tudo, desde vidro delicado a metal robusto. Sua interface amigável e compatibilidade poderosa de software (com Ezcad2 e Lightburn) Torne a escolha ideal para iniciantes e profissionais experientes.
Principais recursos e benefícios
- Alta precisão: O Omni 1 pode atingir a precisão da gravura no nível de mícrons, garantindo que todos os detalhes sejam capturados com clareza impressionante.
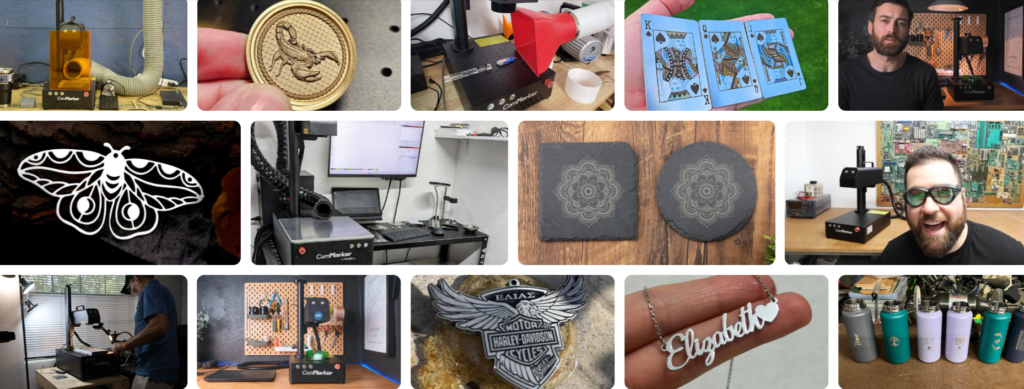
- Compatibilidade versátil de materiais: É capaz de gravar vários materiais, incluindo vidro, metal, madeira, acrílico, couro, e copos.
- Produção de alta velocidade: Com velocidades de gravação de até 10,000 mm/s, reduz dramaticamente o tempo de produção, tornando -o perfeito para a produção pequena e em massa.
- Interface amigável: Seus controles intuitivos em tela sensível, permitindo que você se concentre em seu trabalho criativo.
- Durabilidade: Construído com componentes robustos e um sistema de refrigeração eficiente, o Omni 1 foi projetado para a longo prazo, operação contínua.
2. Unboxing e configuração inicial
Unboxing The Commarker Omni 1
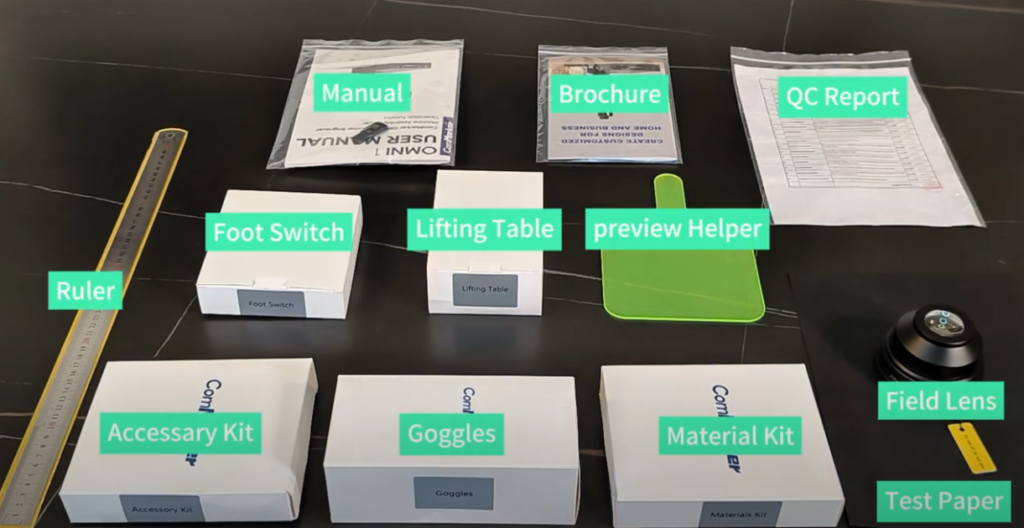
Quando você recebe seu Commarker Omni 1 gravador a laser, Comece com cuidadosamente desbotamento da máquina. Inspecione todos os componentes para garantir que nada seja danificado ou faltando. Seu pacote deve incluir:
- O ComMarker Omni 1 Unidade de gravador a laser
- Cabos de alimentação e cabos de dados
- Manual do usuário e guia de partida rápida
- DVD de instalação ou link de download para o software de gravura
- Óculos de segurança e outros acessórios
Preparando seu espaço de trabalho
Antes de configurar a máquina, Verifique se o seu espaço de trabalho atende aos seguintes critérios:
- Superfície estável: Coloque o gravador em um apartamento, superfície estável que pode suportar seu peso.
- Ventilação adequada: A gravura a laser produz fumaça e partículas. Verifique se o seu espaço de trabalho está bem ventilado ou possui um sistema de extração de fumaça apropriado.
- Iluminação adequada: Uma boa iluminação é essencial para monitorar o processo de gravação e garantir um alinhamento preciso do seu design.
- Espaço para materiais: Verifique se há espaço suficiente para o material que você planeja gravar, Seja um copo, peça de vidro, ou qualquer outro substrato.
Configuração de hardware
Follow these steps to assemble and set up your ComMarker Omni 1:
- Assemble the Machine:
- Follow the instructions in the user manual to assemble any parts that require setup.
- Ensure the laser module is securely attached and that the machine’s components are aligned.
- Connect the Power Supply and Data Cables:
- Plug the power cable into a reliable electrical outlet.
- Connect the data cable from the machine to your computer. Ensure that all connections are secure.
- Position Your Material:
- Secure the material (por exemplo, a tumbler) onto the engraving bed using clamps or fixtures.
- Adjust the positioning so that the design will be centered and correctly aligned.
3. Software Installation and Configuration
Installing the Software
O ComMarker Omni 1 is compatible with popular laser engraving software such as EZCAD2 and LightBurn. Siga estas etapas para instalar e configurar o software:
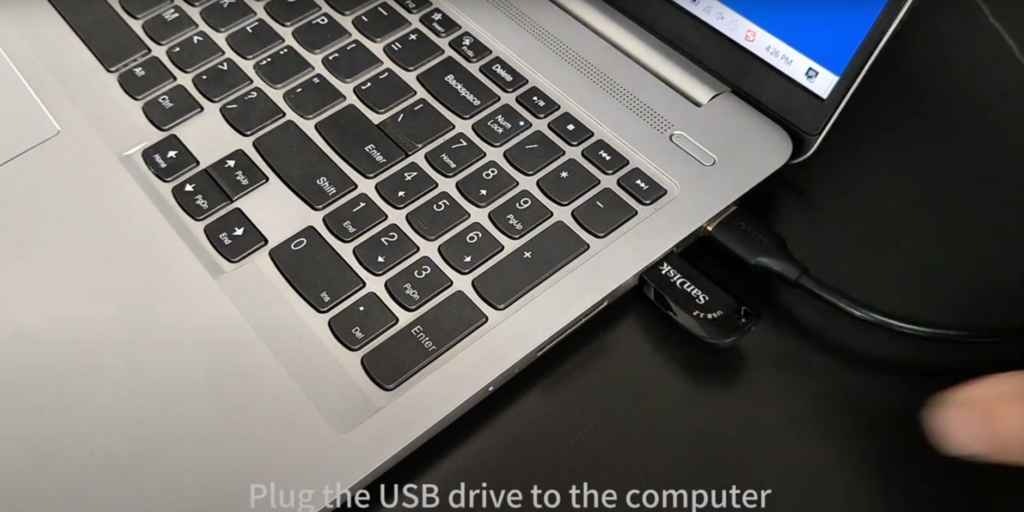
- Baixe o software:
- Use o DVD de instalação fornecido ou o link de download do site Commarker.
- Instale o software no seu computador, garantir que seu sistema operacional atenda aos requisitos.
- Configuração de software:
- Inicie o software e conecte -o ao seu Commarker Omni 1 via USB.
- Defina as configurações do dispositivo, incluindo a porta de comunicação e parâmetros básicos.
- Importar quaisquer arquivos de calibração ou configuração necessários fornecidos pela Commarker para garantir gravuras precisas.
- Familiarize -se com a interface:
- Passe algum tempo explorando a interface de software. Tanto o EZCAD2 quanto o Lightburn oferecem controles intuitivos para projetar e modificar seus projetos de gravura.
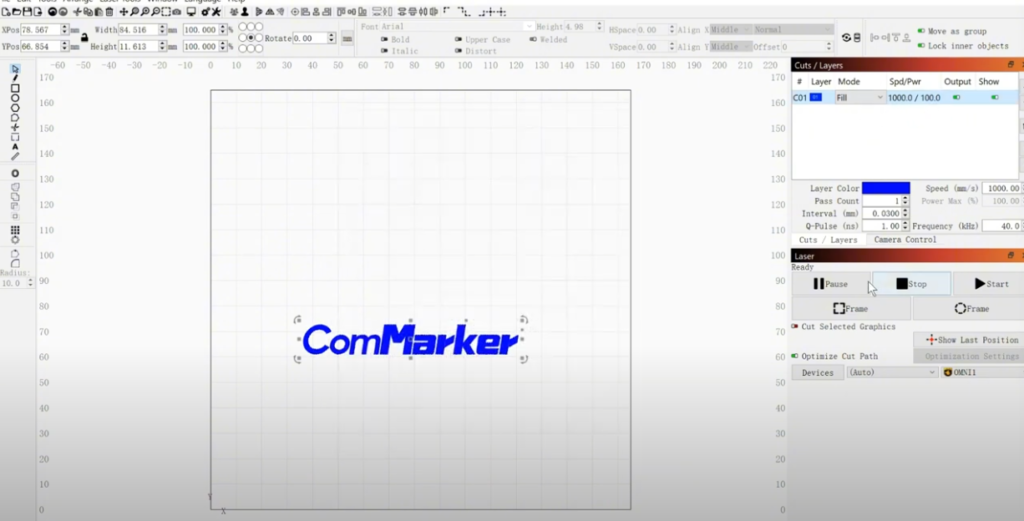
- Aprenda a criar novos designs, importar projetos existentes (como SVG, DXF, ou arquivos AI), e ajustar parâmetros como velocidade, poder, e foco.
Projetando sua gravura
Seu design é o coração do processo de gravura. Veja como preparar seu design para o Commker Omni 1:
- Crie ou importe seu design:
- Use o software CAD para projetar sua obra de arte, ou importar um design de outra fonte.
- Verifique se o seu design está em um formato compatível (por exemplo, formato vetorial para linhas nítidas).
- Ajuste o design do seu material:
- Escala e posicione seu design para combinar com as dimensões do seu material (por exemplo, a tumbler).
- Considere a curvatura do seu material; se gravar em uma superfície curva, Ajuste seu design de acordo.
- Defina parâmetros de gravura:
- Defina a velocidade de gravura, poder, frequência, e número de passes. Por exemplo, Uma configuração típica para gravar o vidro pode ser 100.0 mm/s 100% poder e 40 Frequência KHz com 10 passes globais.
- Salve suas configurações de design e execute uma simulação (se disponível) Para visualizar o processo de gravação.
4. Calibração e Focagem
Entendendo o foco a laser
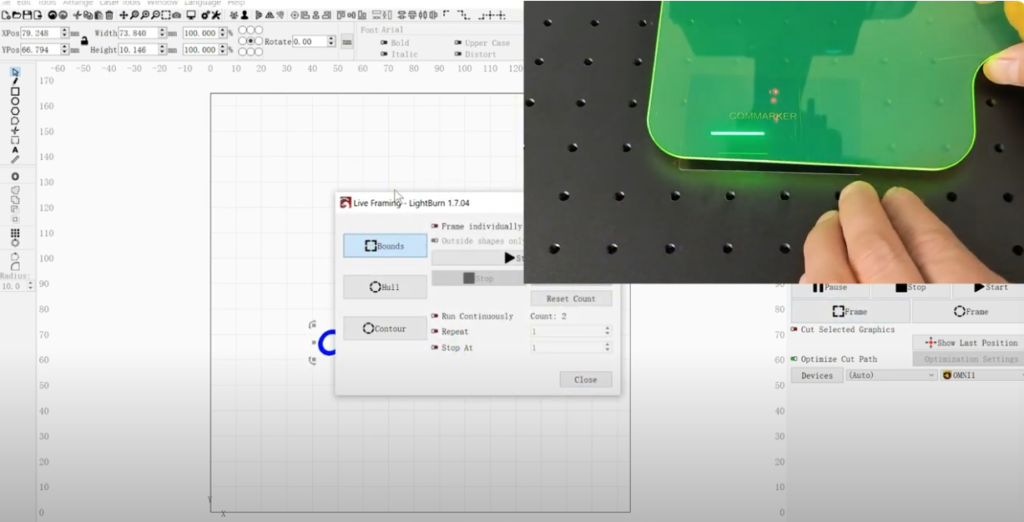
Alcançando um nítido, A gravação clara depende muito do foco adequado a laser. O foco determina o tamanho do local do feixe de laser no material, impactando diretamente a precisão e a clareza da gravação.
- Recurso de foco automático:
- Muitos gravadores modernos a laser, incluindo o Omni 1, vem equipado com um recurso de foco automático. Esta função ajusta automaticamente a cabeça do laser para alcançar o foco ideal.
- Para usar o recurso de foco automático, Coloque seu material sob o laser, Em seguida, pressione o botão de foco automático no painel de controle. A máquina se ajustará até que os pontos do laser estejam perfeitamente alinhados.
- Ajuste do foco manual:
- Se você preferir controle manual ou precisar ajustar o foco, Use o ajuste do foco manual. Isso envolve girar um botão de foco ou ajustar uma configuração digital até que o ponto do laser seja o menor possível.
- Um laser bem focado produzirá nítidos, linhas definidas, Enquanto um feixe sem foco resulta em gravuras borradas.
Procedimento de calibração
A calibração adequada garante que o gravador a laser opere em suas configurações ideais. Siga estas etapas para calibração:
- Calibração inicial:
- Ligue a máquina e permita que ela se aqueça.
- Use o recurso de calibração interno para verificar o alinhamento e o foco da cabeça do laser.
- Verifique se o arquivo de calibração (se fornecido) é importado para o software.
- Teste de Gravação:
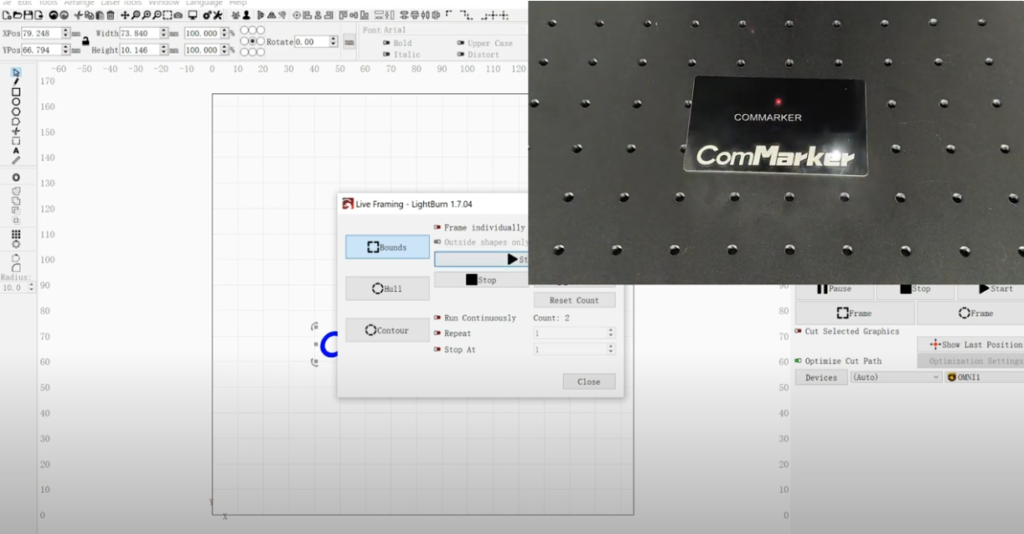
- Execute uma gravura de teste em um pedaço de material.
- Examine a gravura do teste para clareza, profundidade, e precisão.
- Ajuste as configurações conforme necessário (por exemplo, foco, velocidade, ou poder) para melhorar a qualidade da gravura.
- Afinação:
- Repita a gravura do teste até obter consistente, resultados de alta qualidade.
- Documente as configurações que produzem os melhores resultados para referência futura.
5. Processo de Gravação: Do início ao fim
Iniciando o trabalho de gravura
Depois que sua máquina estiver configurada, calibrado, E seu design está pronto, você pode começar o processo de gravação:
- Carregue seu design:
- Abra seu arquivo de design em Ezcad2 ou Lightburn.
- Verifique se o design está posicionado corretamente na tela virtual para corresponder à colocação do seu material.
- Defina parâmetros de gravura:
- Verifique duas vezes sua velocidade, poder, frequência, e número de configurações de passes.
- Por exemplo, Ao gravar um copo, você pode usar configurações como 100.0 MM/SEC VELOCIDADE, 100% poder, 40 Frequência kHz, e 10 passes globais para um profundo, gravura nítida.
- Comece a Gravação:
- Com suas configurações confirmadas, Pressione o botão "Iniciar" no painel de controle para começar a gravar.
- Monitore o processo na interface da tela sensível ao toque, garantir que o laser esteja seguindo o caminho de design com precisão.
Monitoramento e ajuste durante a gravura
Mesmo com uma configuração cuidadosa, pequenos ajustes podem ser necessários durante o processo de gravação:
- Ajustes em tempo real: Use o painel de controle para pausar ou modificar as configurações se você notar alguma discrepâncias.
- Verificações de foco: Verifique periodicamente se o laser permanece focado no material, Especialmente para trabalhos de gravação mais longos.
- Movimento material: Certifique -se de que seu material permaneça firmemente no lugar. Para objetos curvos, como copos, Use um acessório rotativo para manter o alinhamento consistente.
Procedimentos de pós-gravação
Após a gravura, está completo, Siga estas etapas para terminar seu projeto:
- Esfriando: Deixe o material esfriar antes de lidar com ele. Isso é crucial para prevenir danos relacionados ao calor.
- Limpando a superfície gravada: Limpe suavemente a área gravada com um pano macio para remover qualquer resíduo ou detritos.
- Inspeção de qualidade: Inspecione cuidadosamente a gravura para obter consistência, profundidade, e clareza. Faça os ajustes necessários para empregos futuros.
- Pós-processamento: Dependendo do seu projeto, Pode ser necessário aplicar processos de acabamento adicionais, como pintar ou selar o design gravado para melhorar o contraste e a durabilidade.
6. Técnicas avançadas e práticas recomendadas
Gravura de várias passagens
Para gravuras mais profundas ou mais complexas, Uma abordagem de várias passagens é frequentemente necessária. A gravura de várias passagens envolve a execução do laser várias vezes na mesma área para alcançar a profundidade e os detalhes desejados sem queimar o material.
- Benefícios:
- Fornece maior controle sobre a profundidade de gravação.
- Reduz o risco de danificar o material.
- Aprimora a clareza e o contraste de projetos detalhados.
- Implementação:
- Ajuste o número de passes globais em seu software. Por exemplo, você pode definir 10 passa para um profundo, gravura texturizada.
- Monitore o processo de gravação entre passes para garantir resultados consistentes.
Usando modos de preenchimento para detalhes aprimorados
Os modos de preenchimento são usados para gravar formas ou imagens sólidas em um material. O Omni 1 Oferece vários modos de preenchimento, incluindo preenchimento bidirecional e hachura cruzada, que pode ser usado para criar texturas e profundidades diferentes na gravura.
- Preenchimento bidirecional: Este modo permite que o laser preencha o design de duas direções, garantindo uma cobertura uniforme.
- Preenchimento cruzado: Isso cria um efeito texturizado através da gravação de linhas que se cruzam, Adicionando profundidade e interesse visual.
- Intervalo de linha e resolução: Ajuste o intervalo da linha (por exemplo, 0.0400 milímetros) e o número de linhas por polegada para controlar a resolução da gravura. Uma densidade de linha mais alta resulta em detalhes mais finos.
Gravura em superfícies curvas (Copos)
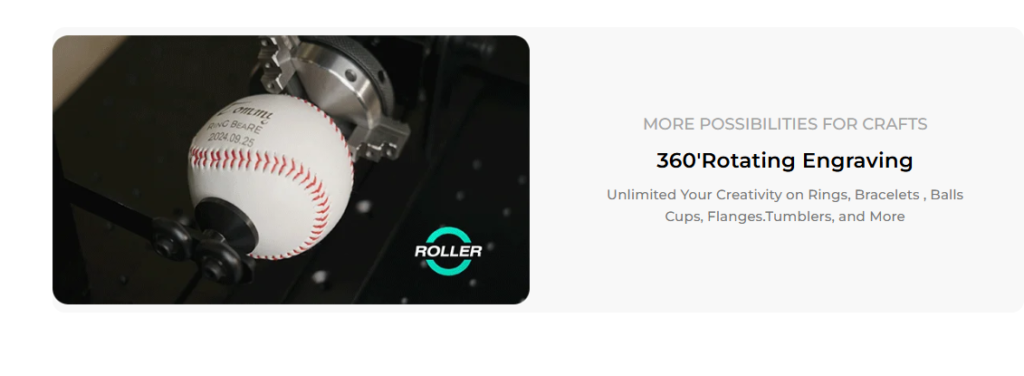
Gravura em superfícies curvas, como copos, requer ajustes e equipamentos adicionais. Uma fixação rotativa é essencial para manter até gravando em toda a superfície de um objeto cilíndrico.
- Acessório Rotativo: Este acessório gira o copo constantemente enquanto o gravador a laser marca o design. Garante que a gravura seja contínua e consistente.
- Configurando o rotativo: Prenda o copo na unidade rotativa e ajuste a velocidade de rotação para sincronizar com o movimento do laser.
- Ajuste de foco: Verifique se o foco do laser é mantido em toda a superfície curva. Isso pode exigir pequenos ajustes manuais ou um recurso de foco automático, se disponível.
Dicas para solucionar problemas de problemas de gravação comuns
Mesmo com configuração meticulosa, Você pode encontrar desafios durante o processo de gravura. Aqui estão alguns problemas e soluções comuns:
- Gravuras borradas ou irregulares:
- Causa: Provavelmente devido a foco inadequado ou configurações de energia incorretas.
- Solução: Re-calibrar o foco e executar uma gravura de teste. Ajuste as configurações de velocidade e energia do laser até que a clareza desejada seja alcançada.
- Queima de material ou gravação excessiva:
- Causa: Energia excessiva a laser ou uma velocidade muito lenta pode causar queimar o material.
- Solução: Aumentar a velocidade ou reduzir as configurações de energia. Considere usar a gravura de várias passagens para aprofundar gradualmente a gravação sem superaquecer o material.
- Profundidade de gravação inconsistente:
- Causa: Variações na espessura do material ou em uma peça de trabalho instável.
- Solução: Verifique se o material está fixado com segurança e ajuste o foco com cuidado. Para materiais grossos ou irregulares, Use um acessório de nivelamento, se disponível.
- Falhas de software ou problemas de conexão:
- Causa: Software desatualizado ou conexão inadequada entre o computador e o gravador a laser.
- Solução: Atualize o software de gravura (Ezcad2 ou Lightburn) e verifique todas as conexões. Reinicie o sistema, se necessário, e execute um diagnóstico se os problemas persistirem.

7. Diretrizes de manutenção e segurança
Manutenção de rotina
A manutenção regular é fundamental para garantir a longevidade e o desempenho ideal do seu Commarker Omni 1 gravador a laser. Aqui estão algumas dicas importantes de manutenção:
- Limpe a lente e os espelhos: Pó, destroços, e o resíduo pode se acumular nos componentes ópticos. Use um pano de microfibra e solução de limpeza apropriada para limpar suavemente a lente e os espelhos.
- Verifique o sistema de refrigeração: Verifique se o sistema de resfriamento de ar está livre de obstruções e está funcionando corretamente. Filtros e fãs limpos conforme necessário.
- Calibração regular: Re-calibre periodicamente seu gravador a laser para manter o foco e o alinhamento precisos.
- Inspecione as conexões elétricas: Verifique se todos os cabos e conexões são seguros e livres de danos.
- Atualizações de software: Mantenha seu software de gravura atualizado para se beneficiar dos recursos e melhorias mais recentes.
Diretrizes de segurança
Trabalhar com lasers requer adesão estrita aos protocolos de segurança:
- Use óculos protetores: Sempre use óculos de segurança a laser classificados para o comprimento de onda específico do seu laser para evitar danos oculares.
- Garanta ventilação adequada: A gravura a laser pode produzir fumaça e partículas, Portanto, verifique se o seu espaço de trabalho está bem ventilado.
- Evite superfícies reflexivas: Seja cauteloso com materiais reflexivos que podem causar vigas a laser perdidas.
- Siga as diretrizes do fabricante: Sempre siga as instruções e cronogramas de manutenção do fabricante.
- Procedimentos de emergência: Familiarize -se com o procedimento de desligamento de emergência em caso de mau funcionamento.

8. Estudos de caso e histórias de sucesso do cliente
Real-World Application: Gravar copos para presentes personalizados
One of our valued customers, a small business specializing in custom promotional gifts, recently integrated the ComMarker Omni 1 Laser Engraver into their production process for tumblers. They reported significant improvements in production speed and quality, enabling them to offer personalized tumblers with intricate designs and logos. The addition of a rotary attachment allowed for consistent, high-quality engravings on curved surfaces—a critical factor in their product appeal.
Feedback do cliente
“We’ve seen a remarkable transformation in our engraving process since switching to the Omni 1. Our tumblers now feature crisp, precise engravings that our customers love. The setup was straightforward, E a velocidade da máquina nos permitiu atender às ordens de alto volume sem sacrificar a qualidade. ” - Alex R., Proprietário, Co.
Lições aprendidas
- Importância da calibração: A calibração regular garante que a gravura permaneça nítida e consistente, especialmente em superfícies curvas.
- Flexibilidade de configurações: A capacidade de ajustar o poder, velocidade, E as configurações de foco permitiram ao cliente ajustar a gravação de vários materiais do copo.
- Valor dos acessórios: A fixação rotativa provou ser indispensável para gravar objetos cilíndricos, fornecendo uniformidade em toda a superfície.
9. Tendências futuras na gravura a laser para copos
À medida que a tecnologia evolui, A indústria de gravura a laser continua a inovar. Aqui estão algumas tendências a serem observadas em um futuro próximo:
Integração avançada de software
- AI e aprendizado de máquina: Futuros sistemas de gravação podem incorporar a IA para otimizar os parâmetros de gravação automaticamente com base no tipo de material e na complexidade do design.
- Design baseado em nuvem: Plataformas de software aprimoradas que permitem aos designers criar e armazenar projetos na nuvem, facilitar a colaboração e operação remota.
Tecnologia a laser aprimorada
- Maior precisão e velocidade: Espera -se que melhorias contínuas na tecnologia a laser aumentem ainda mais a precisão e a velocidade, tornando o processo de gravação ainda mais eficiente.
- Eficiência energética: Novos desenvolvimentos no gerenciamento de energia a laser podem reduzir o consumo de energia e aumentar a vida útil da fonte do laser.
Recursos de material expandido
- Novos materiais: A pesquisa sobre gravação em materiais emergentes provavelmente expandirá a gama de produtos disponíveis para personalização.
- Sistemas híbridos: Integração de vários tipos de laser (por exemplo, Co₂ e fibra) em um sistema para oferecer a máxima versatilidade para gravar diferentes materiais.
10. Dicas para maximizar o potencial do seu gravador a laser
Para aproveitar completamente o poder do seu commker Omni 1 e se destacar no negócio de gravura a laser, considere as seguintes dicas:
Otimize seus arquivos de design
- Gráficos de alta resolução: Sempre use alta resolução, Designs baseados em vetores para obter melhores resultados.
- Teste designs diferentes: Experimente vários elementos de design para entender como eles se traduzem em diferentes materiais.
Treinamento regular e aprimoramento de habilidades
- Workshops e seminários: Participe de workshops do setor para se manter atualizado com as mais recentes técnicas de gravura.
- Recursos online: Utilize tutoriais, webinars, e cursos on -line para melhorar continuamente suas habilidades.
Monitore seu processo de produção
- Controle de qualidade: Implementar medidas estritas de controle de qualidade para garantir que todos os produtos gravados atendam aos seus altos padrões.
- Feedback do cliente: Reunir regularmente feedback dos clientes para refinar seu processo e melhorar a qualidade do produto.
Invista em manutenção
- Limpeza programada: Limpe regularmente a óptica e os componentes da sua máquina a laser para manter o desempenho ideal.
- Manutenção preventiva: Substitua as peças desgastadas antes que elas não evitem o tempo de inatividade da produção.
11. Integração do Commker Omni 1 no seu negócio
Para aqueles que desejam expandir suas operações ou entrar no negócio de gravuras a laser, Integração do Commker Omni 1 pode ser um divisor:
Simplificar a produção
- Fluxos de trabalho automatizados: Use os recursos de automação da máquina para reduzir a intervenção manual e aumentar a eficiência da produção.
- Escalabilidade: À medida que seu negócio cresce, A gravura e a confiabilidade de alta velocidade do Omni 1 permitirão que você faça pedidos maiores com facilidade.
Diversificando ofertas de produtos
- Copos personalizados: Use o Omni 1 Para criar copos personalizados, um produto popular para presentes, itens promocionais, e marca corporativa.
- Ampla gama de materiais: Aproveite a versatilidade da máquina para se expandir para gravar em metais, plásticos, vidro, madeira, e mais.
- Designs exclusivos: Combine a gravura a laser com outras técnicas de produção para criar produtos únicos que se destacam no mercado.
Marketing seu negócio de gravura a laser
- Presença online: Desenvolva uma presença on -line robusta através de um site profissional e canais de mídia social ativos.
- Estratégias de SEO: Otimize seu conteúdo para palavras -chave como "Gravador a laser para copos" para atrair mais tráfego direcionado.
- Engajamento do cliente: Use depoimentos de clientes e estudos de caso (Como os apresentados aqui) Para construir confiança e credibilidade.
12. Pensamentos finais
O ComMarker Omni 1 O gravador a laser oferece uma combinação imbatível de precisão, velocidade, e versatilidade, tornando -o um dos melhores gravadores a laser para os copos e uma ampla gama de outras aplicações. Seguindo a configuração detalhada, calibração, e procedimentos operacionais descritos neste guia, Você pode garantir que suas gravuras sejam da mais alta qualidade.
Se você é um profissional experiente ou apenas começando no negócio de gravura a laser, investindo em uma máquina de alta qualidade como a Omni 1 Não apenas melhorará seus recursos de produção, mas também abrirá novas oportunidades em design de produto personalizado. O futuro da gravura a laser é brilhante, e com as ferramentas e técnicas certas, Você pode ultrapassar os limites da criatividade e da inovação em seu trabalho.
Para instruções mais detalhadas, dicas de solução de problemas, and expert advice on maximizing your laser engraver’s potential, keep exploring our comprehensive guides and resources. With continuous learning and adaptation, you can ensure that your laser engraving business remains at the forefront of innovation.
Thank you for reading this in-depth guide on how to set up and use the ComMarker Omni 1 Laser Engraver for tumblers. We hope this article helps you harness the full potential of your machine and take your business to new heights.


