I progetti di produttori mani -her scintillano la creatività, insegnare il pensiero del design, e costruire abilità nel mondo reale. In today’s STEM‑driven classrooms, laser engraving gives students a safe, preciso, and versatile way to bring their designs to life—everything from custom bookmarks and keychains to detailed architectural models and science‑fair awards. This guide walks you through everything you need to get laser engraving up and running at your school: the benefits, safety tips, lesson ideas, lab setup, project walkthroughs, and why the ComMarker Omni 1 is the top choice for educators.
1. Why Laser Engraving in Schools?
Laser engraving blends technology, arte, and engineering—core parts of STEAM education. Here’s why it fits perfectly in any school:
- Precisione & Coerenza
Students learn CAD design and watch exact replicas roll off the machine, reinforcing the value of accuracy. - Cross‑Subject Appeal
Math (geometry), arte (graphic design), history (timeline plaques), and science (prototype parts) all come together. - Career Prep
Hands‑on experience with industry‑standard gear gets students ready for careers in manufacturing, architecture, and design. - Engagement
Seeing a digital design become a real object captivates students and boosts motivation.
And the ComMarker Omni 1 delivers all this with user‑friendly controls and rock‑solid reliability.
2. Educational Benefits & Curriculum Integration
2.1 STEAM Learning Goals
Laser engraving covers all five STEAM areas:
- Science: Material properties, light‑matter interaction, heat transfer
- Technology: CAD software, machine operation, digital fabrication
- Engineering: Tolerances, fit and finish, prototyping
- Arte: Graphic design, tipografia, composizione
- Math: Measurement, scaling, geometry, ratios
2.2 Cross‑Curricular Project Ideas
- History: Engrave a timeline of local events on wood or acrylic.
- Language Arts: Create personalized bookplates with student poetry.
- Environmental Science: Make seed‑paper coasters students can plant later.
- Business Studies: Run a mock “school store” selling engraved merchandise.
2.3 Building 21st‑Century Skills
- Critical Thinking: Tweaking designs and laser settings.
- Collaboration: Team‑based project planning and execution.
- Creativity: Customizing each student’s design.
- Digital Literacy: Mastering LightBurn or EZCad2 and file prep.
3. La sicurezza prima di tutto: Best Practices for Your Laser Lab
Safety is non‑negotiable. Follow these guidelines to keep everyone protected:
3.1 Lab Setup
- Ventilazione: Install an exhaust hood or air purifier to clear fumes (especially when cutting plastics).
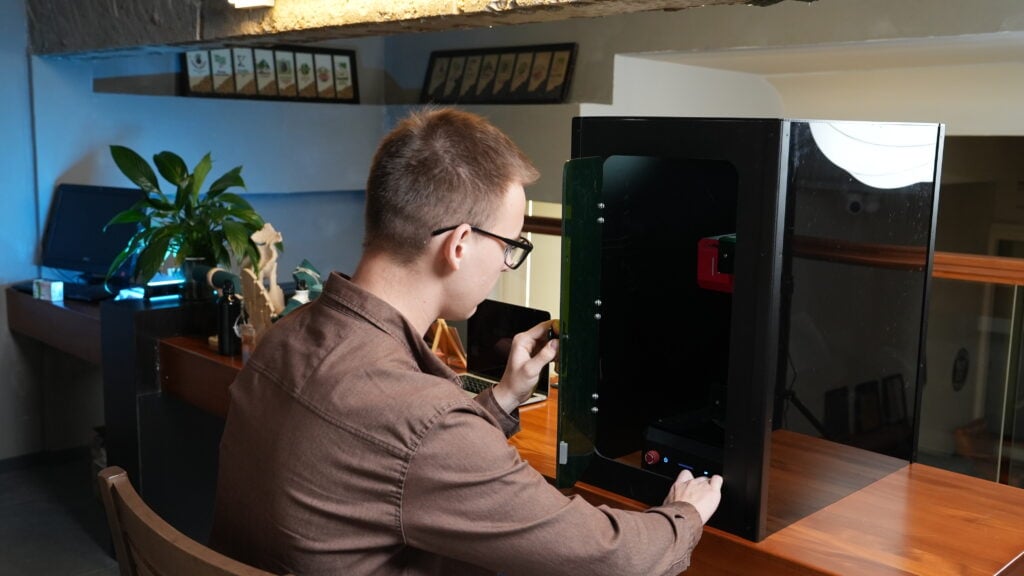
- Allegato: The Omni 1’s enclosed chamber keeps stray beams and debris contained.
- Sicurezza antincendio: Keep a Class A/B fire extinguisher handy.
3.2 Equipaggiamento per la protezione personale (DPI)
- Laser Safety Glasses: Provide wavelength‑specific goggles (355 nm for Omni 1).
- Gloves: Nitrile gloves for handling certain materials.
- Dust Masks: For sanding or post‑engraving cleanup.
3.3 Operational Protocols
- Supervision: Only trained staff should run the laser. Students can load/unload under close supervision.
- Emergency Stop: Show students how to hit the E‑stop and power down safely.
- Limitazioni sui materiali: Ban PVC, vinyl, and chlorine‑containing plastics that release toxic gases.
4. Why the ComMarker Omni 1 Is the Perfect Classroom Laser
Not all lasers work in a school setting. You need safety, affidabilità, e facilità d'uso:
4.1 Caratteristiche principali
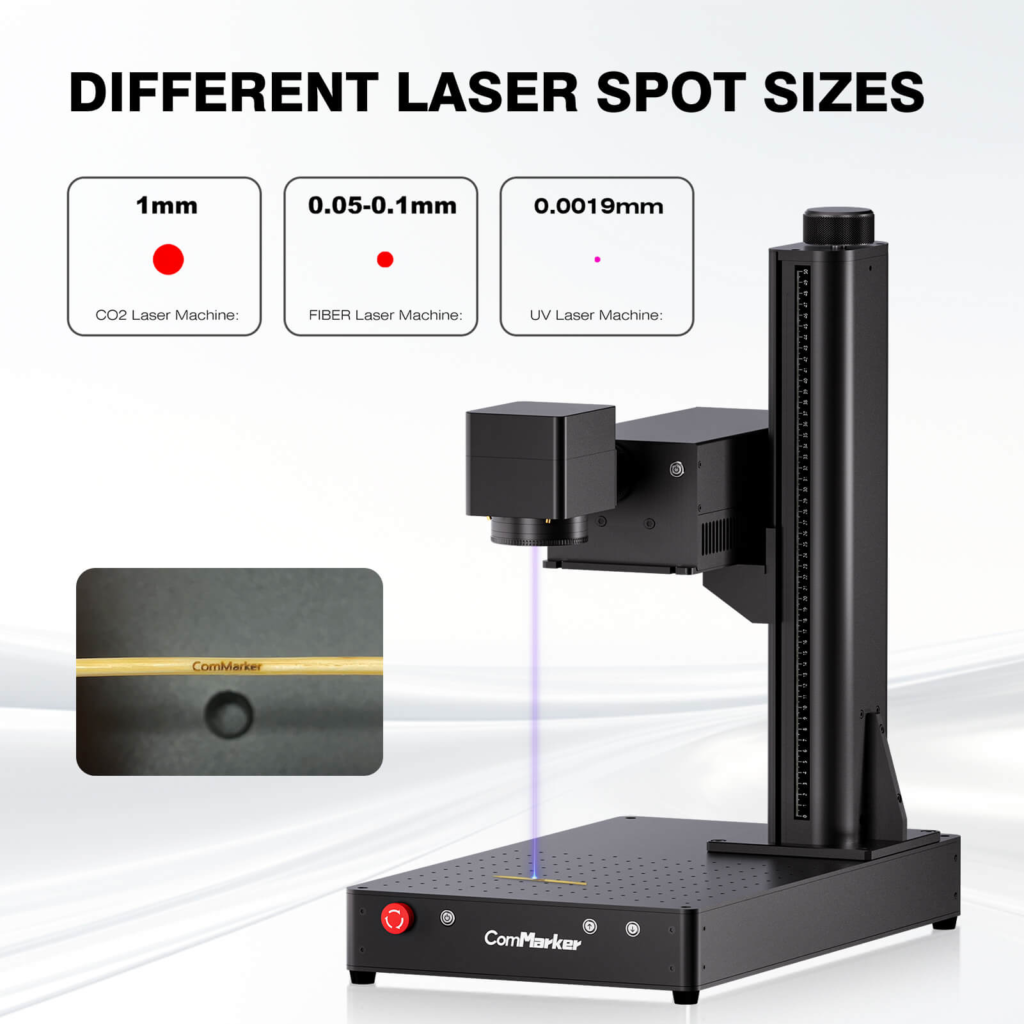
- ZeroBurn™ UV Fiber Laser: Cold engraving prevents scorching delicate materials like paper‑thin wood or plastics.
- 16K HD Resolution: 0.001 mm accuracy for crisp text and fine details.
- SpeedMax™ 10,000 mm/s: Engrave class‑sized batches in minutes.
- Auto‑Focus & Electric Z‑Axis: One‑button focus makes it foolproof for students.
- Enclosed Chamber & Safety Interlocks: Class 1 laser—no accidental exposure.
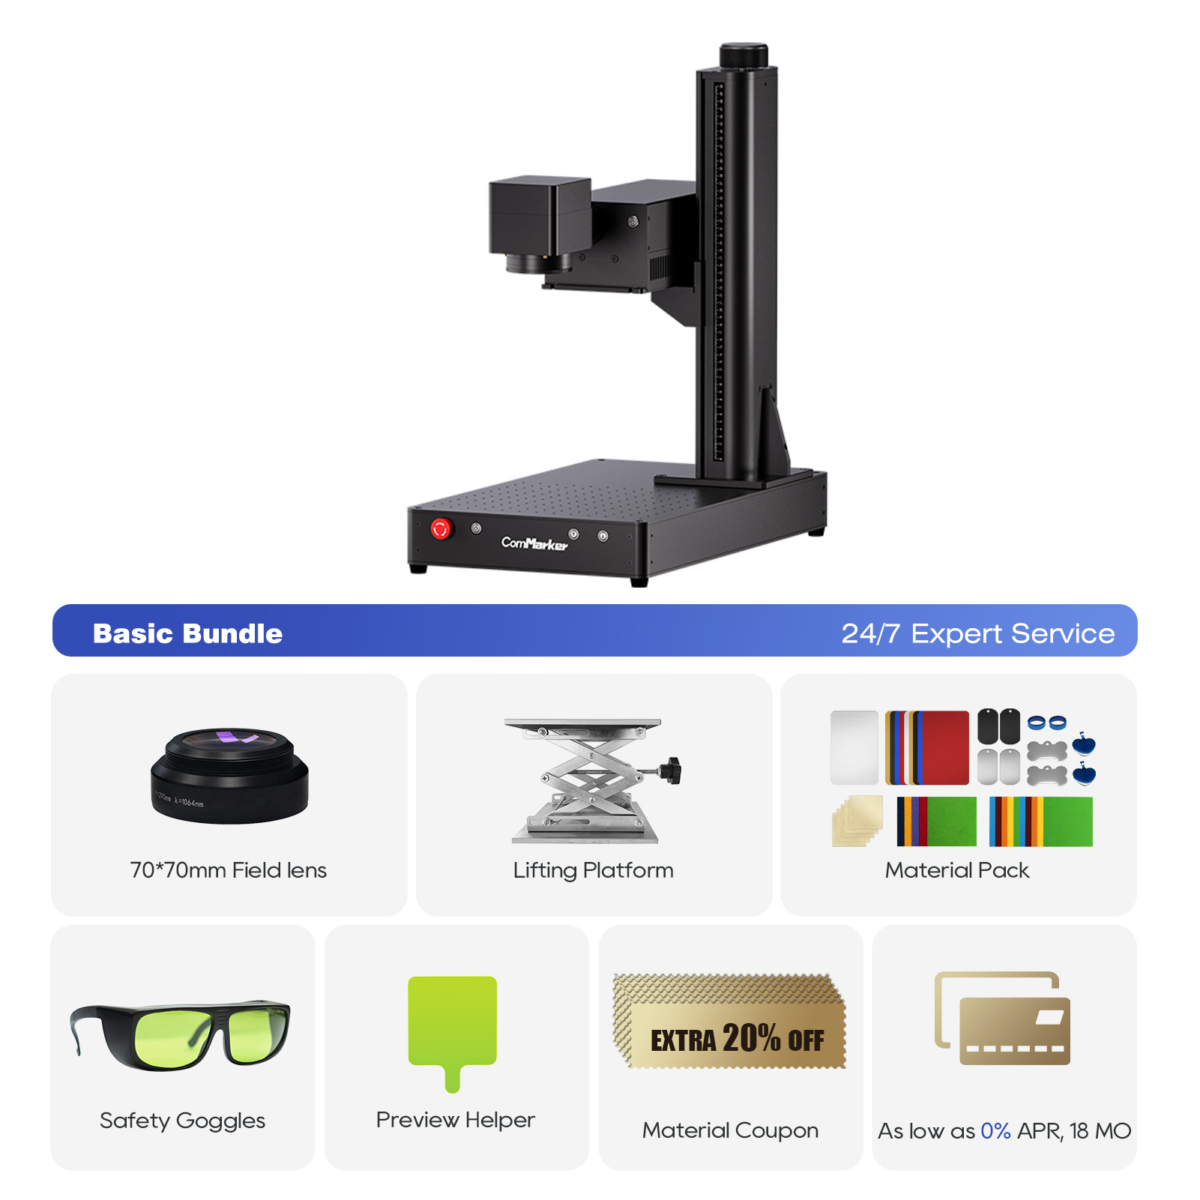
- Dual Lenses: Switch between a 70×70 mm lens for micro‑details and 150×150 mm for larger projects.
4.2 Compatibilità software
- LightBurn: Intuitive interface, built‑in tutorials, and auto‑nesting to maximize material use.
- EZCad2: Deep parameter control for advanced classes.
4.3 Ready‑to‑Go
- Plug‑and‑Play Setup: Have your first class engraving in under 30 minutes.
- Built to Last: Industrial‑grade components handle daily school use.
- Top‑Notch Support: Lesson plans, tutorials, and responsive tech service.
5. Setting Up Your Laser Engraving Lab
5.1 Disposizione & Furniture
- Dedicated Space: A corner or room with minimal foot traffic.
- Sturdy Workbench: Rated for 23 kg plus vibration.
- Secure Storage: Lockable cabinets for materials, DPI, and tools.
5.2 Energia & Networking
- Electrical: Single‑phase 110–240 V outlet, properly grounded.
- Data: USB or Ethernet connection to teacher’s computer; Wi‑Fi optional.
5.3 Air Management
- Exhaust Hood: Vented to the outside for fume removal.
- Filtration: HEPA and activated‑carbon filters for indoor air quality.
6. Core Projects & Lesson Plans
Here are four scaffolded projects—each builds on the last. Add discussion prompts, peer reviews, and reflection activities to deepen learning.
6.1 Introductory: Custom Name Tags (Grades 6–8)
Competenze: Basic vector design, focus adjustment
Materiali: 3 mm birch plywood (100×50 mm), painter’s tape
Passi:
- Progetto: Create a nameplate vector with text + icona.
- Mask & Load: Apply tape to prevent burn marks.
- Impostazioni: 20% energia, 200 mm/s, 300 DPI.
- Incidere & Finish: Sand edges, compare designs.
- Reflect: Discuss how font choice and line thickness affect outcome.
6.2 Intermediate: Geometry Art (Grades 9–10)
Competenze: Geometric transformations, negative space
Materiali: 5 mm acrylic sheets (150×150 mm), transfer tape
Passi:
- Math Lesson: Teach rotation, reflection, translation.
- Progetto: Generate tessellation patterns in CAD.
- Incidere & Cut: 30% energia, 400 mm/s engraving; 60% energia, 100 mm/s cutting.
- Assemble: Layer colored acrylic for 3D effect.
- Critique: Evaluate symmetry and assembly precision.
6.3 Avanzato: Architectural Models (Grades 11–12)
Competenze: Scale modeling, tolerance analysis
Materiali: 2 mm basswood, balsa wood supports
Passi:
- Blueprint Import: Scale CAD plans to 1:100 in LightBurn.
- Test Joints: Laser‑cut small‑scale samples to check fit.
- Full Build: Cut all pieces and assemble with glue.
- Present: Explain design choices and material performance.
6.4 Cross‑Curricular: Historical Timelines (All Grades)
Competenze: Ricerca, visual storytelling
Materiali: 6 mm MDF board (300×100 mm), colored acrylic overlays
Passi:
- Ricerca: Compile key dates and images.
- Disposizione: Design timeline with text and icons.
- Incidere: 25% energia, 300 mm/s.
- Display: Mount on the wall; students share historical insights.
7. Assessing Student Work
Use rubrics that cover:
- Design Quality: Vector accuracy, layer use
- Technical Skill: Focus sharpness, burn consistency
- Creativity: Originality and aesthetics
- Teamwork & Reflection: Peer feedback and self‑evaluation
8. Managing Materials & Bilancio
| Item | Unit Cost | Class of 20 Costo |
|---|---|---|
| Birch plywood blank | $0.50 ea | $10 |
| Acrylic sheet | $2.00 ea | $40 |
| Painter’s tape | $5/roll | $5 |
| ComMarker Omni 1 | $4,499 | N / A |
Budget Tips
- Buy large sheets and cut your own blanks.
- Recycle offcuts for small projects.
- Seek STEM grants to fund equipment purchases.
9. Engaging the School Community
- Open House Demos: Let parents and administrators try the laser.
- After‑School Club: Launch a “Laser Lab Club” for interested students.
- Local Press: Invite local news to cover your innovative STEAM program.
10. Risoluzione dei problemi & Manutenzione
Quotidiano: Clean the lens with isopropyl alcohol; check exhaust.
Common Fixes:
- Light Engrave: Increase power or slow speed.
- Burn Marks: Reduce power, add masking tape.
Annual: Replace filters; check belt tension and mirror alignment.
11. Beyond the Classroom: Competitions & Maker Faires
- Science Fairs: Offer engraved trophies.
- Maker Faires: Exhibit student creations.
- STEM Contests: Submit prototypes for national competitions.
12. Growing into a School Makerspace
- Community Access: Open your lab to local makers after school.
- Weekend Workshops: Teach engraving basics to parents and alumni.
- Local Business Partnerships: Produce custom signage or awards.
13. Next Steps
Laser engraving turns your classroom into a vibrant makerspace where art, ingegneria, and entrepreneurship collide. IL ComMarker Omni 1 delivers the precision, sicurezza, and ease of use schools need. Start with simple name tags, progress to complex models, and watch your students gain 21st‑century skills—and maybe even launch their own side ventures.
Get Started Today:
- Apply for STEM grants or allocate funds for your Omni 1.
- Pilot a single project in your next unit.
- Collect feedback and expand across disciplines.
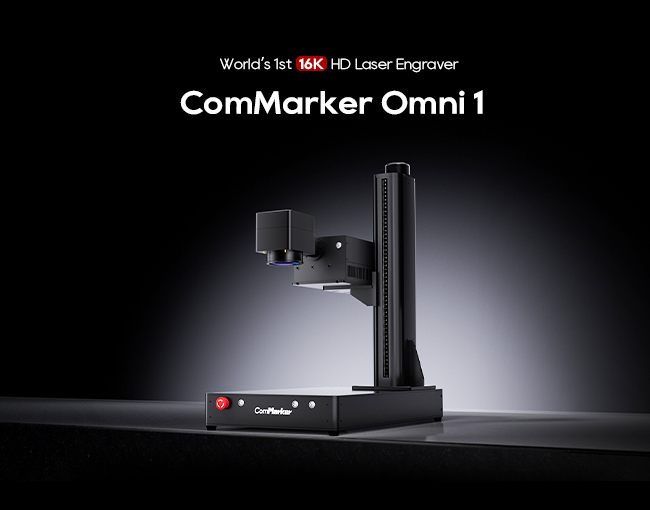
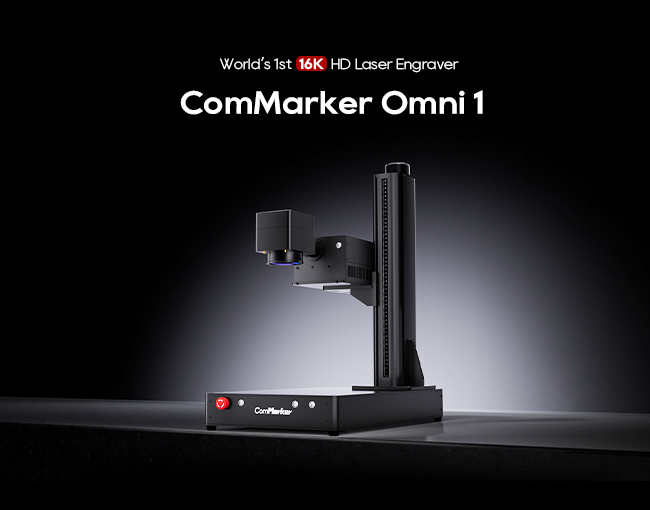
ComMarker Omni 1 Incisore laser
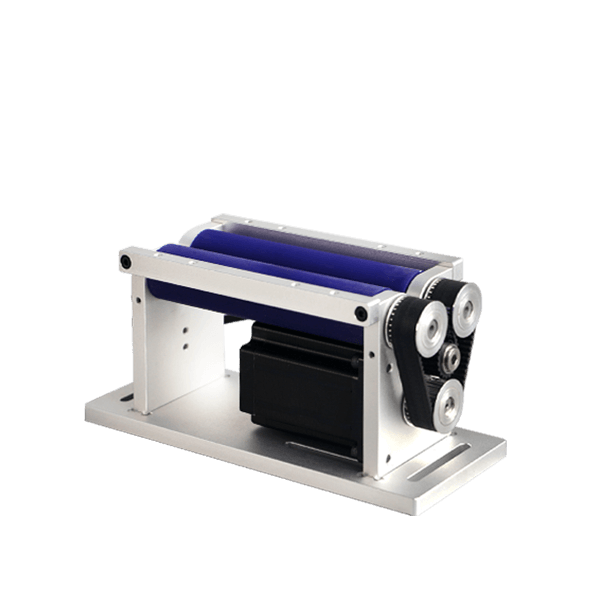
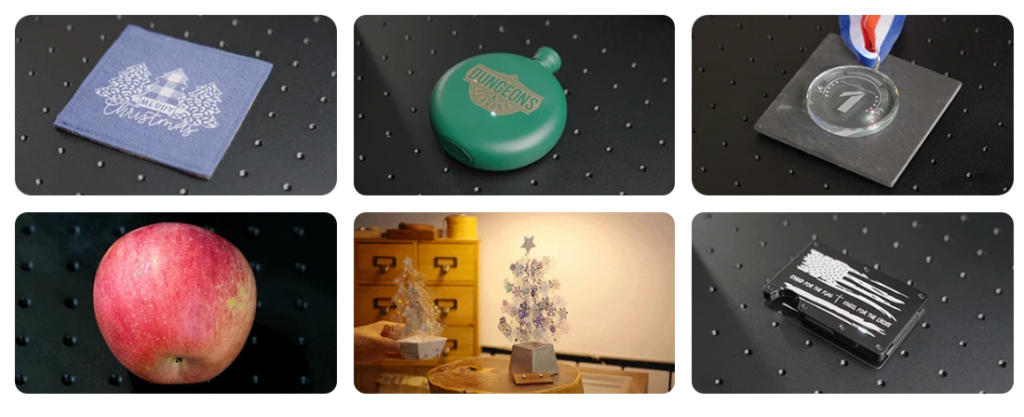
Laser di nuova generazione per sbloccare tutti i materiali. Tecnologia di incisione ZeroBurn™ Il primo incisore laser HD 16K al mondo Sistema di incisione SpeedMax™ da 10.000 mm/s Sblocca tutto il materiale con il laser UV Tecnologia termica ColdFront™ Sollevamento elettrico con 2 Lenti opzionali compatibili con EZCAD e il sistema di incisione rotativa a 360° LightBurn
14. Domande frequenti
Q1: What maintenance does the Omni 1 require?
UN: Weekly lens cleaning, monthly calibration, annual filter changes.
D2: Can younger students use it?
UN: Yes—under close adult supervision and with proper PPE.
Q3: How do I tie projects into other subjects?
UN: Use engraving for math models, history timelines, art compositions, and science prototypes.
Q4: What’s the cost per student project?
UN: Roughly $0.50–$2.00 for materials plus class time.


