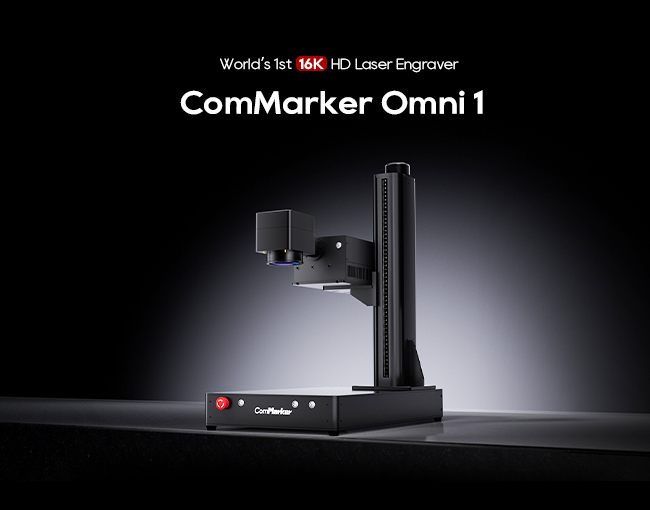
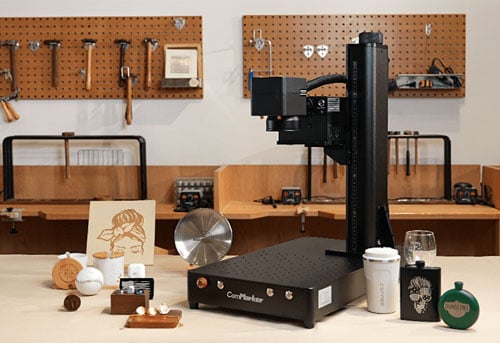
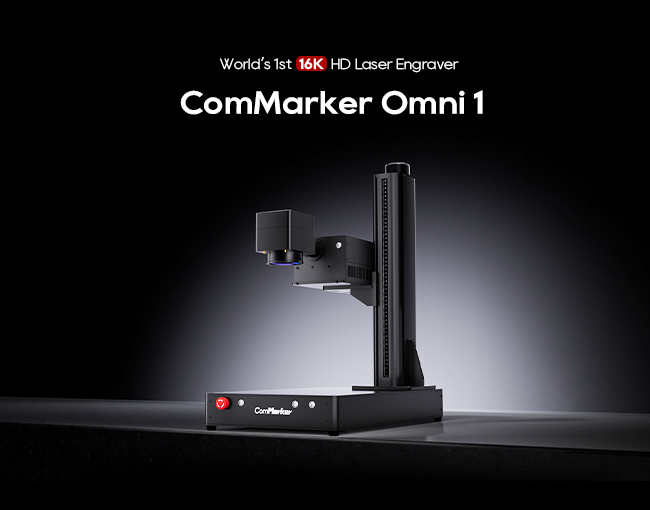
Incisori laser UV, come l'Omni 1, sono strumenti potenti per la creazione precisa, incisioni dettagliate. Con Laser UV, we’re dealing with short wavelengths, usually in the range of 355 nm, which gives them the ability to work with fine detail on materials like wood. Tuttavia, achieving the desired depth requires careful control over factors such as power, velocità, and the material’s properties.
1. Understanding Wood Types and How They Affect Engraving Depth
Different types of wood have unique textures, grain densities, and compositions, which directly impact engraving depth and appearance. Let’s go over a few common wood types and how they interact with Incisione laser UV.
- Legni duri (per esempio., Oak, acero, Walnut): Known for their density, hardwoods tend to resist deep engraving, requiring higher power settings and slower engraving speeds. Hardwoods produce clear and crisp engravings but may need more passes to achieve significant depth.
- Legni teneri (per esempio., Pine, Cedar): Softer in texture, these woods require less power and may engrave deeply more easily. Tuttavia, due to their lighter grain density, achieving consistent depths can be challenging, as the laser may sometimes over-burn areas.
- Exotic Woods (per esempio., Teak, Ebony): These can have varying densities and natural oils that react differently to UV laser light. High-density exotic woods like ebony may need slow speeds and high power to achieve depth without charring.
2. Key Factors for Adjusting Engraving Depth
Con il Omni 1 UV laser engraver machine, engraving depth control relies on adjusting three primary factors:
- Energia: The power setting of the laser influences how much energy is delivered. Higher power settings can increase depth but may cause charring if not balanced with other factors.
- Velocità: Engraving speed determines how long the laser interacts with the wood’s surface. Slower speeds allow for deeper engraving by exposing the wood to the laser for a longer period.
- Passa: Multiple passes can be used to achieve incremental depth without overwhelming the material. This approach minimizes charring and helps maintain detail.
Each type of wood may require a unique combination of these factors to achieve the ideal engraving depth.
3. Step-by-Step Guide to Deep Engraving with the Omni 1 Incisore laser UV
This guide provides a detailed approach to fine-tuning the Omni 1 settings to get deep engravings on various types of wood.
Fare un passo 1: Select and Test the Wood Type
Start by selecting the wood and testing a small area. Note that each wood type will respond differently, so testing helps you understand how the material reacts to different settings.
Fare un passo 2: Set Initial Power and Speed
For hardwoods, consider beginning with high power (in giro 80-90% of the Omni 1’s capacity) and slower speeds (Di 200-300 mm/min). For softer woods, start with moderate power (50-70%) and slightly faster speeds.
Fare un passo 3: Adjust Passes for Desired Depth
After an initial pass, inspect the engraving depth. Per incisioni più profonde, additional passes are necessary. Between passes, clean the surface to remove residue and prevent buildup, which can interfere with further passes.
Fare un passo 4: Monitor for Charring and Adjust Accordingly
UV lasers are highly precise, but charring is possible if the wood overheats. Lower power or faster speed settings can help avoid this issue, as well as using compressed air to blow away debris.
Fare un passo 5: Final Finish and Detail Pass
Per dettagli raffinati, reduce power slightly and increase speed for a final pass to add crispness to the design’s edges. This minimizes any unwanted burning at the edges, ensuring a cleaner finish.
4. Detailed Omni 1 UV Laser Engraver Settings for Specific Wood Types
Here’s a chart with starting settings for popular wood types. These settings should be customized further based on specific design requirements.
| Wood Type | Energia (%) | Velocità (mm/min) | Number of Passes | Note |
|---|---|---|---|---|
| Oak | 80-90 | 200-300 | 3-4 | Deep engravings may need more passes. |
| acero | 75-85 | 250-300 | 2-3 | Takes longer due to density. |
| Pine | 50-70 | 300-400 | 2-3 | Lower power helps prevent charring. |
| Cedar | 60-70 | 350-400 | 2-3 | Test for soft areas, adjust passes. |
| Ebony | 85-90 | 180-250 | 3-5 | Dense, so higher power and more passes needed. |
| Teak | 80-85 | 200-250 | 3-4 | Natural oils may require additional passes. |
5. Best Practices for Optimizing Engraving Quality and Depth
- Cooling and Cleaning Between Passes: Per incisioni più profonde, clean the wood surface between passes, using compressed air to remove residue and cool the surface.
- Focus Adjustment: Adjust the laser focus if going for extreme depth. A slight adjustment between passes ensures consistent depth, as wood density can vary with each layer.
- Rivestimento protettivo: Some professionals apply a thin protective layer before engraving to prevent smoke stains and enhance contrast.
Con il Omni 1 UV laser engraver machine, achieving deep and high-quality engravings on wood is entirely achievable with a few critical adjustments. From hardwoods to softwoods, understanding the unique characteristics of each wood type and using the right settings will allow you to create detailed, professional engravings at the desired depth. Always remember to test and refine your settings based on each project’s unique requirements, and you’ll get the most out of your Omni 1 for stunning, custom engravings.


