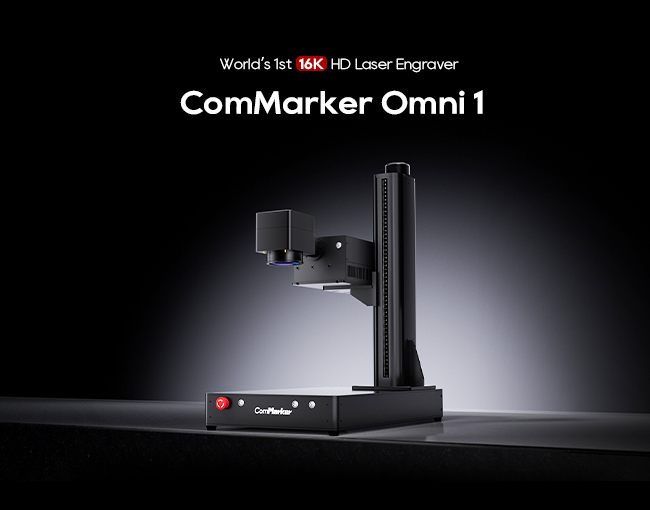
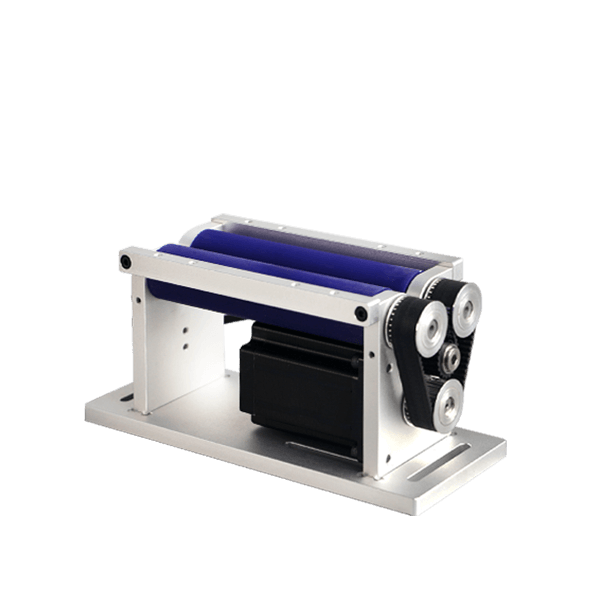
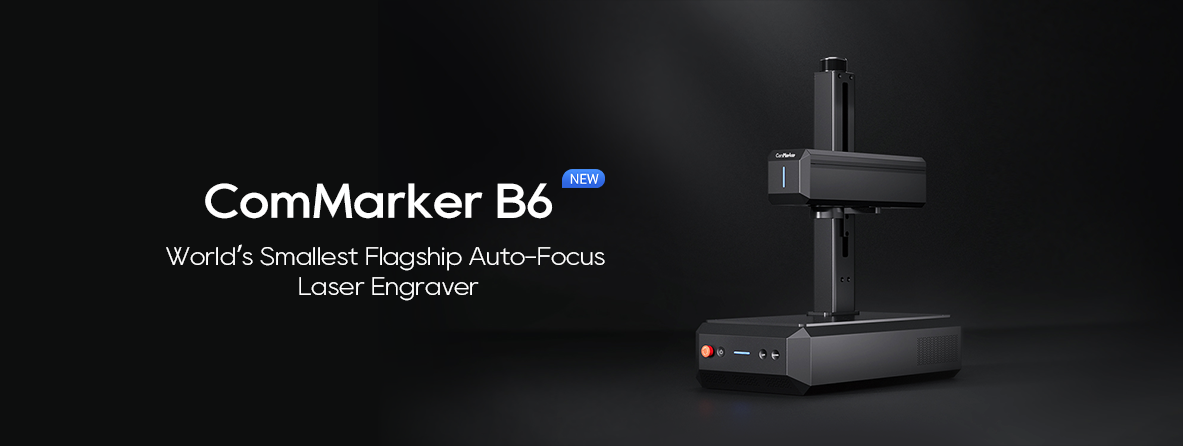
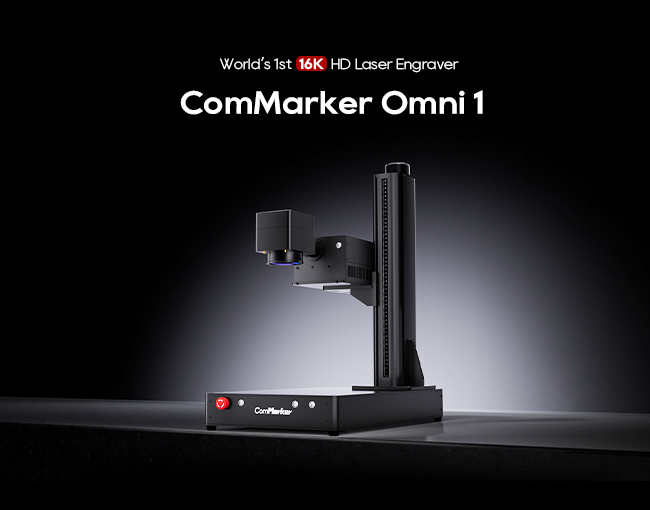
レーザー彫刻は、カスタムデザインをガラスに追加するエキサイティングな方法です, そしてその コムマーカーオムニ 1 そして ComMarket R5 are excellent tools for beginners to start creating intricate designs. This guide will walk you through the process, step-by-step, and give you a feel for the power of laser engraving!

What You Need:
- コムマーカーオムニ 1 レーザー彫刻機 また ComMarket R5 Rotary Engraving Machine
- Glass items (例えば, glass cups, photo frames, decorative glassware)
- ライトバーン ソフトウェア (for ComMarker Omni 1)
- Safety gear: protective glasses and gloves
- Design files (can be created or downloaded in vector formats like .ai or .svg)

ステップ 1: Setup and Safety First
Before starting, ensure you’re in a well-ventilated area, and always wear your safety goggles to protect your eyes from the laser. Make sure your workspace is clean, and clear from any materials that could catch fire or damage your equipment.

ステップ 2: Prepare Your Glass Item
- Clean the Glass: It’s essential to make sure the glass is free from dust, oils, or fingerprints. Use a soft cloth and some mild alcohol or glass cleaner. This ensures the laser engraving process is smooth and precise.
- Choose Your Glass: Decide on the type of glass you’d like to engrave on. Glass items with smooth surfaces work best for clear, crisp engravings. 例えば, a glass tumbler or a decorative glass piece.

ステップ 3: Setting Up the ComMarker Omni 1 or ComMarket R5
コムマーカーオムニ 1 設定:
- Install the Software: Install LightBurn software on your computer and connect your コムマーカーオムニ 1 laser engraver via USB.
- Calibrate the Laser: Make sure the laser head is properly calibrated. In LightBurn, set the focal distance for your glass by following the on-screen instructions or using the included manual. For glass engraving, a focus range of 2 to 3mm is typical.
- Adjust Speed, 力, and Frequency: Glass requires less power to engrave than metal, so for intricate designs, set the speed around 200-300mm/s, and keep the power between 30-50%. The frequency should be around 20-40 kHz to ensure a smooth engraving process.
ComMarket R5 設定:
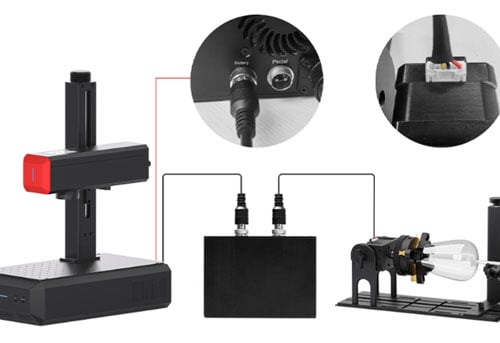
- Attach the Rotary Module: If engraving a cylindrical object like a glass tumbler, use the rotary clamp system in the ComMarket R5. This system holds the glass securely in place as the laser moves around it.
- Adjusting Parameters: ガラス用, set the engraving speed to about 250mm/s, and keep the power around 20-30% for a smooth and deep engraving. You may need to adjust the power based on the thickness and material of your glass.

ステップ 4: Upload Your Design
- Create or Choose a Design: You can create custom designs using software like Adobe Illustrator or Inkscape, or download pre-made vector files. For engraving on glass, designs with clean lines and high contrast work best.
- Import the Design into LightBurn: Open the LightBurn software and import your design. Adjust the size of your design to fit the glass item you’re working on.
- For the コムマーカーオムニ 1, を選択 “彫刻” mode and ensure the correct engraving speed and power settings are applied.
- For the ComMarket R5, ensure that the rotary clamp is properly configured to align the glass item. This ensures the laser engraves evenly around the object.

ステップ 5: Laser Engraving Process
Now that everything is set up, you’re ready to start engraving!
- Position the Glass in the Engraver: For flat glass (例えば, glass frames), simply place it on the engraving surface. For cylindrical glass (例えば, タンブラー), place it in the ComMarket R5’s rotary clamp.
- 彫刻を開始する: Hit the start button in the software. The laser will begin etching your design onto the glass. As the laser works, keep an eye on the engraving process to ensure it’s proceeding smoothly.
- Monitor the Process: During engraving, the laser will emit small bursts of energy. It’s crucial to keep an eye on the glass to make sure there are no issues like cracks or uneven engraving.
ステップ 6: 仕上げの仕上げ
彫刻が完了したら, remove the glass from the engraver and clean off any debris. Inspect the engraving for quality, paying attention to the fine details. If you’re engraving on a tumbler, be sure to check the alignment for a uniform result.
ステップ 7: オプション: Add a Color Infill
If you want to add a pop of color to your engraving, you can use special glass paints or color-fill materials. Gently apply the color to the engraved areas and wipe off any excess with a soft cloth.
Troubleshooting Tips for Beginners:
- 凹凸彫刻: If the engraving looks uneven, make sure the glass was placed flat on the engraving bed, or check the rotary system if using the ComMarket R5.
- Power Issues: If the engraving is too faint, increase the power slightly (but don’t exceed 50%).
- Cracks in Glass: If cracks appear in the glass, ensure you’re not using too much power. Glass is delicate and too much heat can cause it to crack.

Laser engraving glass with the コムマーカーオムニ 1 また ComMarket R5 is an enjoyable and rewarding experience, especially when you see the beautiful designs you can create. From glass tumblers to decorative glass pieces, both of these machines offer powerful and precise engraving capabilities for any glass engraving project. Whether you’re a beginner or a seasoned professional, these tools will help you take your engraving skills to the next level.
覚えて, with the right materials, software setup, and laser settings, you can easily engrave stunning designs on glass, making personalized gifts and custom creations that will impress anyone. 幸せな彫刻!


