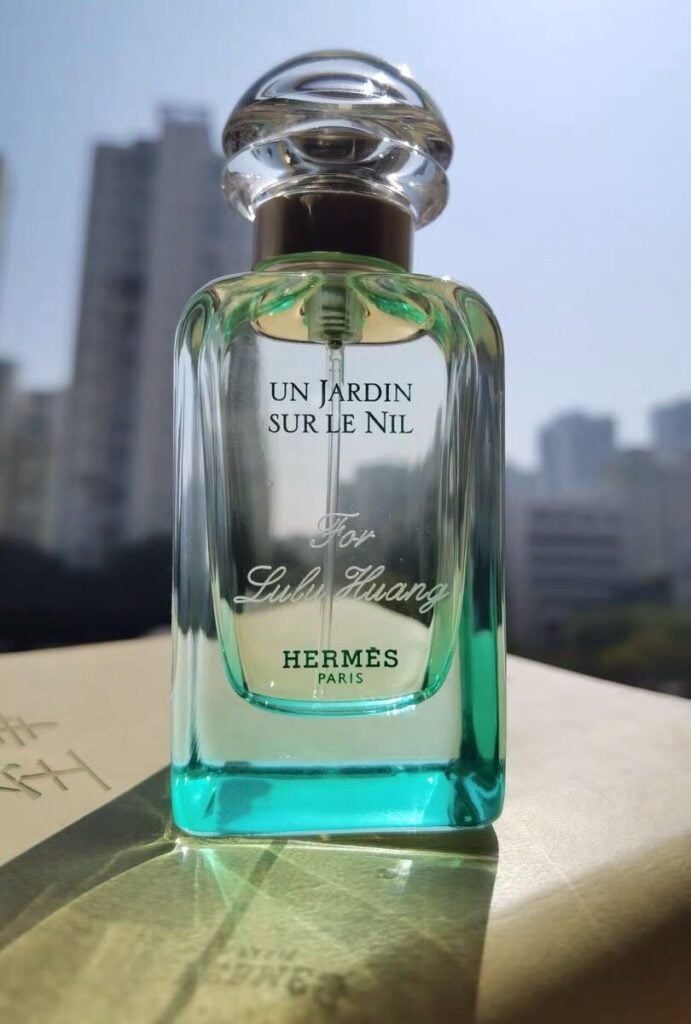
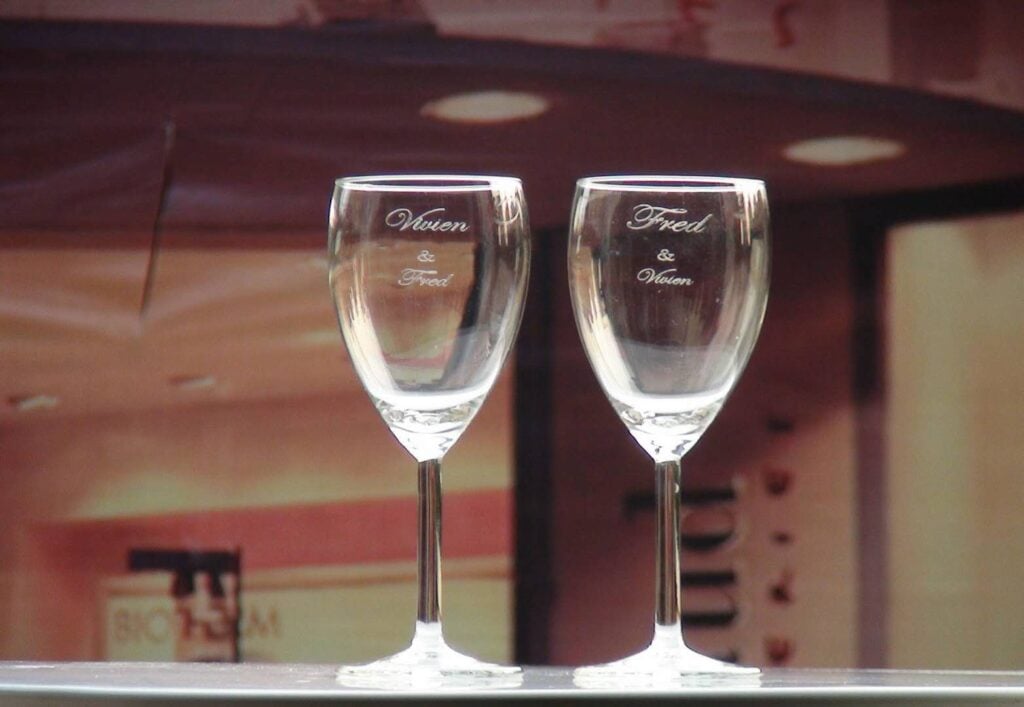
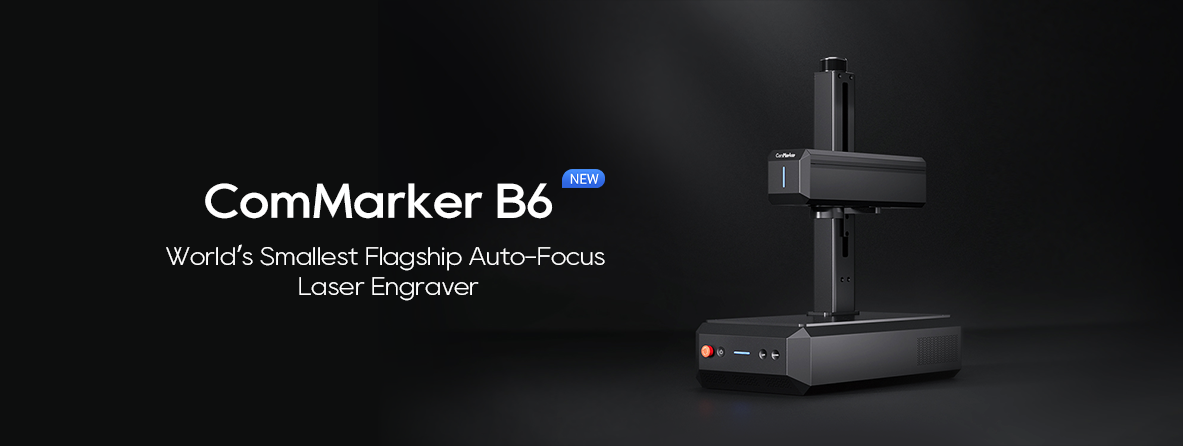
레이저 조각 유리는 초보자에게 까다로워 보일 수 있습니다., 하지만 올바른 도구와 기술을 사용하면,레이저 조각 유리 관리가 가능해진다. 시작하는 데 도움이 되는 자세한 가이드는 다음과 같습니다.:
1: 올바른 레이저를 선택하세요
유리조각용, CO2 레이저 가장 적합하다. 유리와 잘 상호작용하는 파장에서 작동합니다., 정확하고 깨끗한 조각 제공. 파이버 레이저는 이 작업에 적합하지 않습니다, 파장이 물질에 흡수되지 않기 때문에.
2: 안전 제일
항상 적절한 안전 장비를 착용하세요, 특히 눈 보호. 일지라도 CO2 레이저 동봉되어 있는 경우가 많습니다, 흩어진 반사나 부적절한 설정으로 인해 위험이 발생할 수 있습니다.. 또한, 작업 공간이 적절하게 환기되는지 확인하세요.
3: 유리 준비
각인하기 전, 유리는 있어야한다 청소됨 철저히. 먼지나 잔여물이 조각 과정을 방해할 수 있습니다., 고르지 못한 결과를 낳는다. 유리 세정제나 비누와 물을 사용하여 청소하세요.. 계속하기 전에 표면이 건조한지 확인하십시오..
열 관리를 위한 팁: 유리는 고온에서 깨지는 경향이 있습니다.. 이를 방지하려면, 유리를 한 겹으로 덮을 수 있습니다. 마스킹 테이프 또는 젖은 종이 타월. 이는 열을 발산하는 데 도움이 되며 날카로운 모서리가 부서지는 것을 방지합니다..
4: 디자인을 선택하세요
레이저와 호환되는 디자인 소프트웨어가 필요합니다, ~와 같은 라이트번, RDWorks, 또는 EZCAD. 디자인 만들기 또는 가져오기, 유리는 섬세한 소재라는 점을 명심하세요.. 섬세한 디테일이 돋보이는 디자인이 잘 어울리네요, 하지만 지나치게 조밀한 패턴은 피하세요., 골절로 이어질 수 있기 때문에.
5: 레이저 설정
- 힘: 유리는 섬세하기 때문에, 당신은 사용하고 싶을 것이다 저전력 설정. 쯤에 시작하세요 15-25% 최대 레이저 출력의.
- 속도: 속도가 높을수록 레이저가 각 영역에 소요되는 시간을 줄이는 데 도움이 됩니다., 열 축적 최소화. 목표로하다 80-100% 레이저가 너무 오래 지속되지 않도록 속도 설정.
- 집중하다: 적절한 초점이 중요합니다. 선명한 조각을 얻으려면 레이저가 유리 표면에 선명하게 초점을 맞춰야 합니다.. 유리의 두께에 맞게 레이저의 초점 렌즈를 조정하십시오..
6: 테스트 및 조정
그것은 필수적이다 스크랩 유리에 대한 테스트 실제 프로젝트를 시작하기 전에. 각 종류의 유리 (예를 들어, 소다석회 유리, 붕규산 유리, 등.) 레이저 조각과 다르게 반응합니다., 설정을 조정해야 할 수도 있습니다.
확인하세요:
- 깊이: 조각이 너무 깊지 않은지 확인하십시오., 깊은 조각은 유리의 구조를 약화시킬 수 있으므로.
- 명쾌함: 깨끗한 것을 찾아보세요, 거친 모서리나 과도한 치핑이 없는 날카로운 라인.
- 히트마크: 레이저로 인한 화상 자국이나 응력 균열이 없는지 확인하십시오..
7: 조각 과정
설정을 완료하고 나면, 마지막 조각을 조각하는 작업을 진행하세요. 레이저가 진행되도록 놔두세요, 문제가 있는지 모니터링할 수 있도록 근처에 있는지 확인하세요., 과도한 열 축적과 같은.
8: 완성된 작품 정리
조각 후, 표면에 잔여 먼지나 작은 유리 입자가 있을 수 있습니다.. 물과 부드러운 천으로 유리를 부드럽게 닦아주세요.. 마스킹 테이프나 젖은 종이 타월을 사용했다면, 조심스럽게 떼어내고 유리를 닦아주세요.
9: 조각 강화
각인을 하려면 팝, 에칭된 영역을 다음과 같은 재료로 채울 수 있습니다.:
- 아크릴 페인트 색상에 대한.
- 에나멜 세련된 룩을 위해.
- 분필 또는 분말안료 더 부드러운 것을 위해, 질감 있는 외관.
일반적인 문제 및 해결 방법:
- 균열: 레이저 출력을 낮추거나 속도를 높이세요. 마스킹 테이프와 같은 열 관리 기술을 사용하세요..
- 고르지 못한 조각: 유리가 평평하고 레이저의 초점이 제대로 맞춰졌는지 확인하세요..
- 거친 가장자리: 전원 설정을 약간 낮추거나 다른 유리 유형으로 테스트해 보세요..
올바른 준비와 설정으로, 유리에 레이저 조각을 하면 놀라운 디자인을 얻을 수 있습니다.. 권력의 적절한 균형을 찾는 것이 중요하다, 속도, 그리고 집중. 연습하다 보면, 이 섬세한 소재에 완벽한 조각을 얻기 위해 설정을 조정하는 데 더 익숙해질 것입니다..


