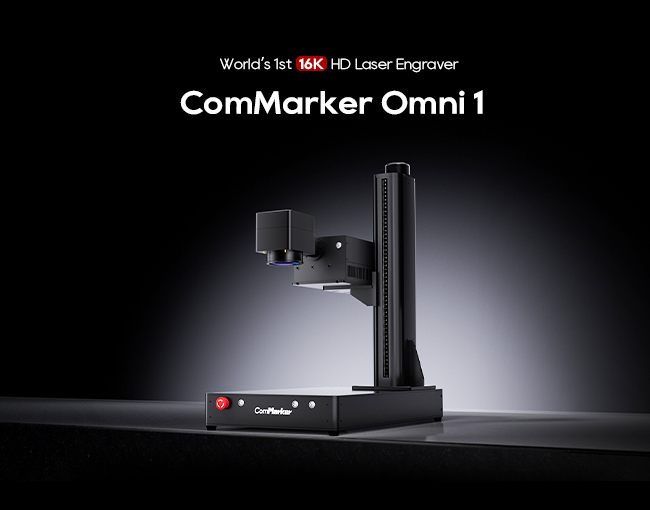
If you’ve recently picked up the ComMarker 레이저 조각기 and aren’t quite sure how to get started, 당신은 혼자가 아닙니다. A lot of new users—especially hobbyists and small business owners—aren’t sure how to go from unboxing to engraving that first beautiful piece.
That’s why we at ComMarker put together this in-depth, easy-to-follow guide. 나무로 작업을 하든, 아크릴, 가죽, 금속, or even polished stone, this step-by-step tutorial will walk you through exactly what you need to know to use your ComMarker like a pro.
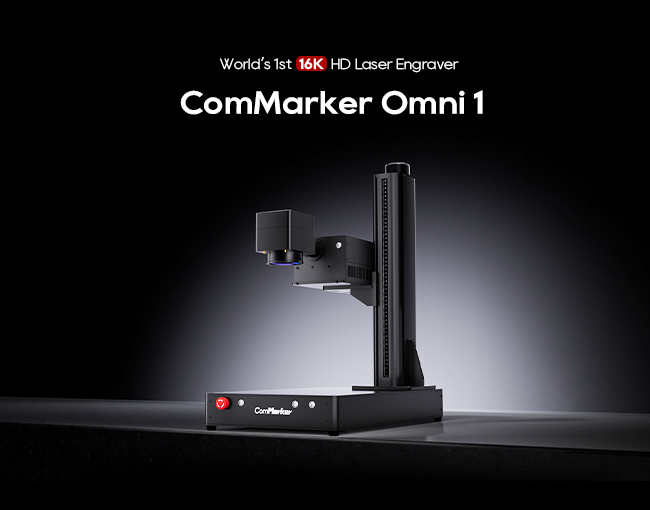
🔧 부분 1: Getting Started with the ComMarker Omni 1
조각을 시작하기 전에, let’s walk through setup and software installation.
✅ 1.1 Initial Setup
Here’s how to get your engraver and software ready to go:
- Visit the Official ComMarker Website
Go to https://www.commarker.com and create your free account.
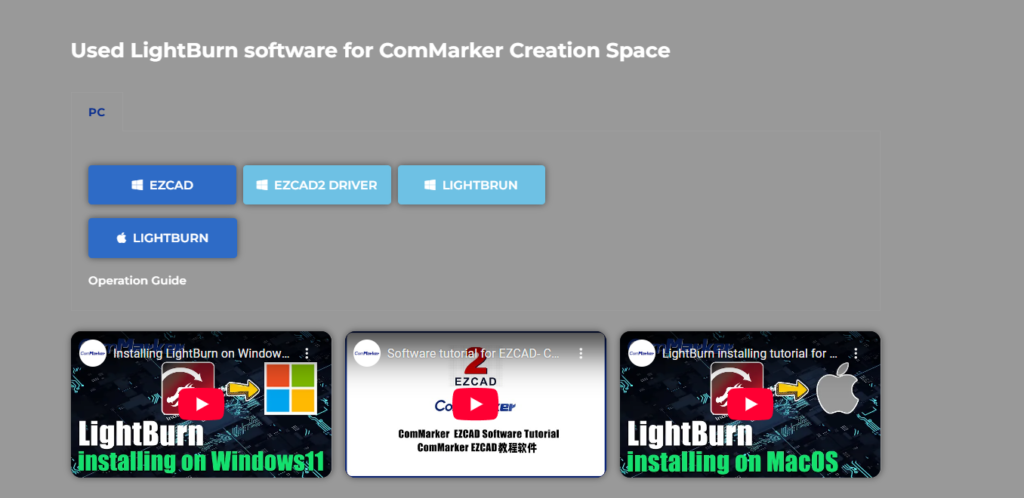
Verify your email and login. - Download Software
Head over to the “Download Center” section on the website.
Download with 라이트번 소프트웨어. - 소프트웨어를 설치하십시오 & Reboot
Run the installer. After installation, restart your PC to ensure the driver is fully recognized. - 기계 연결
Use the USB cable to connect your ComMarker Omni 1 to your computer. Make sure the laser engraver is powered on.
Once everything’s connected, open LightBurn—you’re ready to start designing.
🖼️ 1.2 Importing Your Design
LightBurn makes it easy to bring your design to life. 방법은 다음과 같습니다:
- Open 라이트번, then click on File → Import.
- Choose a supported file format such as SVG, DXF, PNG, 또는 BMP.
- Drag your artwork onto the design canvas.
- 크기를 조정하십시오, reposition, or rotate the design as needed to fit your target material.
팁: 최상의 결과를 얻으려면, use high-resolution or vector-based designs to maintain crisp details during engraving.
⚙️ 1.3 재료 & 레이저 설정
Now that your design is loaded, it’s time to fine-tune the laser settings:
- On the right side of LightBurn, find the Processing Parameters panel.
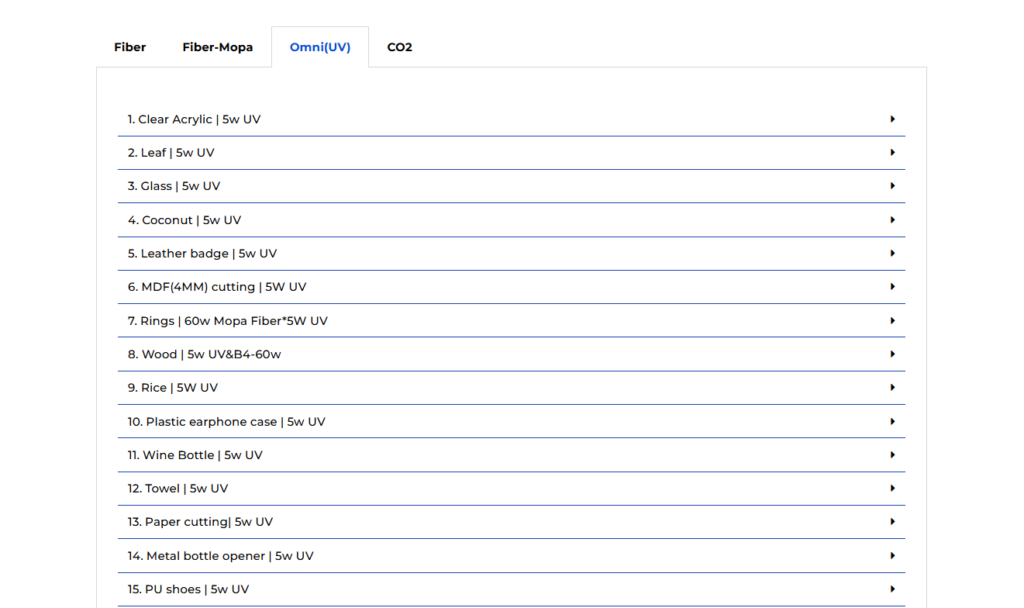
- Choose your material type (예를 들어, 목재, 아크릴, 가죽, 등.).
- Adjust settings like:
- 전원 출력 (%): Controls engraving depth
- 속도 (밀리미터/초): Affects detail and burn rate
- 빈도 (kHz): Used more for metal and stone engraving
- 딸깍 하는 소리 “Focus Calibration” to auto-focus the laser—or manually adjust the Z-axis for a sharp focus point.
Need help dialing in the right settings? ComMarker’s website has downloadable material preset templates to help you get started.
▶️ 1.4 테스트 실행 & 조각
Before you hit “Go,” it’s always smart to run a dry test:
- 딸깍 하는 소리 “Preview Path” to see how the laser will move across your material.
- 딸깍 하는 소리 “Dry Run” (no laser fire) to make sure your laser head clears the material without collisions.
- When ready, 딸깍 하는 소리 “Start Engraving” and let the Omni 1 do the magic.
- Once done, turn off the laser and safely disconnect the USB cable.
Congratulations—you’ve just completed your first engraving job with the ComMarker Omni 1!
🪵 부분 2: Deep Engraving on Metal & 결석
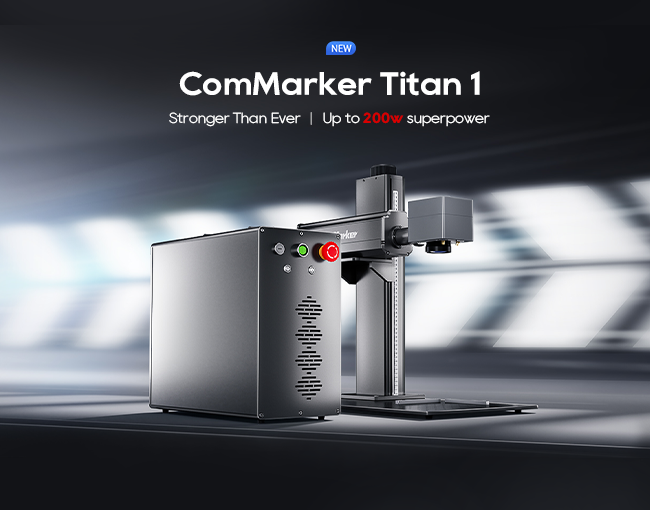
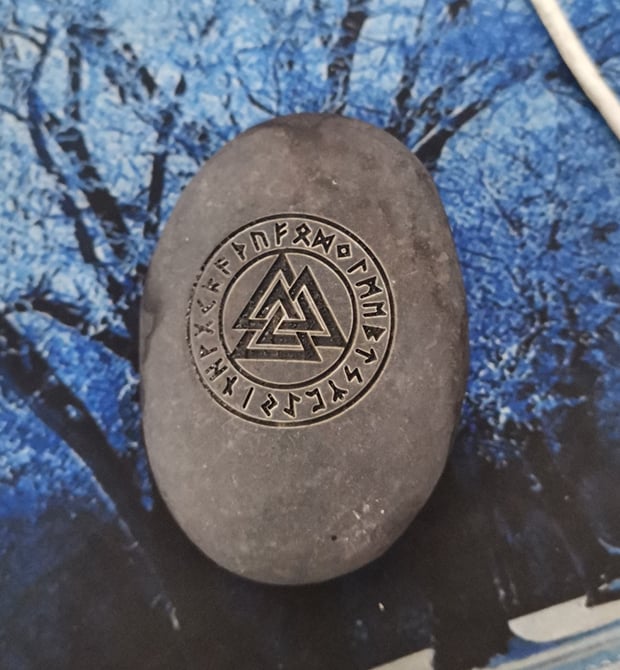
When you’re ready to move beyond wood or acrylic, the Titan 1 can tackle deeper, more durable materials like 금속 그리고 결석. Here’s how to handle advanced projects with confidence.
🧩 2.1 올바른 재료 선택 & 부속품
- 금속용:
사용 special coated metal sheets or apply a laser marking spray (like CerMark or Brilliance). This enhances contrast and engraving depth. - For Stone:
Choose polished granite or marble with a clean, dry surface. Avoid cracked or uneven textures for best results.
⚙️ 2.2 Fine-Tuning the Settings for Depth & 명쾌함
For deeper or more durable materials, your laser needs extra precision and power:
🔩 Metal Engraving Settings
- 힘: 80–100%
- 속도: 200–300 mm/s
- 빈도: 25–35 kHz
- 패스: 1–2 depending on desired contrast
🪨 Stone Engraving Settings
- 힘: 90–100%
- 속도: 100–150 mm/s
- 빈도: 20–30 kHz
- 패스: 3–5, engraving just 0.1–0.2 mm deep per pass for best texture and finish
💡 Tip: With both metal and stone, less is more. It’s better to make multiple shallow passes than a single deep cut, which can crack or distort your material.
🔄 2.3 Repeat Scans & Aftercare
After your first engraving pass:
- Inspect the piece for depth and clarity.
- 필요한 경우, adjust the power or speed and run a second or third pass.
After the final pass:
- 금속: Wipe down with isopropyl alcohol. You can also apply anti-rust spray or sealant to preserve the finish.
- 결석: Use a soft-bristle brush to clean off dust. Apply stone polish to bring out the natural sheen and protect the surface.
💬 Final Thoughts
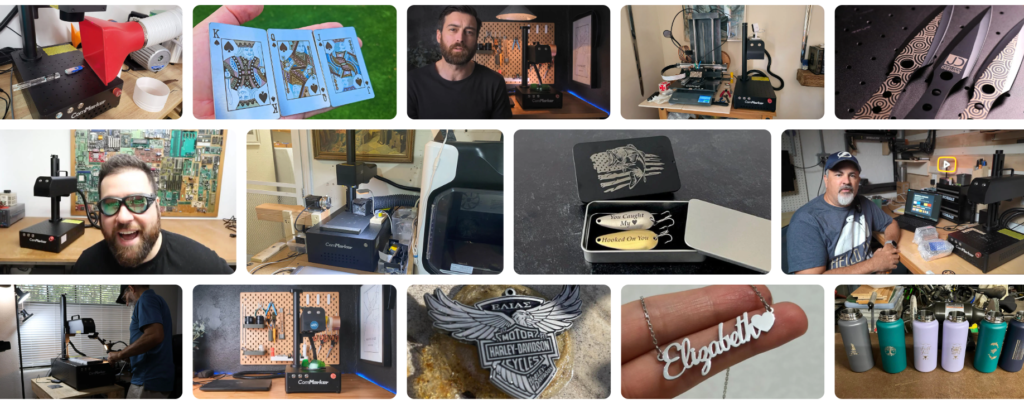
With the right setup and a little practice, 그만큼 ComMarker 레이저 조각기 can handle just about any material you throw at it—from wood and acrylic to deep metal marking and stone etching.
If you’re ever stuck or unsure, don’t hesitate to reach out. 그만큼 컴마커 support team is ready to help with one-on-one assistance, project tips, and technical support. Whether you’re launching a side hustle, making gifts, or bringing laser tech to the classroom—this is your machine to make it happen.
🔧 Ready to dive in? Start your creative journey with ComMarker today!
Need help? Contact the 컴마커 support team for step-by-step assistance, 문제 해결, or project consultations.


