If you’re a laser engraver owner using 라이트번, chances are you’re only scratching the surface of what this powerful software can do. Whether you’re running a side hustle from your garage or managing a small production line, optimizing your workflow in LightBurn means saving time, reducing errors, and ultimately boosting profits.
Here are 7 proven tips to help you master LightBurn and seriously speed up your laser engraving workflow.

1. Use Layers Like a Pro
LightBurn lets you assign different settings (힘, 속도, 패스 수, 등.) to different layers, each color-coded for clarity.
Why it matters:
Instead of running separate jobs for engraving and cutting, you can run everything in one go. Want to engrave text and cut an outline? Assign them to different layers and adjust settings accordingly.
🛠️ Quick Tip: Use red for engraving, blue for scoring, and black for cutting — or set your own color workflow.

2. Enable Fast Preview to Catch Mistakes Early
그만큼 Preview tool isn’t just for show — it’s one of the most important time-saving features in LightBurn.
Why it matters:
It simulates the job and shows estimated time, paths, and potential issues before you start engraving. This helps you catch missed vectors, overlapping lines, or misplaced text.
💡 팁: Turn on “Show Traversal Moves” to see where your laser head travels when it’s not firing. Optimizing those can shave minutes off big jobs.
3. Use “Start from Current Position” for Quick Re-Runs
When doing one-off items or alignment tweaks, 사용 “Start From: Current Position” to avoid rehoming or re-aligning the entire job.
Use case:
You ran a job and something went wrong midway (tape shifted, power hiccup, 등.). Re-align the laser to the last known position and resume without starting from scratch.
🚀 Time Saver: This is huge when engraving on unique or uneven materials like leather patches, 텀블러, or curved surfaces.
4. Set Up Material Libraries
Stop entering settings manually every time! LightBurn’s Material Library lets you save your tested parameters for each material and machine.
Why it matters:
Consistency is key for professional results. Whether it’s anodized aluminum, 목재, or stainless steel, you can create presets for power, 속도, 패스 수, 그리고 더.
🔧 팁: Create different libraries for each laser type — UV, 섬유, CO₂ — and label clearly by wattage.

5. Use Array and Nesting Tools for Batch Jobs
If you’re doing small production runs or duplicating tags, 그만큼 Array 그리고 Nesting tools can save tons of layout time.
Array Tool: Automatically copy objects in rows and columns.
Nesting Tool: Arrange shapes to maximize use of material and minimize waste.
📦 Real-World Use: 조각 20 metal nameplates? Use array to auto-layout and cut them all from a single sheet with equal spacing and margin.
6. Keyboard Shortcuts = Speed Boost
Learning a few hotkeys can significantly increase your speed. Here are a few to start:
Ctrl + P→ Send to LaserAlt + L→ PreviewCtrl + G→ Group itemsCtrl + Shift + G→ UngroupAlt + R→ Start from last position
🎯 Hot Tip: You can also customize shortcuts under 설정 > Hotkeys to match your workflow style.
7. Use LightBurn Bridge or Camera for Perfect Alignment
If your laser supports it, install the LightBurn Camera or use LightBurn Bridge for remote control and real-time object placement.
Why it matters:
You can align graphics directly over irregular or pre-cut items like tumblers, wood coasters, or metal blanks. No more guessing or wasting materials.
📸 가장 좋습니다: Engraving pre-painted signs, logos on custom gear, or when every millimeter counts.
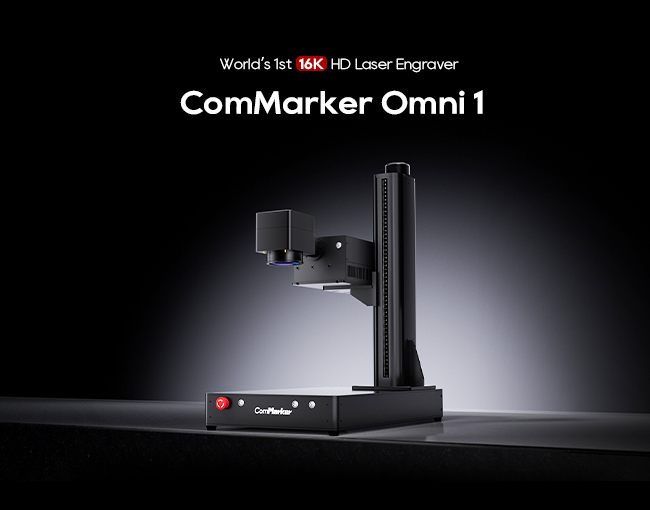
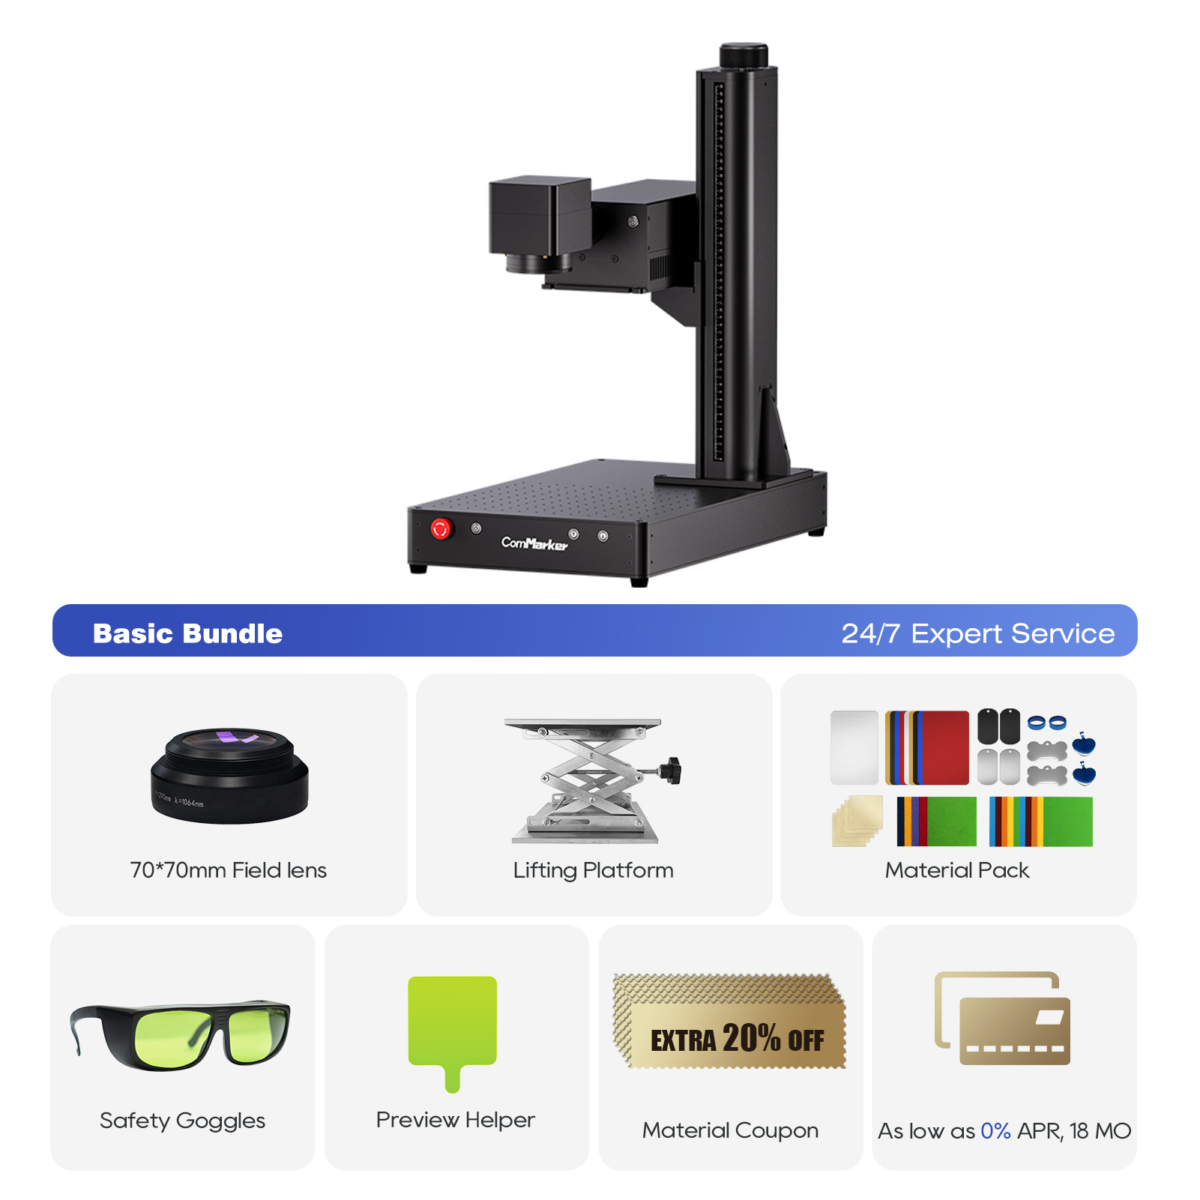
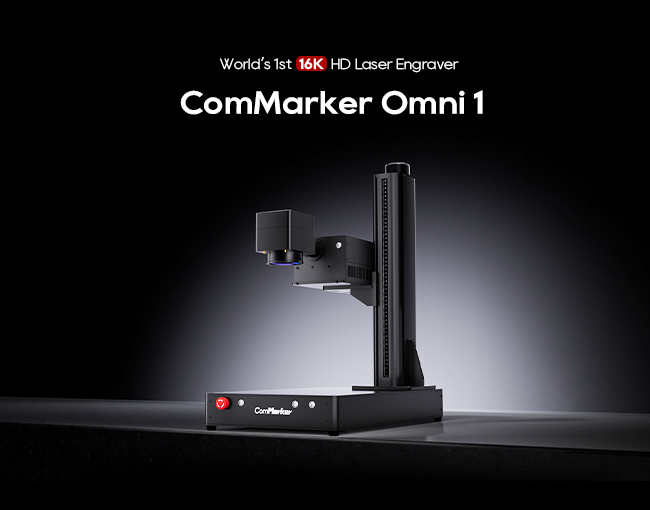
컴마커 옴니 1 레이저 조각사
모든 재료를 잠금해제하는 차세대 레이저. ZeroBurn™ 조각 기술 세계 최초의 16K HD 레이저 조각기 10,000mm/s SpeedMax™ 조각 시스템 UV 레이저로 모든 재료 잠금 해제 ColdFront™ 열 기술 전기 리프팅 2 EZCAD 및 LightBurn 360°회전 조각 시스템과 호환되는 옵션 렌즈
Bonus: Pair the Right Laser with LightBurn
LightBurn is incredible, but pairing it with a capable laser makes the experience seamless.
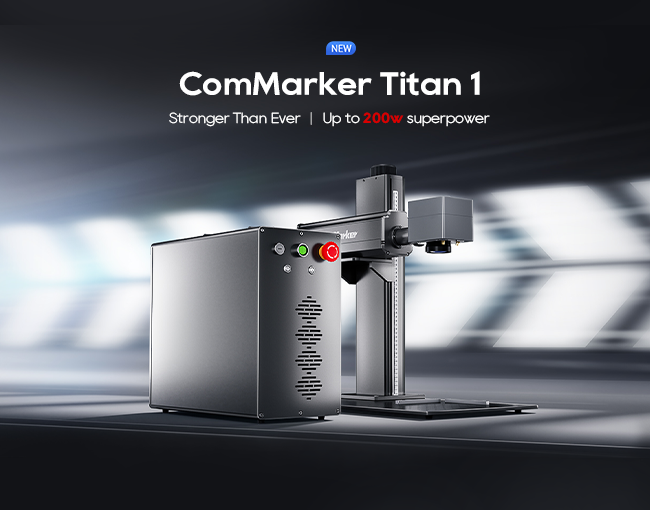
✅ For metal and industrial materials, 그만큼 컴마커 타이탄 1 offers advanced fiber MOPA tech with full LightBurn compatibility.
✅ For multi-material flexibility and extreme precision, check out the 컴마커 옴니 1 — a powerful UV laser engraver that’s ready to handle plastics, 가죽, 세라믹, 그리고 코팅된 금속.
Wrap-Up: Maximize Your Workflow, Not Your Wait Time
Mastering LightBurn is about more than just clicking “Start.” It’s about working smarter — automating where possible, reducing trial-and-error, and setting up your tools for repeatable success.
Want a laser that keeps up with your speed and precision?
👉 Explore the full ComMarker laser lineup — built for creators who move fast and engrave smarter.


