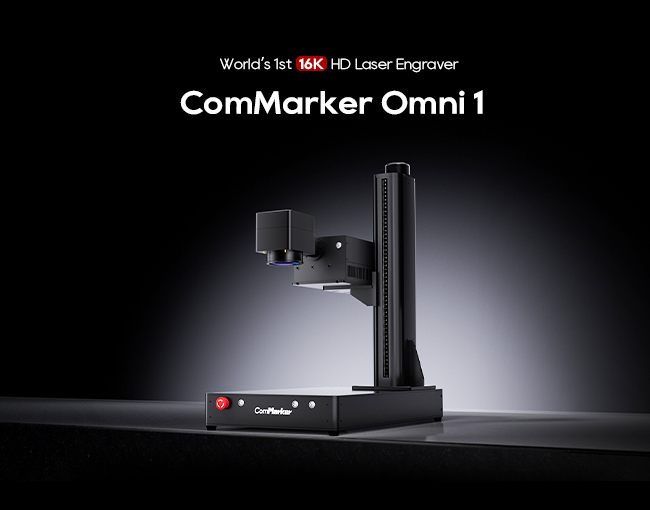
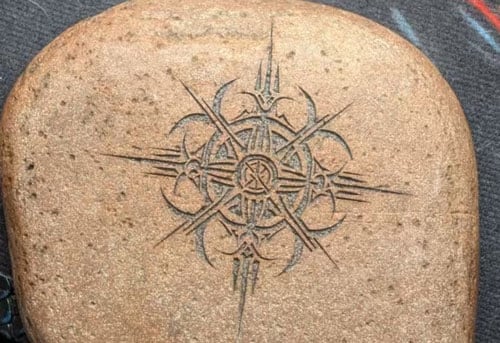
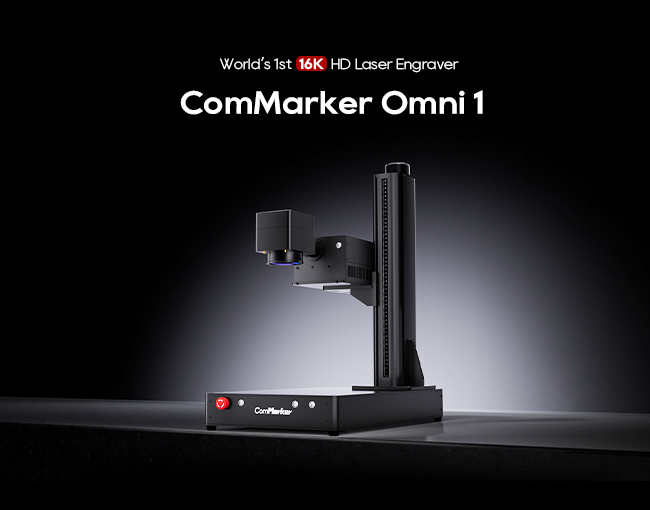
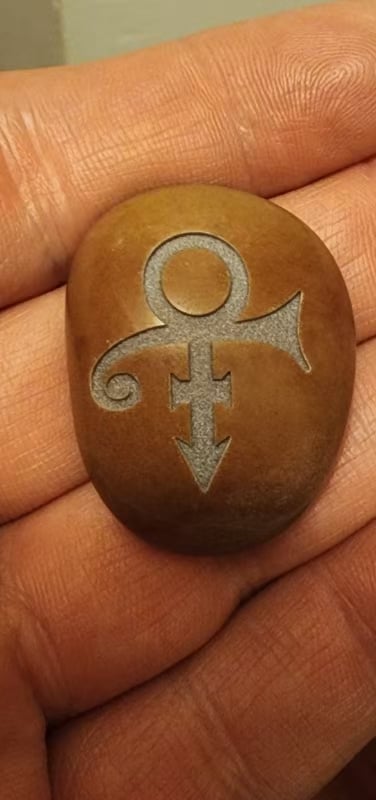
La piedra de grabado se ha convertido en una técnica esencial para crear de alta calidad, customized products for a wide range of applications. Whether you’re creating intricate artwork, regalos personalizados, o componentes industriales, engraving stone with a laser engraver offers unmatched precision and speed. El ComMarker Omni 1 Grabador láser is a powerful and versatile tool for professionals, aficionados, and small businesses looking to bring their creative visions to life on stone surfaces.
In this detailed guide, we’ll walk you through the process of engraving stone using the ComMarker Omni 1 Grabador láser, providing you with essential tips and settings for achieving the best results. We’ll cover everything from setup and design to troubleshooting common issues, ensuring you get the most out of your engraving machine.
What Makes the ComMarker Omni 1 Ideal for Engraving Stone?
El ComMarker Omni 1 is designed with versatility in mind, making it an excellent choice for engraving stone. Este grabador láser combines power and precision with user-friendly features that allow you to create stunning, diseños intrincados. Whether you’re working with granite, mármol, pizarra, or other types of stone, el omni 1 can handle the job efficiently.
Key Benefits for Engraving Stone with the Omni 1:
- Precisión: The Omni 1’s high-precision laser ensures fine detail and clarity, even on hard surfaces like stone.
- Flexibilidad: It can engrave a variety of materials, including stone, madera, metal, y acrílico, making it an all-in-one solution for different engraving needs.
- Facilidad de uso: The easy-to-navigate control panel and software (Ezcad2 o Lightburn) ensure that even beginners can get started quickly.
- Velocidad: Capable of engraving up to 15,000 mm/s, el omni 1 allows you to complete your projects quickly without sacrificing quality.
Step-by-Step Guide to Engraving Stone
Paso 1: Configuración de su Commarker Omni 1 Grabador láser
Before you begin engraving stone, it’s crucial to set up your ComMarker Omni 1 correctly. Follow these steps:
- Ensamblar la máquina: Ensure all parts are securely in place. The laser head should be aligned properly, and the power supply should be connected.
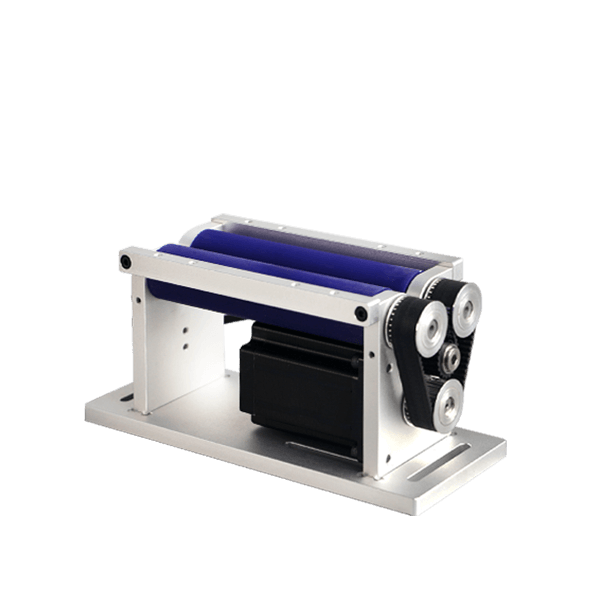
- Position the Stone: Place your stone securely on the engraving bed. Use clamps or fixtures to hold the stone in place, ensuring it doesn’t shift during engraving.
- Connect to Software: Open your design software (Ezcad2 o Lightburn) on your computer and connect it to the Omni 1. Ensure your material settings are properly configured for stone.
Paso 2: Design Your Artwork for Engraving
The first step in the design process is creating or importing your artwork into the engraving software.
- Create or Import Design: Use the software to create your design, or import it from external software (such as AutoCAD or Illustrator). Make sure the design fits within the engraving area of the stone.
- Scale the Design: Adjust the size of your design to match the stone’s dimensions. Ensure that the engraving area is within the parameters of the machine.
Paso 3: Adjust Laser Settings for Stone Engraving
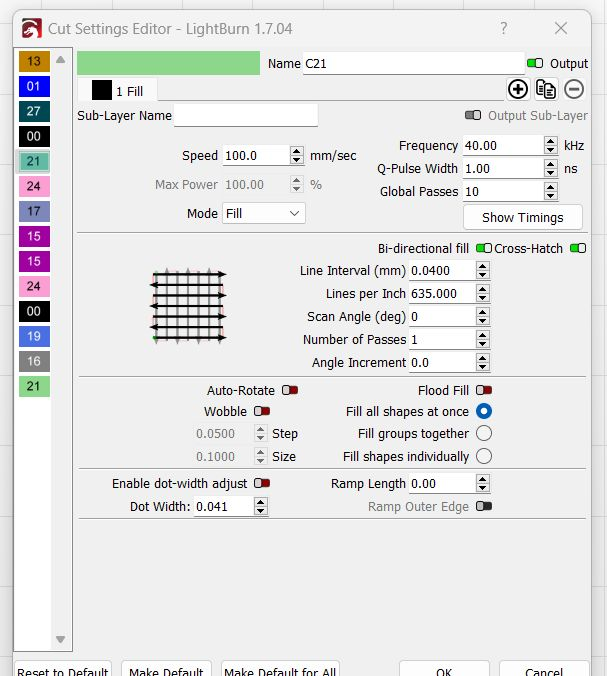
Properly adjusting the laser settings is crucial to achieving the best engraving results on stone. Based on customer feedback and best practices, here are the recommended settings for engraving stone with the ComMarker Omni 1:
- Velocidad: Set the engraving speed to 100.0 mm/seg for detailed work. This speed ensures precision without overheating the stone.
- Fuerza: Set the power to 100% for maximum engraving depth and contrast. Stone requires higher power to produce visible, deep engravings.
- Frecuencia: Set the frequency to 40.00 kilociclos para un rendimiento óptimo. This frequency helps achieve a finer, more consistent engraving.
- Ancho de pulso Q: Set the Q-pulse width to 1.00 ns. A short pulse width is ideal for engraving stone, as it allows for more controlled energy application.
- Global Passes: Set to 10 pasa. Multiple passes help deepen the engraving and ensure better detail.
Paso 4: Grabado de prueba
Before starting the full engraving process, always test the settings on a small, scrap piece of stone. This test will help you verify the settings and adjust them as necessary to achieve the desired effect.
- Run a Test: Run a test on a scrap piece of stone to check the clarity, profundidad, and detail of the engraving.
- Evaluate Results: Check the test engraving. If it appears too light, increase the power or slow the speed. If it looks blurry, adjust the focus or fine-tune the pulse width.
Paso 5: Start Engraving the Stone
Once you are satisfied with the test results, you can begin engraving your final stone piece.
- Iniciar el grabado: Initiate the engraving process via your software. Monitor the engraving as it progresses, ensuring there are no issues with alignment or focus.
- Monitorear el proceso: Keep an eye on the laser during the engraving process. If the engraving starts to look too deep or uneven, pause the machine and make necessary adjustments.
- Allow the Stone to Cool: Una vez completado el grabado, allow the stone to cool before handling it.
Paso 6: Post-Engraving Cleaning and Finishing
Una vez completado el grabado, it’s important to clean and finish the piece properly:
- Clean the Engraving: Use a soft cloth or brush to clean off any dust or debris from the engraving. Be gentle to avoid damaging the design.
- Enhance the Contrast: For deeper contrast, you can apply a colored filler or paint the engraving. This will help the design stand out more, especially if you’re working with lighter stones like marble.
- Caza de focas: If the stone is porous, you may want to apply a protective sealant to preserve the engraving and prevent future damage.
Solución de problemas comunes
- Blurry Engraving:
- Causa: This can happen if the focus isn’t properly adjusted or if the power is too low.
- Solución: Ensure the laser head is focused correctly on the surface and increase the power if necessary.
- Uneven Depth:
- Causa: Uneven stone surfaces can lead to inconsistent engraving depth.
- Solución: Use clamps to hold the stone firmly in place. Check the machine’s calibration and ensure the material is level.
- Low Contrast:
- Causa: Low contrast can result from too little power or speed.
- Solución: Increase the number of passes or power settings to achieve deeper engravings.
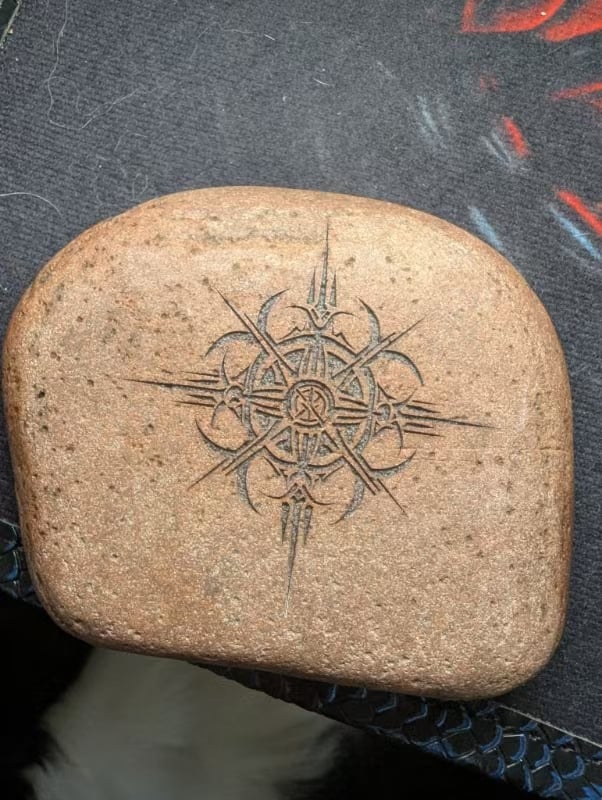
Engraving stone with the ComMarker Omni 1 Grabador láser is a highly efficient, preciso, and versatile method for creating custom designs. By adjusting the laser settings, running test engravings, and following proper post-engraving care, you can achieve high-quality results for a wide range of stone types. Whether you’re engraving granite, mármol, pizarra, or other stone materials, the Omni 1’s powerful features ensure professional-grade outcomes.
Laser engraving stone offers a cleaner, más rápido, and more customizable alternative to traditional methods, and with the Omni 1, Las posibilidades son infinitas. Whether you’re creating personalized gifts, señalización, o componentes industriales, this laser engraver helps bring your stone projects to life with remarkable detail and speed.


