


소개:
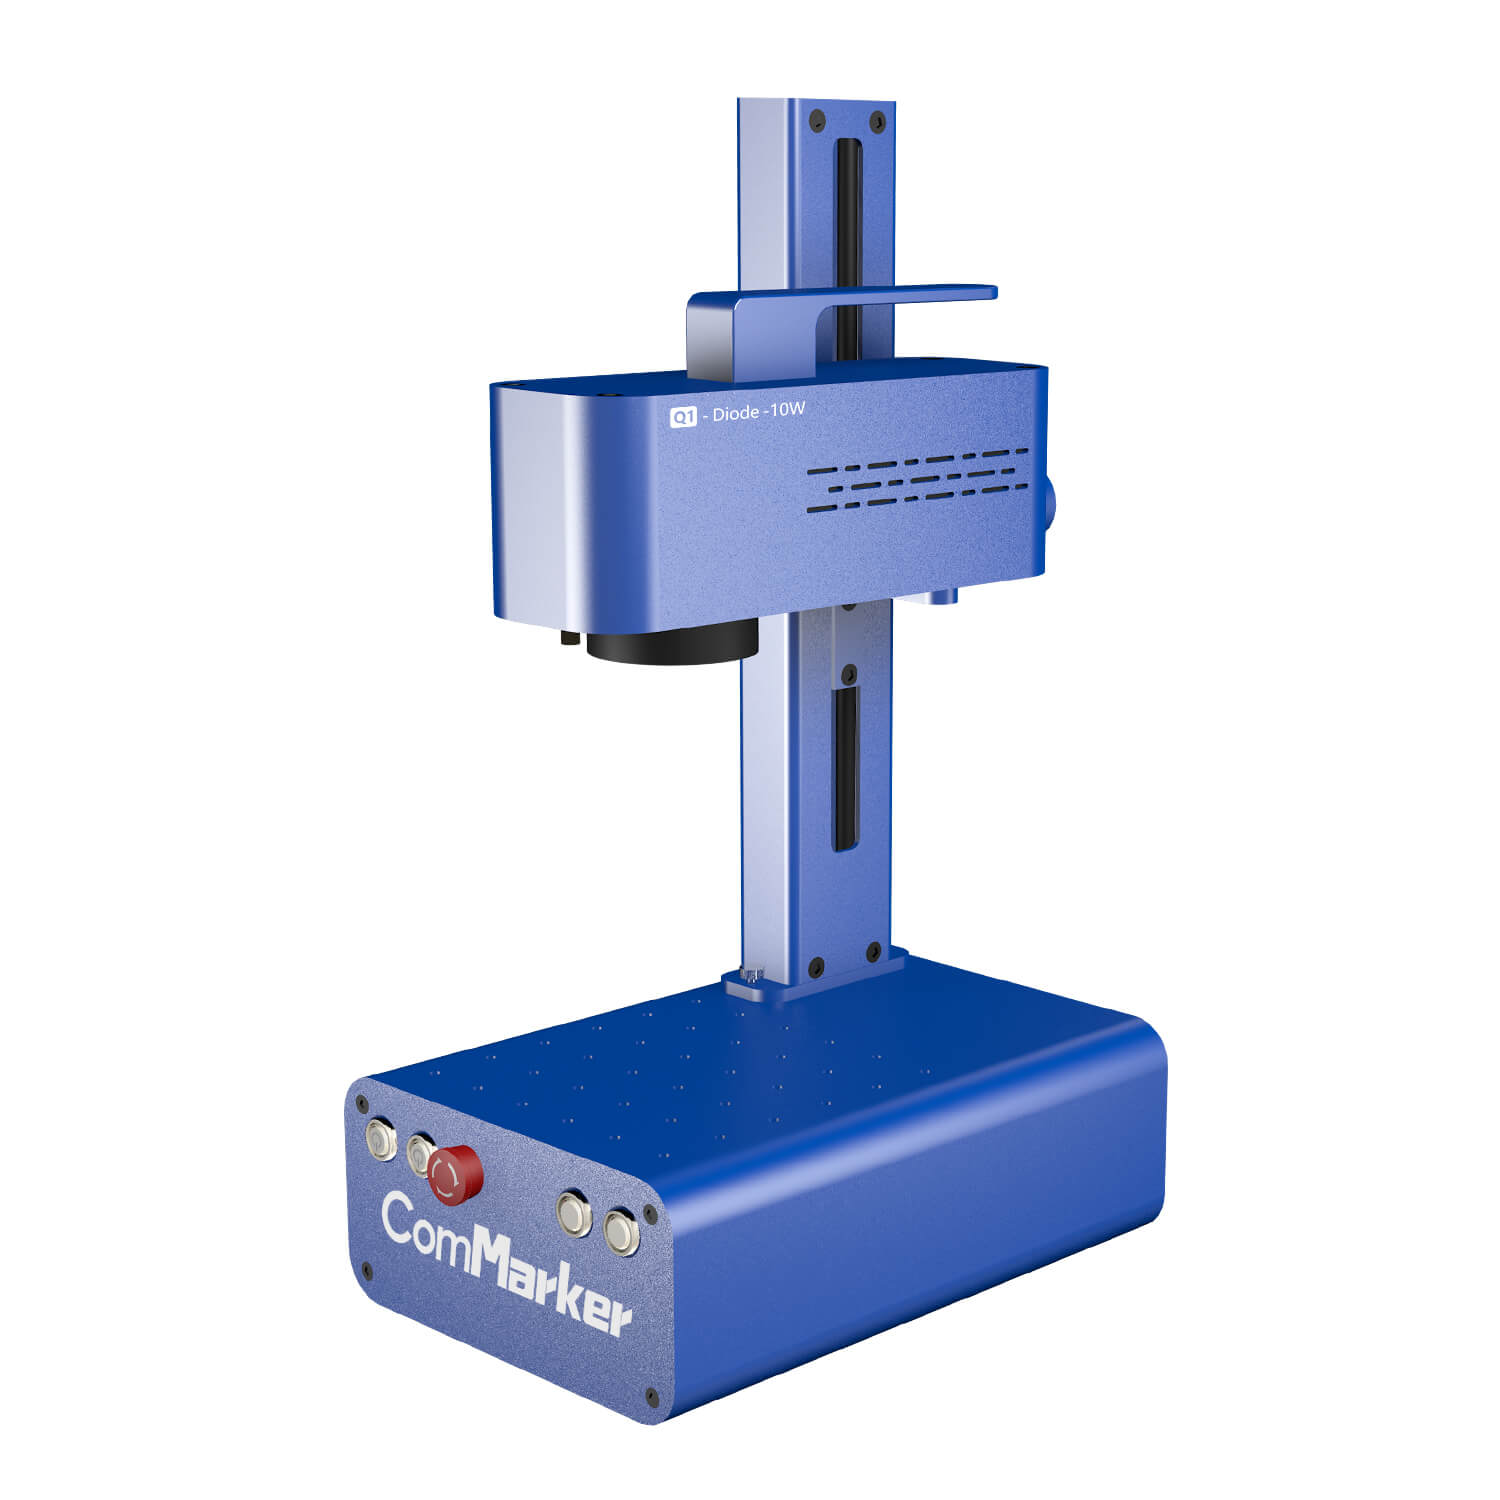
Embarking on a captivating exploration of 3D laser-engraved apples with the ComMarker B4 파이버 레이저 조각사, we delve into the intriguing intersection of technology and nature. This essay delves into the intricacies of parameters governing the art of engraving on apples, accentuating the advanced capabilities of the ComMarker B4 fiber laser engraver machine and emphasizing the three-dimensionality of the apple canvas. Beyond traditional mediums, each crisp and succulent apple transforms into a dynamic sculpture, a testament to the fusion of precision and organic beauty. The allure lies not just in the final visual appeal, but in the nuanced settings, guided by the 컴마커 B4, that sculpt a three-dimensional masterpiece. Join us on a journey where the digital realm converges with the natural, exploring how parameters become the brushstrokes defining the enchanting world of three-dimensional, laser-engraved apples with the ComMarker B4 Fiber Laser Engraver.
기본 정보:
| 소프트웨어 | 라이트번 |
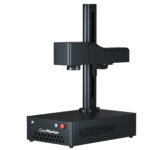
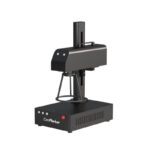
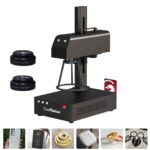
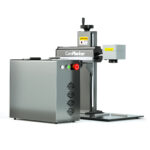
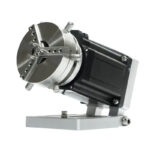
| 기계 | 컴마커 B4 Mopa Fiber Laser Marking Machine |
| 레이저 모듈 출력 전력 | 60승 |
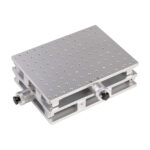
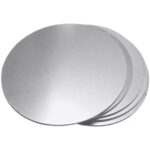
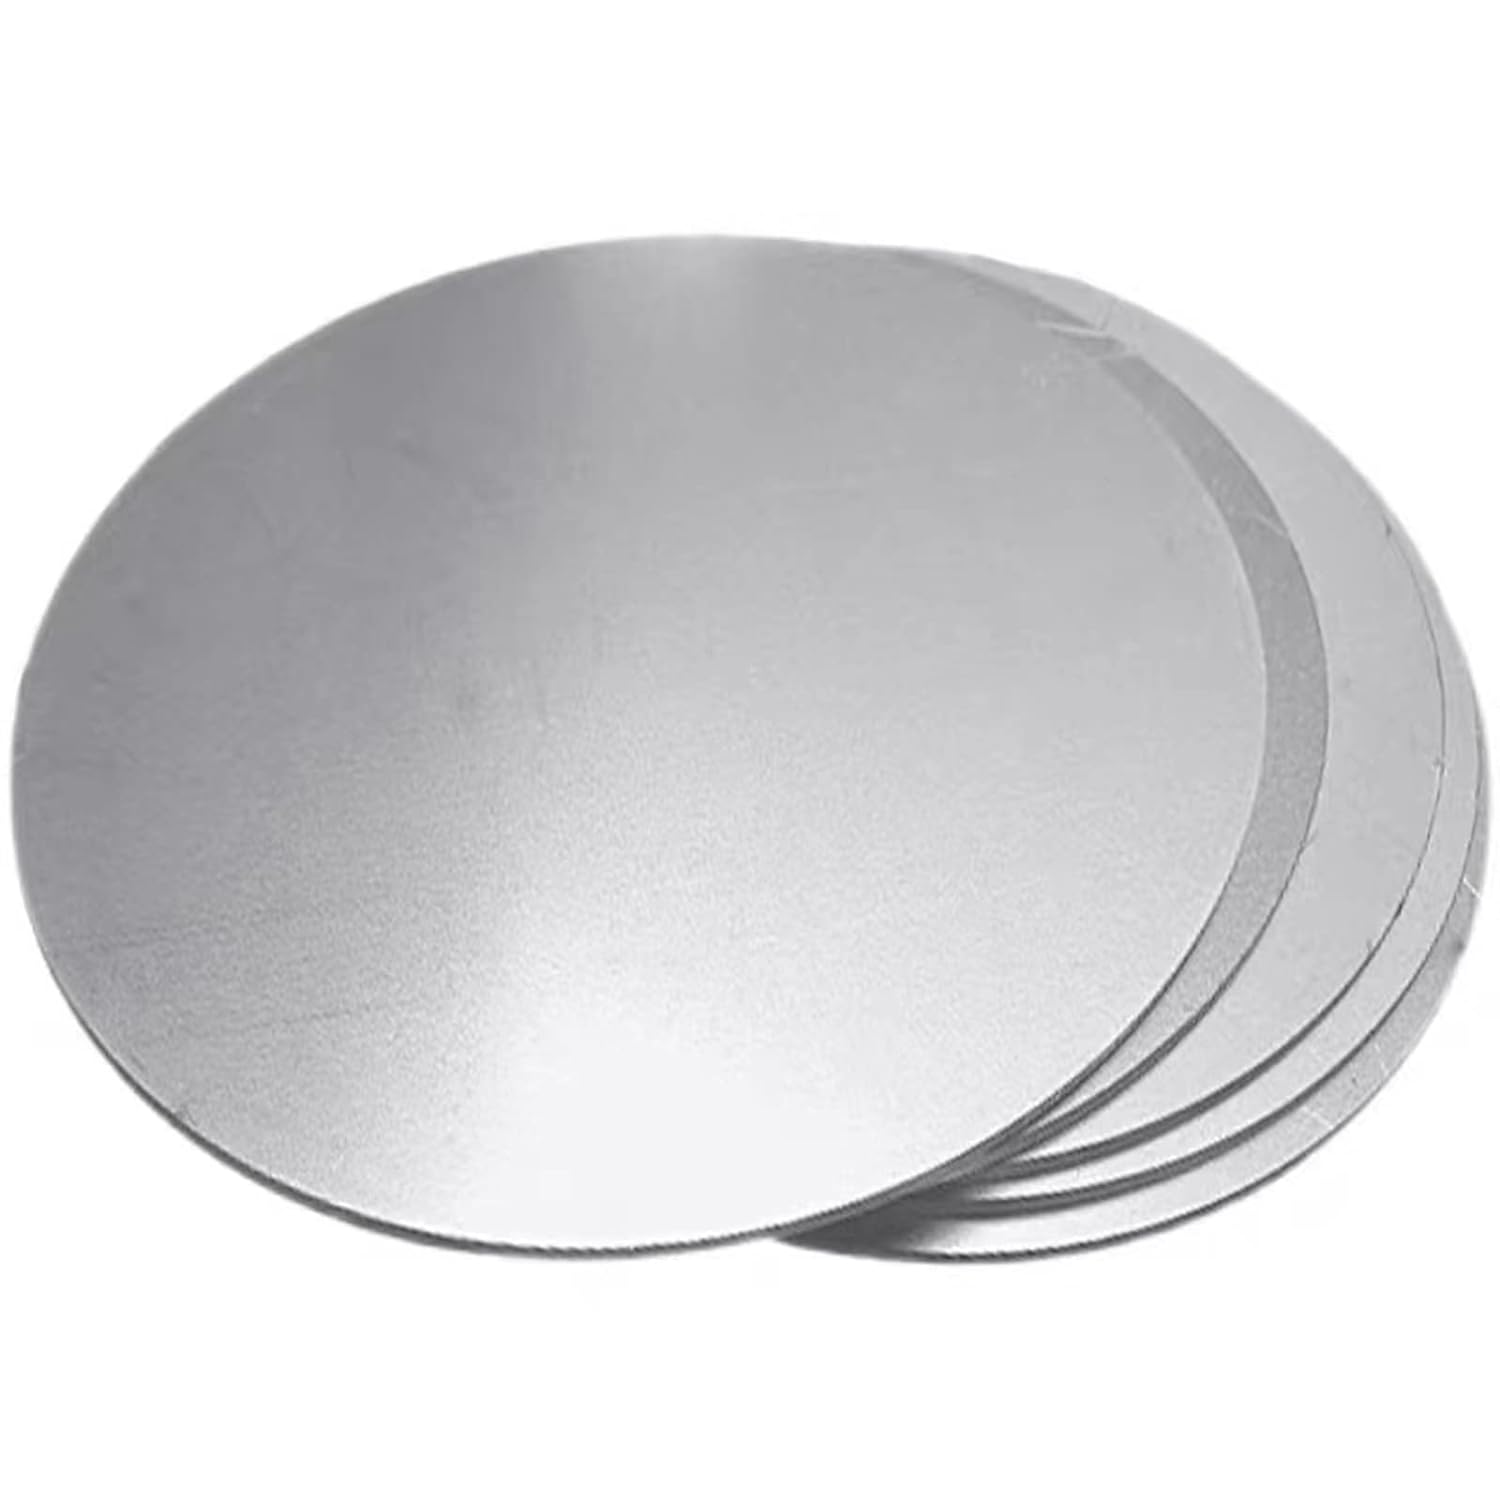
| 사용된 재료 | Aluminum plate |
| 재료 정보 | Aluminum plate |
| 시간 만들기(Hour) | 5H |
환경:
| 가공방법 | 3D sliced |
| 공정 재료 | Aluminum plate |
| 속도(밀리미터/초) | 2000 |
| 최대 전력(%) | 90 |
| 방법 | 3D sliced |
| 간격(mm) | 0.0254 |
| Q-Pulse | 45 |
| Frequency | 100 |
| Passing count | 500 |
| Bi-directional scanning | Enable |

지침:
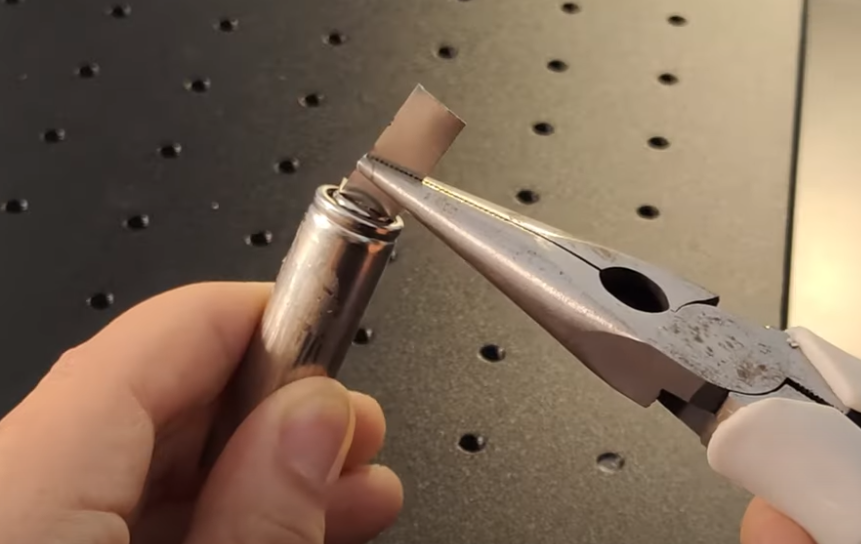
Step 1: Test the Material
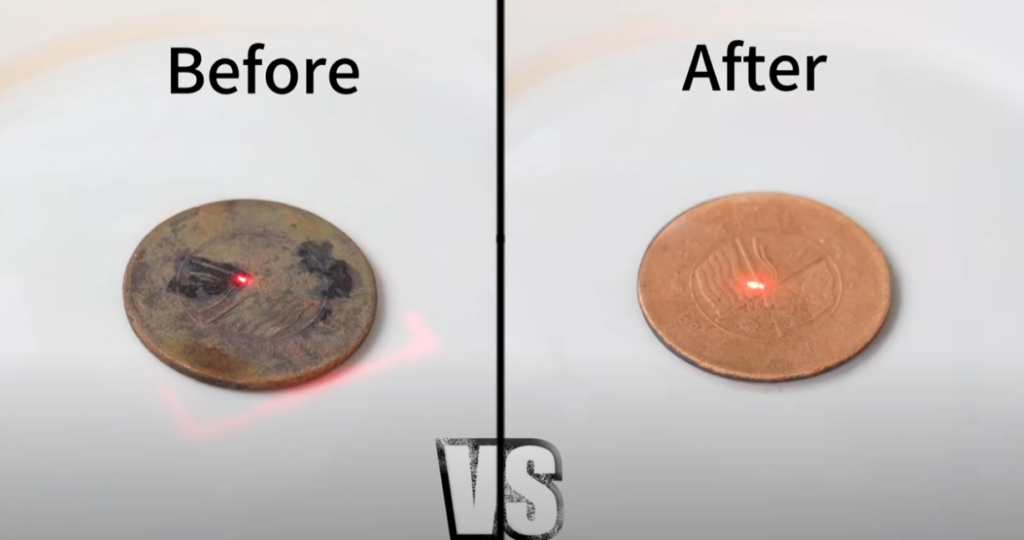
Before diving into the mesmerizing world of laser engraving, it is imperative to familiarize yourself with the material you are about to transform. Testing the sample for suitable parameters sets the stage for the entire artistic process. Begin by selecting a sample—one that mirrors the characteristics of the bulk you intend to engrave.
Engage the ComMarker B4 in a trial run, carefully observing how the laser interacts with the sample’s surface. Experiment with different power levels, engraving speeds, and resolutions to identify the optimal combination that produces the desired effect. This initial exploration is akin to tuning instruments before a symphony, ensuring that every note resonates harmoniously.
Document your findings meticulously, noting the specific parameters that yield the best results. This empirical knowledge will serve as your artistic compass, guiding you through subsequent stages of the engraving process.
Step 2: Input the Picture
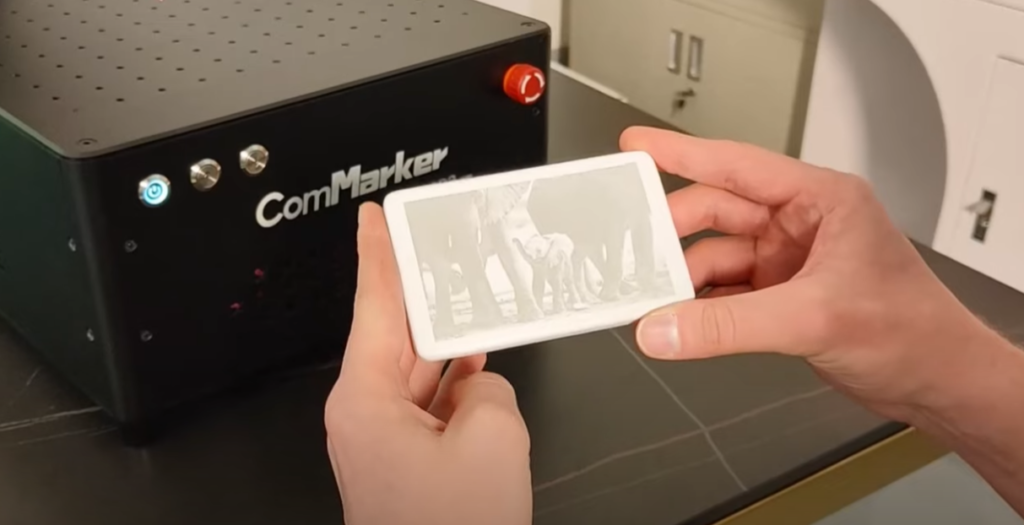
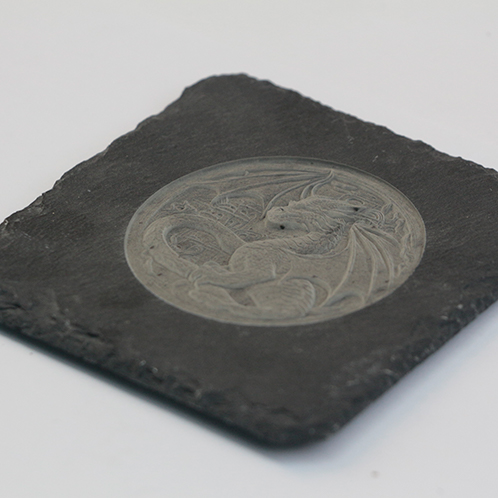
With a wealth of information garnered from the material test, it’s time to infuse artistic vision into the process. Select a captivating image or design that encapsulates the essence of your artistic vision. Whether it’s intricate patterns, elaborate scenes, or personalized motifs, the ComMarker B4 is poised to bring your imagination to life.
As you input the chosen picture into the engraving software, pay attention to making sure that it is a grayscale png image. These considerations play a pivotal role in the final outcome, ensuring that the laser accurately translates the image onto the sample’s surface.
Step 3: Set the Parameter
Building upon the insights gained from the material test, it’s now time to fine-tune the parameters for the main engraving process. Referencing your documented findings, set the ComMarker B4 according to the optimal power, 속도, interval, and count settings. This meticulous calibration ensures that the laser’s precision aligns seamlessly with your artistic intent.
Consider the intricacies of the chosen image, adjusting parameters to capture the fine details while maintaining overall clarity. This step transforms the laser engraving process from a technical exercise into a nuanced art form, where every parameter contributes to the symphony of dimensionality.
Step 4: Hit the Start Button
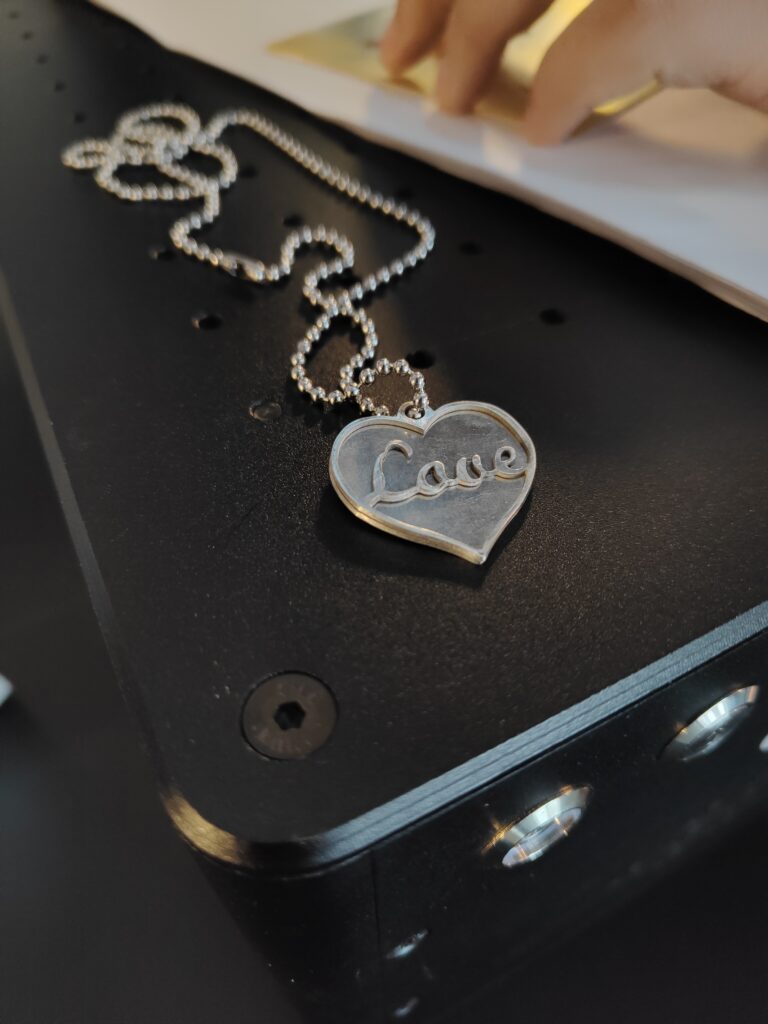
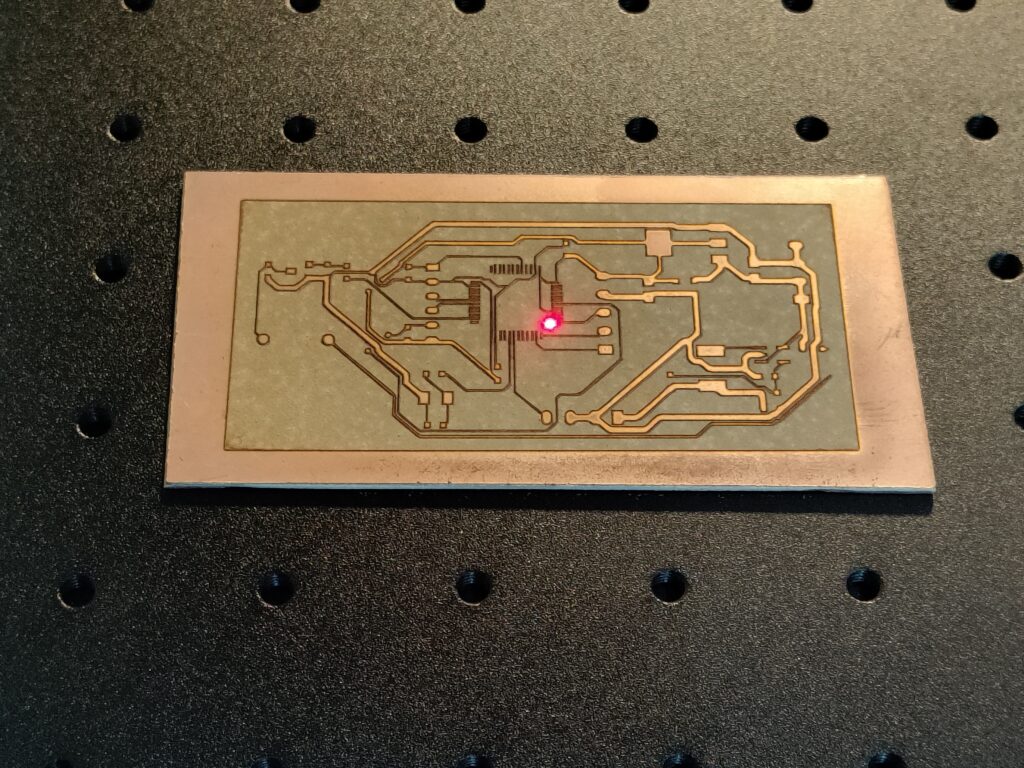
With parameters set and artistic vision embedded in the digital realm, it’s time to set the symphony in motion. Hit the start button, initiating the laser engraving process that will unfold over the next few hours. As the ComMarker B4 orchestrates its precision dance on the metal’s surface, exercise patience and marvel at the transformation taking place before your eyes.
The symphony of light and precision begins to unfold, gradually etching the chosen design onto the metal. This phase is a crescendo of creativity and technology converging, resulting in a work of art that seamlessly blends the natural contours of the apple with the precision of laser technology.
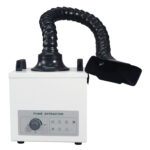
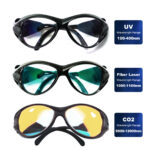
메모: Ventilation and Filter Systems
Amidst the symphony of creation, it’s crucial to attend to the practicalities of the workshop environment. The delicate dance of laser and metal releases fumes and particles into the air, necessitating a well-ventilated workspace. Keep your workshop adequately ventilated or activate the filter system during the entirety of the 3D laser engraving process.
This precaution not only ensures a comfortable working environment but also contributes to safety by minimizing exposure to any airborne byproducts. As you revel in the artistic symphony, maintaining a healthy workspace enhances both the creative process and your overall well-being.
conclusion
In conclusion, crafting dimensionality through 3D laser-engraved apples on metal with the ComMarker B4 is an intricate symphony that intertwines precision and nature. From the initial material test to the final stroke of the laser, each step contributes to the creation of a masterpiece that transcends the ordinary. As you navigate this artistic journey, let the ComMarker B4 be your conductor, guiding the symphony of creativity and precision to produce awe-inspiring 3D laser-engraved apples on metal.