Cutting acrylic sheets with a laser machine is a precise and efficient way to achieve clean and polished edges, making it an ideal technique for sign-making, 显示, art projects, 和更多. This guide covers everything you need to know about laser cutting acrylic, from preparation to troubleshooting.
Why Laser Cutting is Ideal for Acrylic Sheets
Laser cutting is ideal for acrylic sheets because it offers several key advantages:
- 精确: Laser cutters can produce intricate and accurate designs with high precision, ideal for detailed work.
- Polished Edges: Laser cutting melts the edges of acrylic, leaving a smooth, polished finish without additional post-processing.
- 效率: Acrylic cuts quickly with lasers, making it suitable for large production runs or rapid prototyping.
- 多功能性: Acrylic comes in various thicknesses and finishes, and laser cutters can handle different types easily.
This combination of precision, 速度, and quality makes laser cutting perfect for acrylic projects.
Materials and Tools Required for Laser Cutting Acrylic
开始, gather the necessary materials and tools:
- Laser Cutting Machine: 二氧化碳激光器 are the most common for acrylic cutting due to their ability to efficiently cut non-metallic materials. Fiber lasers are not suitable for acrylic.
- Acrylic Sheets: Available in different thicknesses (1.5毫米, 3毫米, 5毫米, ETC。) and finishes (清除, 有色, 磨砂的).
- Air Assist: A tool that blows air directly onto the cutting area to reduce heat and remove debris for cleaner cuts.
- 美纹纸胶带: 选修的, to protect the surface of the acrylic from laser burns.
- 设计软件: A program like LightBurn or EZCAD to create the vector designs for your project.
Step-by-Step Guide to Cutting Acrylic Sheets with a Laser
- Choose the Right Type of Acrylic
- 铸亚克力: This is the best choice for laser cutting as it produces a smooth, flame-polished edge. It’s also ideal for engraving, giving a frosty white finish.
- 挤压亚克力: Though more affordable, it doesn’t cut as well. The edges may appear rough or uneven, and it’s less responsive to laser engraving.
- 准备设计
- Use design software to create the outline or shapes you wish to cut from the acrylic sheet. 为了获得最佳效果, export the design in vector format (例如, .DXF, .人工智能).
- Be mindful of the material thickness and leave enough space between cuts to prevent the sheet from warping or melting.
- Position the Acrylic Sheet on the Laser Bed
- Place the acrylic sheet flat on the laser bed, ensuring it is free from dust or fingerprints. If using masking tape, apply it over the surface to protect it from burn marks.
- Ensure the acrylic is securely held in place with clamps or a vacuum table to prevent movement during cutting.
- Set the Laser Cutting Parameters
- 力量: Use lower power settings (例如, 30-50% 力量) for thinner sheets and higher settings (最多 80% 或者更多) for thicker sheets.
- 速度: Set the speed based on the acrylic thickness. Thinner materials require faster cutting speeds, while thicker sheets need slower speeds to ensure a clean cut.
- 频率 (赫兹): Adjust the pulse frequency to control the smoothness of the cut. A higher frequency will produce smoother cuts.
- Air Assist: Turn on air assist to cool the material and blow away any debris for cleaner cuts and polished edges.
- Run a Test Cut
- Always run a test cut on a small scrap piece of acrylic or an inconspicuous section to fine-tune the laser settings before starting the full cut.
- Monitor the Cutting Process
- As the laser cuts through the acrylic, keep an eye on the process to ensure that the material is not warping or burning. Adjust settings if needed.
- Depending on the acrylic’s thickness and the complexity of the design, you may need to pause the machine and remove excess debris for optimal results.
- Remove the Acrylic and Clean Up
- Once the cutting is complete, remove the acrylic sheet and gently clean the edges with a damp cloth to remove any residual dust or debris.
- If masking tape was used, peel it off carefully to reveal clean, burn-free acrylic.
Common Issues and Troubleshooting
1. Burn Marks on the Acrylic
- 原因: Excessive power, slow speed, or insufficient air assist.
- 解决方案: Reduce the laser power or increase the speed. Ensure air assist is functioning properly.
2. Melting or Warping
- 原因: High heat concentration during the cut, especially in intricate designs.
- 解决方案: Increase the cutting speed or lower the power settings. You can also consider splitting complex designs into multiple passes at lower power to reduce heat buildup.
3. Rough or Uneven Edges
- 原因: Improper focus or insufficient power.
- 解决方案: Ensure that the laser is properly focused on the acrylic surface. Adjust the power and speed settings accordingly.
4. Frosty Edges Instead of Clear
- 原因: Typically happens with extruded acrylic.
- 解决方案: Switch to cast acrylic for a smooth, clear edge after cutting.
5. 设计错位
- 原因: The material may have shifted during the cut.
- 解决方案: Secure the acrylic sheet properly before starting the cut. Ensure the laser bed is flat and that clamps or a vacuum table are in place.
Additional Tips for Better Laser Cutting on Acrylic
- Multiple Passes for Thick Materials: For acrylic sheets over 5mm thick, consider cutting in multiple passes to avoid melting or burning the edges.
- Use of Nitrogen: If available, using nitrogen as an assist gas can reduce oxidation and provide cleaner cuts with clearer edges.
- Cooling Time: Allow the acrylic to cool between cuts to prevent distortion or warping.
先进技术: Etching and Engraving Acrylic
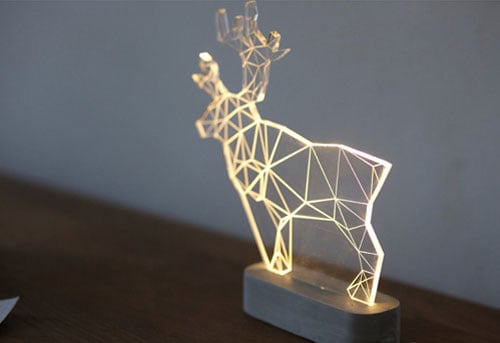
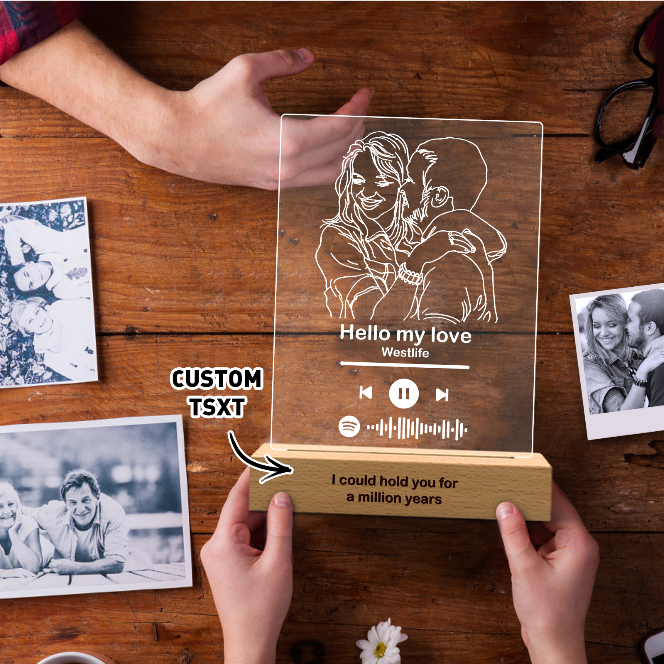
Laser cutting isn’t just for slicing through acrylic; you can also engrave intricate designs onto its surface. 方法如下:
- 设计您的雕刻: Similar to the cutting process, prepare your design in vector format. You can use raster designs for photo-quality engravings.
- Lower the Power Settings: Engraving requires much lower power compared to cutting. 开始于 20-30% power and adjust as necessary.
- Increase the Speed: Higher speeds prevent the laser from cutting too deep during the engraving process, especially for detailed work.
- Engrave in Multiple Passes: 用于更深的雕刻, use multiple passes with lower power to achieve a clean result without burning or melting the acrylic.


