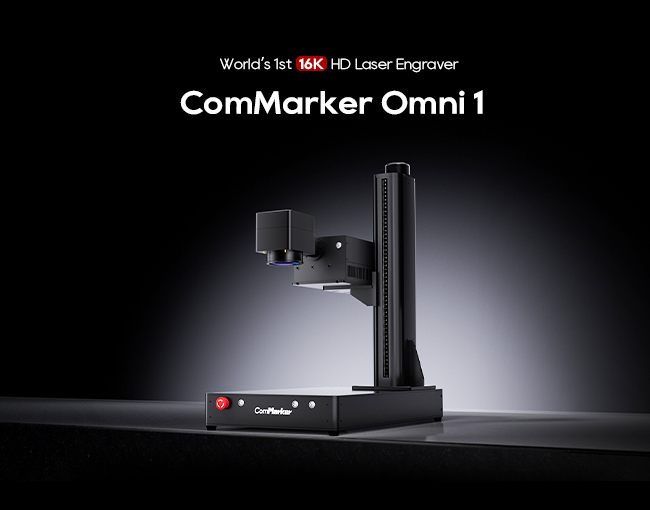
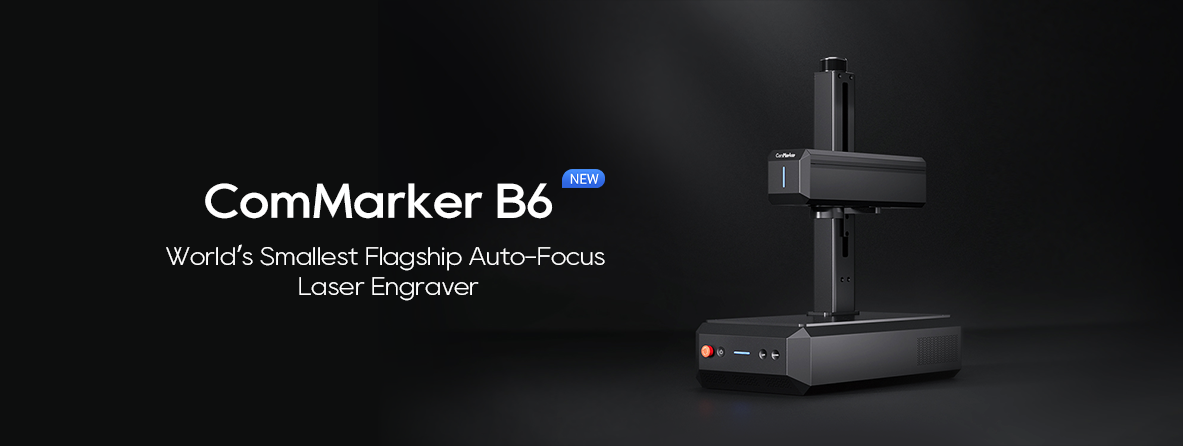
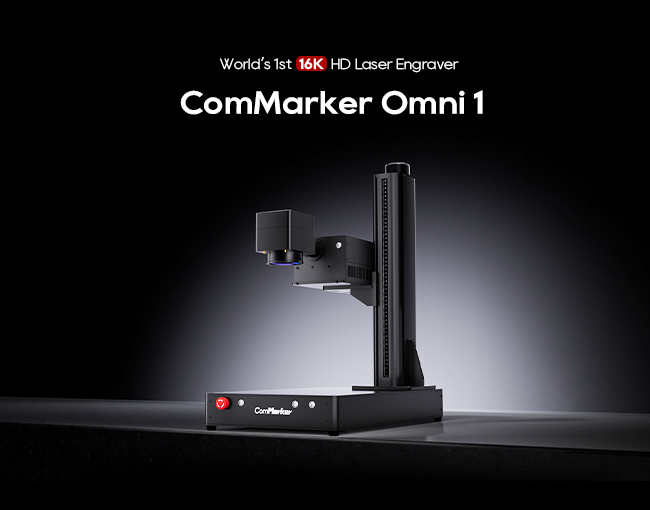
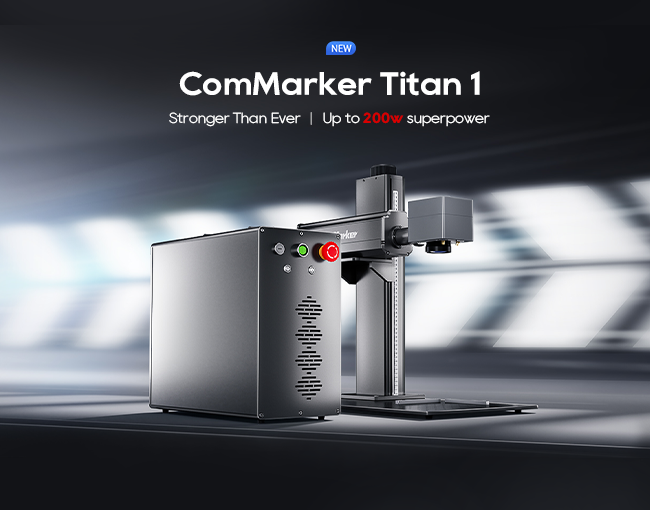
Quand je me suis lancé dans la fabrication de résine pour la première fois, I often found myself struggling to achieve the intricate and professional designs I envisioned. Traditional methods of creating resin molds felt limiting, surtout pour les détails fins. That’s when I turned to laser technology, spécifiquement le Graveur laser à fibre ComMarker B4, and it transformed the way I approached mold-making.
The Advantages of Using Lasers for Resin Molds
Laser technology offers a host of benefits over traditional cutting tools. Let’s dive into the most critical ones:
1. Précision et détail
The precision of a laser engraver engraving machine cannot be understated. Working on resin molds requires delicate, fine cuts that leave no room for error. With laser cutting:
- High Accuracy: Laser beams cut through mold materials with extreme precision, achieving the intricate designs that would otherwise be difficult with hand tools. Whether it’s fine lines, sharp edges, or complex curves, lasers offer unmatched detail.
- Consistency: If you’re producing resin molds in bulk, the repeatability of laser cutting guarantees that each mold is identical. This is invaluable for mass production of personalized resin items like coasters or jewelry.
2. Customizable Designs
Personalization is at the heart of many creative industries, et technologie laser brings that dream to life.
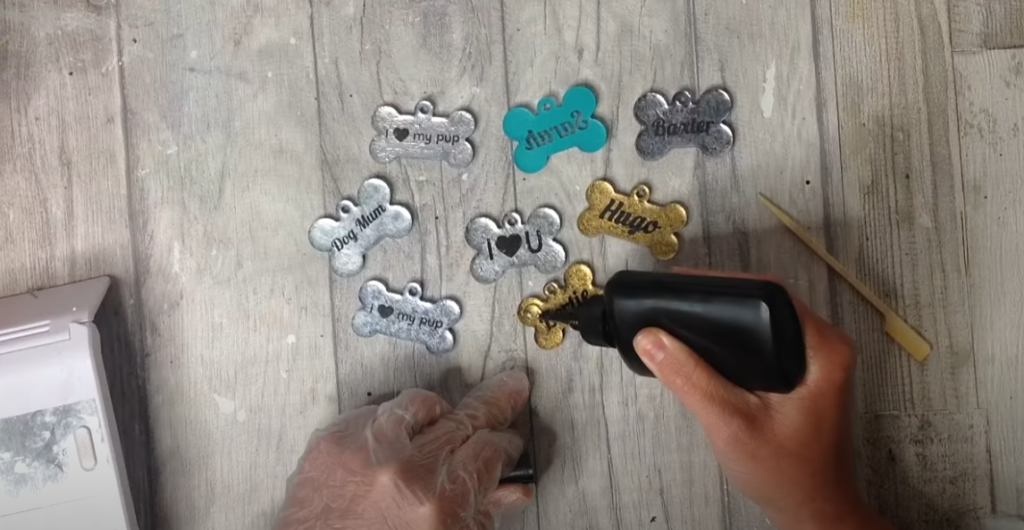
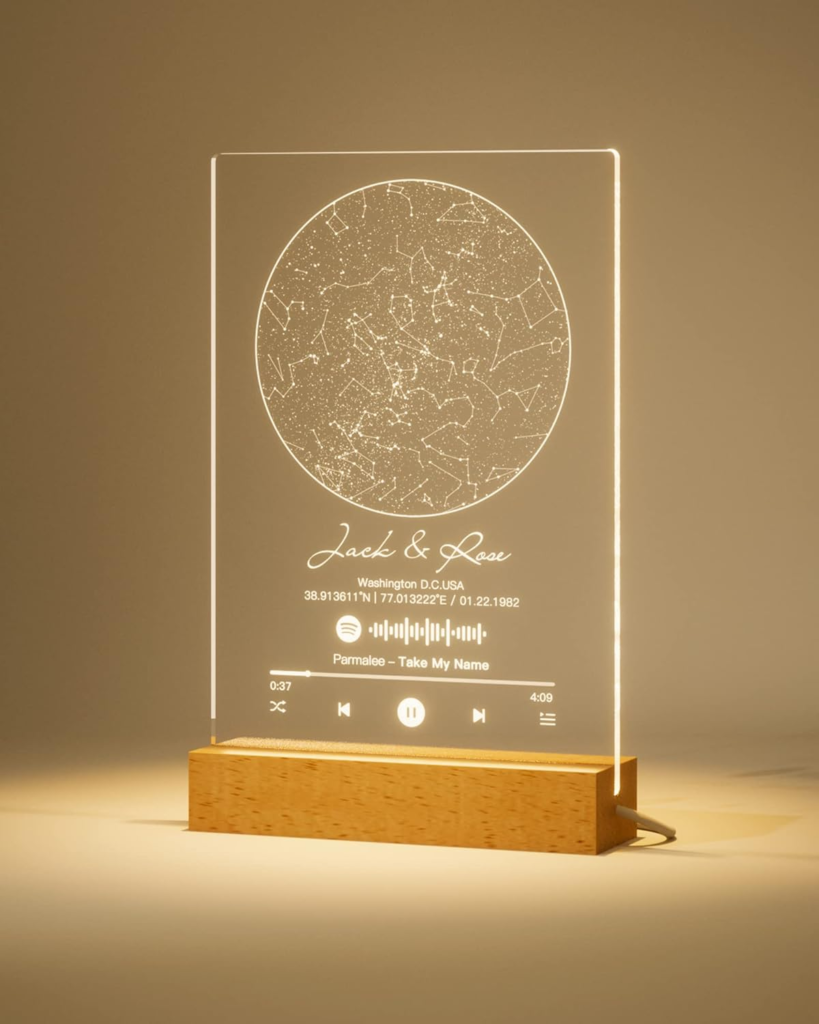
- Personnalisation: Avec gravure laser, adding unique designs, logos, or text is simple. Par exemple, I’ve customized molds with intricate monograms for wedding keepsakes and business logos for corporate gifts, providing a one-of-a-kind service to clients.
- Rapid Prototyping: If you’re developing a new resin product, the ability to quickly iterate your designs and produce a new mold within minutes allows for quick feedback and refining. This was especially helpful for me when creating custom orders for clients, enabling quick turnarounds.
3. Smooth Edges and Surfaces
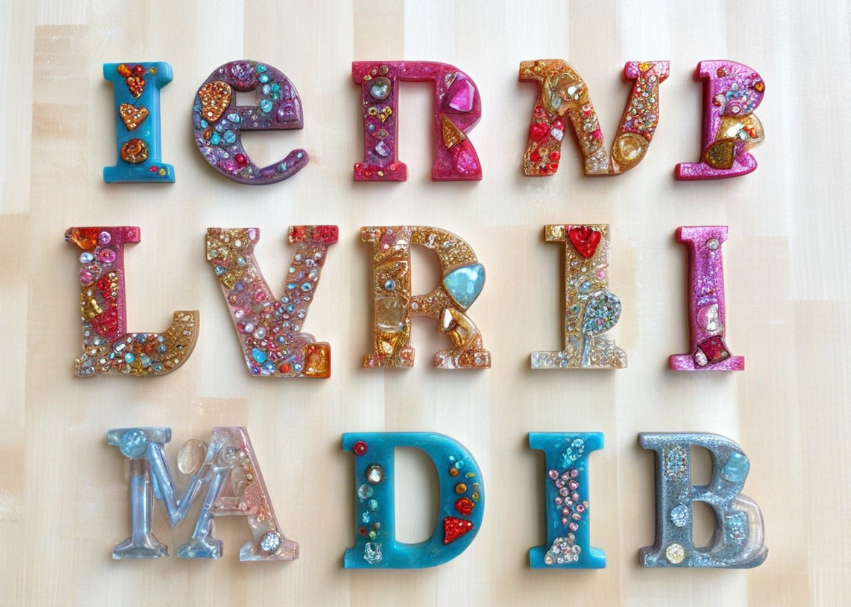
Achieving a smooth finish is essential for both the mold and the final resin casting.
- Minimal Finishing: Laser technology melts the edges of materials, which results in smooth, clean edges. This is crucial for resin molds, where rough surfaces can negatively impact the final resin product by leaving unwanted textures.
- Réduction des déchets: Laser machines operate with high precision, which means less waste of expensive materials like acrylic or silicone used for molds.
Achieving a Glossy Finish
One of the most exciting aspects of using laser engraving for mold creation is the glossy finish it imparts on the resin.
1. Laser Polishing
In addition to cutting, lasers can lightly melt the surface of materials like acrylic. This melting action creates a polished, high-gloss finish on the mold, which translates into a professional shine on your final resin casting.

2. Material Choice
Choosing the right material for your molds can further enhance this effect. Acrylic sheets are particularly effective because of their smooth, shiny surface. By using laser-cut acrylic molds, I achieved glossy finishes on projects like custom resin coasters and jewelry boxes that wowed my clients.
Tips for Creating Resin Molds with Lasers
As you begin creating your resin molds with a laser engraver, keep these tips in mind:
1. Select the Right Material
- Acrylique: A go-to material for many mold makers, acrylic is highly compatible with découpe laser and offers a smooth finish that works well with resin.
- Autres matériaux: While acrylic is common, you can also experiment with materials like wood or certain plastics for unique effects. Each material may yield a different texture in the final resin product.
2. Test Laser Settings
- Paramètres optimaux: Experiment with the power, vitesse, and frequency settings of your laser machine. This trial-and-error process is essential for finding the best parameters for the material you’re using.
- Test Cuts: Always perform test cuts before engraving your final mold to ensure the laser settings produce the desired outcome.
3. Design for Resin Flow
When designing molds, consider how resin will flow through the cavities. Avoid intricate shapes that might trap air bubbles or create undercuts, which can make it difficult to release the resin from the mold.
Advanced Techniques for Laser-Cut Resin Molds
Here are some advanced techniques I’ve picked up along the way:
1. Layered Molding
- Creating Depth: Use lasers to create multi-layered molds with different depths. Par exemple, I designed a mold with three distinct layers to create a stunning resin ornament with varying heights.
- Color Variations: By adding different colors of resin at each layer, you can create visually striking pieces.
2. Embedding Objects in Resin
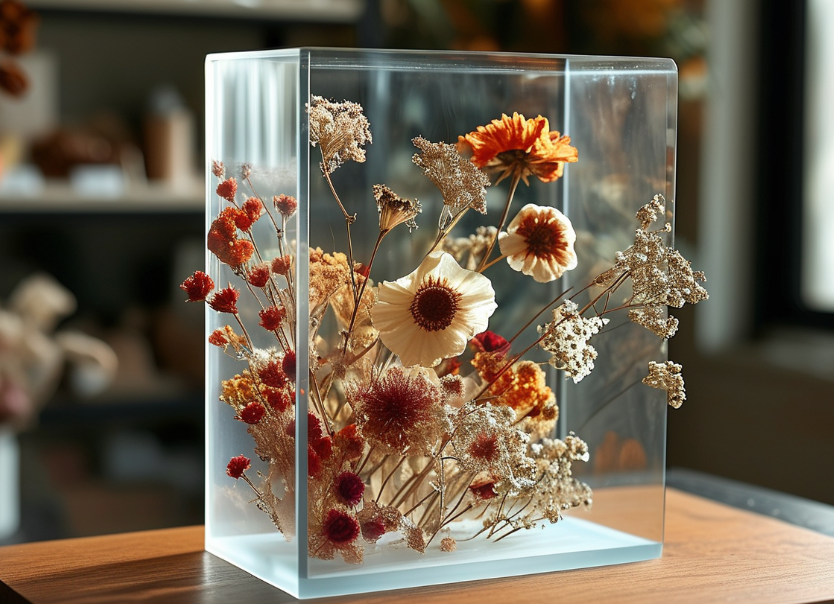
- Adding Elements: I often design laser-cut molds with small cavities to embed objects like flowers or glitter in the resin. This allows for unique, personalized keepsakes.
- Creating Cavities: By using the laser to create pockets or recesses in the mold, it’s easy to incorporate these elements into the final piece.

Real-Life Success Stories
1. Custom Wedding Coasters
One of my favorite projects involved creating personalized wedding coasters using laser-cut acrylic molds. By customizing each mold with the couple’s initials and wedding date, I was able to provide a personal touch that clients loved. The glossy finish achieved by the laser engraver gave the coasters a polished, professional look.
2. Memorial Keepsakes
Another meaningful project involved creating memorial keepsakes. Using laser molds, I embedded dried flowers from a loved one’s funeral into the resin. The precision of the laser cutting allowed me to craft a mold that cradled the flowers perfectly, ensuring they remained visible and intact within the resin.
3. Large Art Installations
I also collaborated with an artist to create a large-scale resin art installation. The laser engraver allowed us to cut intricate patterns into massive acrylic sheets, which were then filled with resin to create a breathtaking, multidimensional work of art. The laser’s precision was essential in ensuring the clean lines and smooth edges required for the piece’s professional look.
FAQ about Laser-Cut Resin Molds
- What materials are best for creating resin molds with lasers?
- Acrylic sheets are highly recommended due to their smooth surface and ability to achieve a glossy finish. Other materials like wood and certain plastics can also be used but may require different settings and techniques.
- Can laser cutting damage the mold material?
- Laser cutting is precise and minimizes damage. Cependant, improper settings (like high power) can cause burns or rough edges, so testing is crucial.
- How do I prevent air bubbles in my resin when using laser-cut molds?
- Design your mold without undercuts and ensure proper resin flow. Consider using vacuum chambers or resin warmers to reduce trapped air.
- Can laser cutting achieve a glossy finish on resin molds?
- Oui, the laser’s heat can lightly melt and polish the edges of certain materials, giving them a smooth, glossy finish.
- What software is compatible with laser cutters for mold design?
- Programmes comme Adobe Illustrator, CorelDRAW, and AutoCAD are commonly used for precise designs, easily exported to laser machines. Ensure the software can generate vector files compatible with your laser cutter.
By addressing these questions, users can better understand the process of creating detailed and professional-quality resin molds using laser technology.
Graveur laser fibre ComMarker B4 20W
Levage électrique: Le ComMarker B4-20W dispose d'un, moteur de levage caché. 3D Gaufrage et gravure profonde: La machine de gravure laser B4-20W gère les tâches complexes, gravure 3D multi-niveaux et gravure profonde sur métal et roche. Espace de travail spacieux: 110Objectifs doubles mm et 200 mm, zone de marquage avec deux localisateurs de points rouges pour un calibrage et une mise au point précis. Large compatibilité: Graver…
Whether you’re creating small personalized items or large art pieces, using laser technology to create resin molds opens up a world of possibilities. La précision, vitesse, and customization options offered by tools like the Graveur laser à fibre ComMarker B4 have revolutionized my approach to resin crafting.
If you’re serious about elevating your resin projects and achieving professional-quality results, investing in a laser engraver will be a game-changer. With the ability to experiment, customize, and iterate quickly, the sky’s the limit for what you can create.
Embrace the power of laser technology, and watch your resin creations come to life with unparalleled precision and beauty.


