


導入:
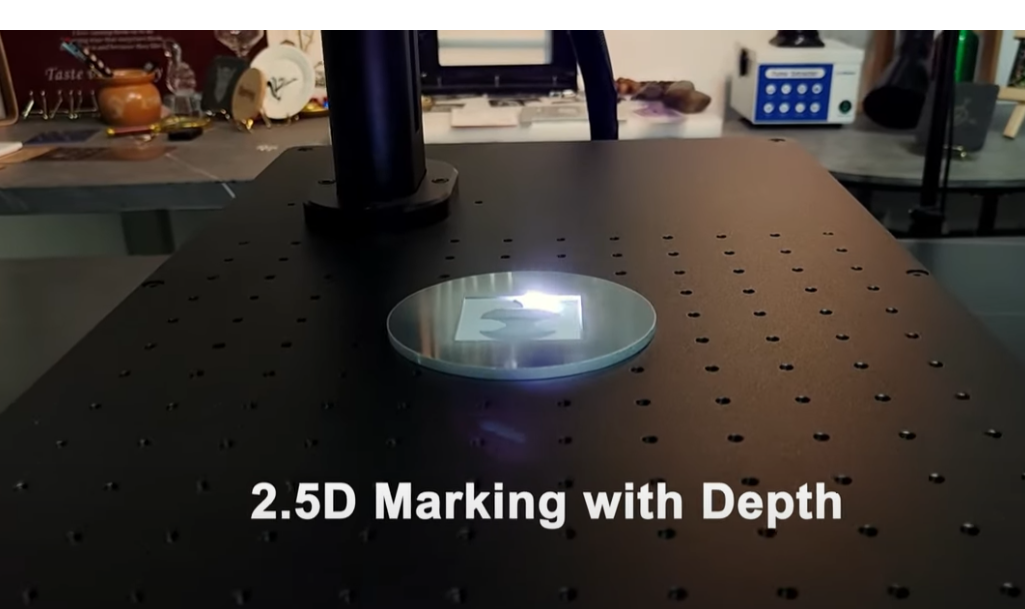
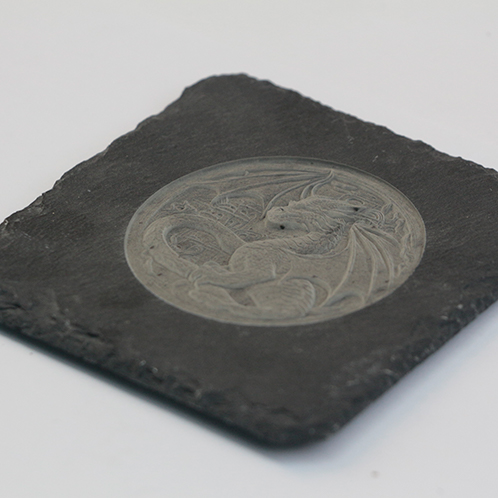
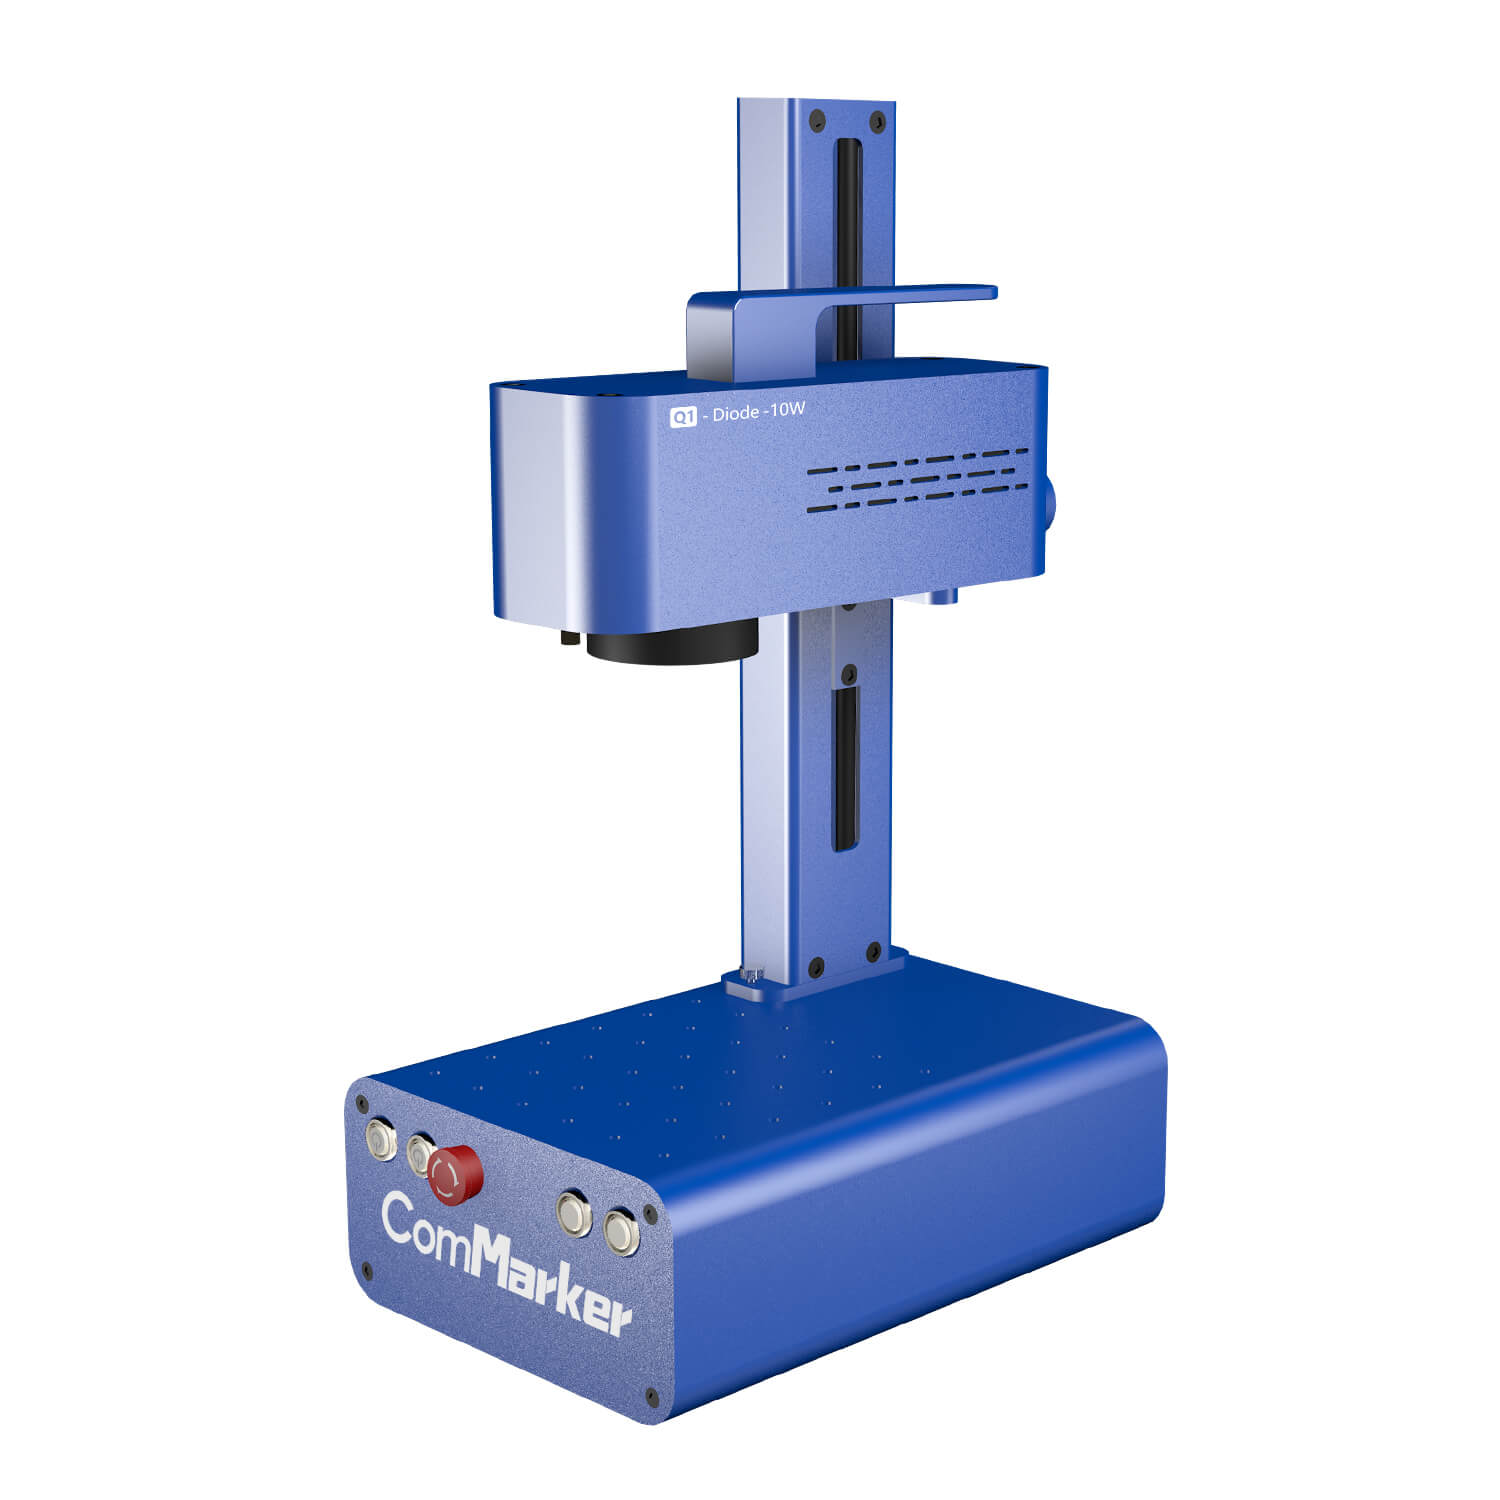
Step into the world of refined craftsmanship and artistic intricacy with the ComMarker B4 Laser Engraving Machine. This essay sheds light on the nuanced process of laser engraving, placing special emphasis on the introduction and mastery of parameters. Our exploration delves deep into the artistry of etching captivating pictures onto ceramic surfaces, showcasing the ComMarker B4’s ability to marry technology with creativity. As we unveil the enchantment within each engraved detail, our focus remains on the pivotal role played by meticulously set parameters, elevating the art of ceramic engraving to new heights. Join us on this journey where the コムマーカー B4 transforms ceramic canvases, and parameters become the brushstrokes defining precision in every laser-engraved masterpiece.
基本情報:
| ソフトウェア | ライトバーン |
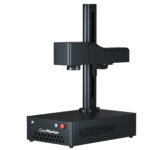
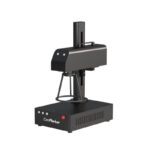
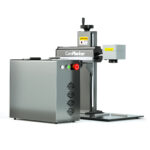
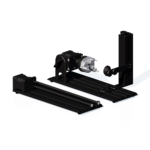
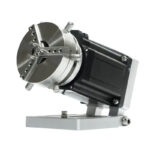
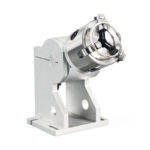
| 機械 | コムマーカー B4 Mopa Fiber Laser |
| レーザーモジュールの出力 | 60W |
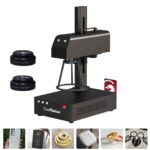
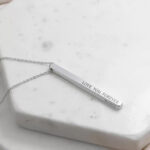
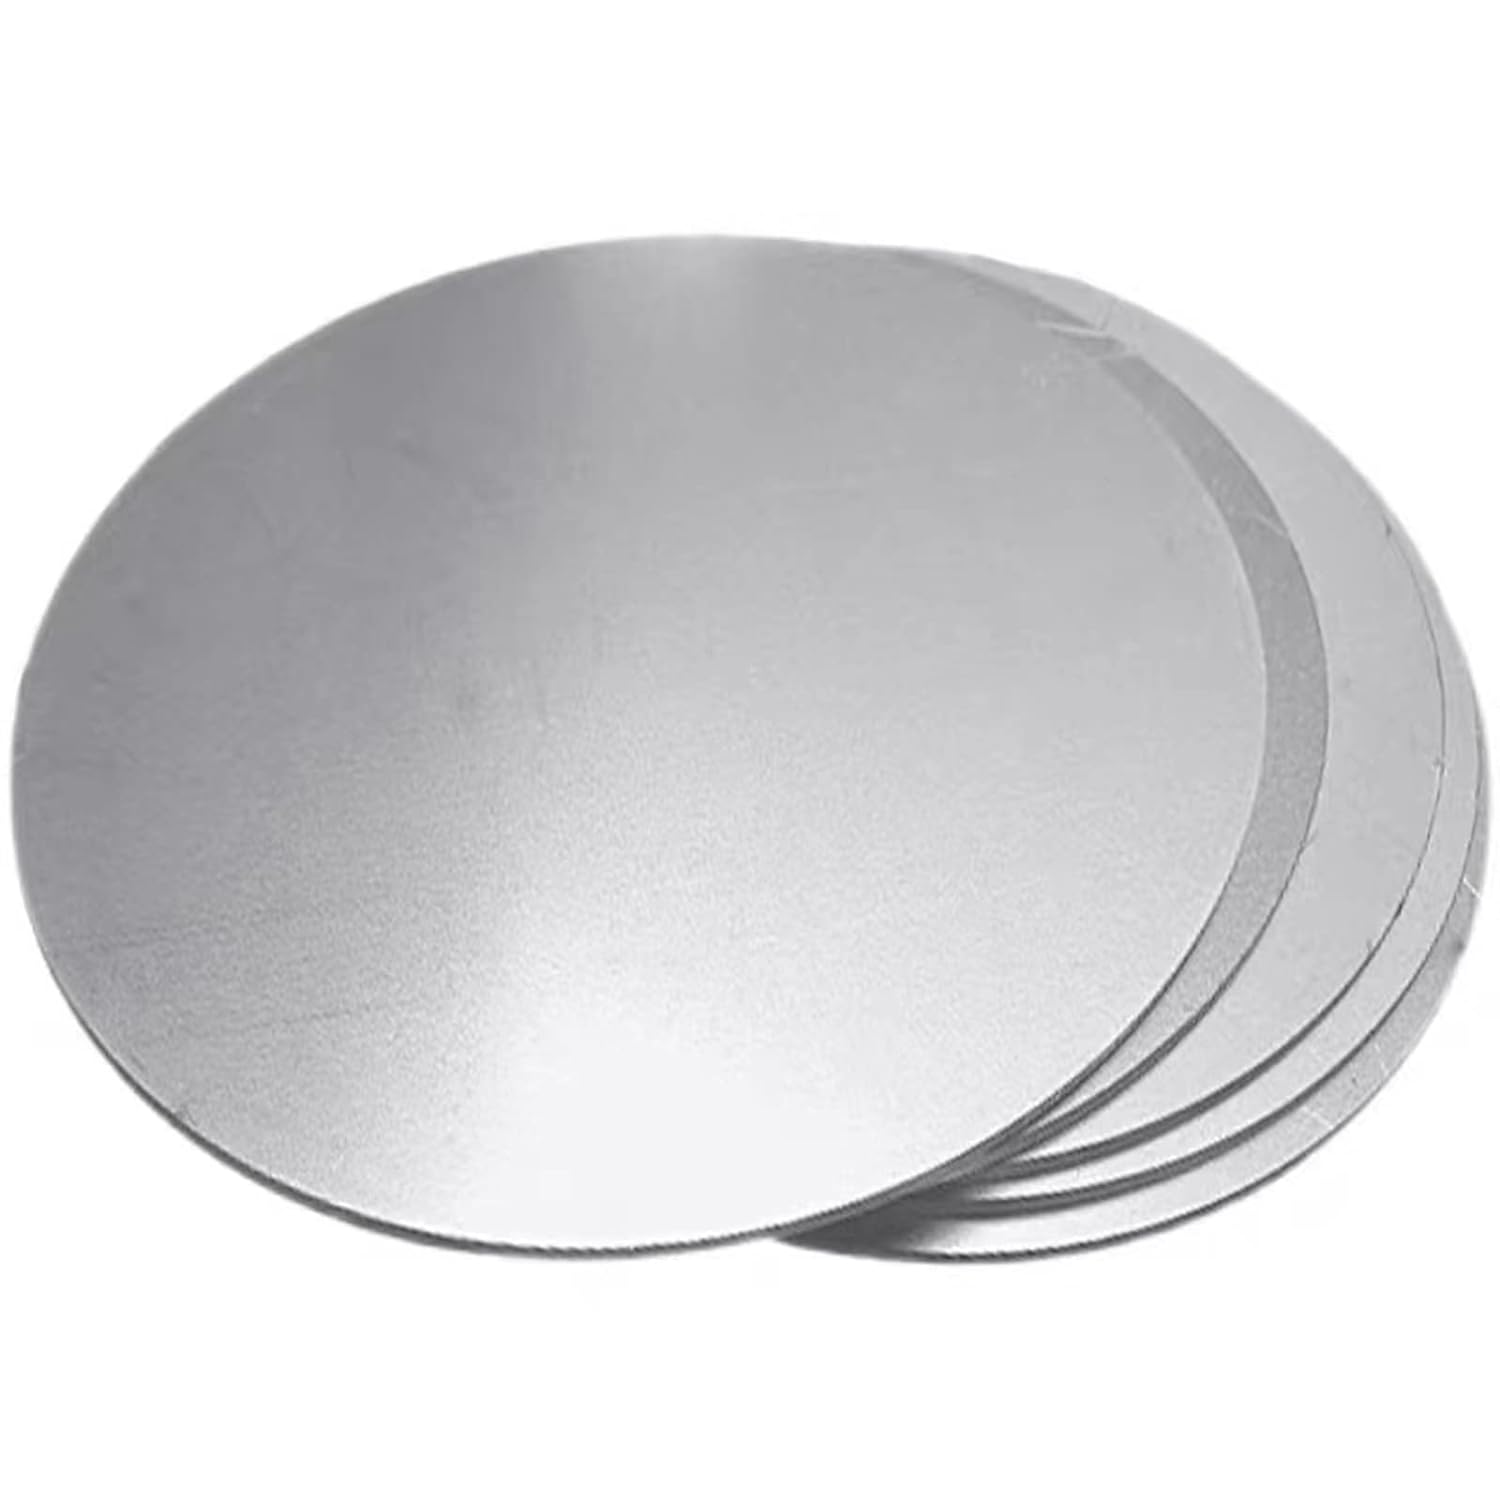
| 使用素材 | セラミック |
| 素材情報 | Ceramic tile |
| 時間を作る(分) | 10 |
設定:
| 加工方法 | Image |
| プロセス材料 | Ceramic tile |
| スピード(mm/s) | 1000 |
| マックスパワー(%) | 40 |
| 合格 | 1 |
| 行間 | 0.05 |
| Dot width | Enable |
| Dot width | 0.06 |
| Mode | Jarvis |
| 頻度 | 130 |
| Q-pulse Width | 30 |

命令:
ステップ 1: Input the Picture
Begin by uploading the image you wish to engrave into the software. Ensure the file is compatible with the engraving system.
ステップ 2: パラメータを設定する
If you’re familiar with the parameters required for the engraving, go ahead and input them. Alternatively, conduct a test engraving (Grim Test) to determine the optimal settings. Adjust the parameters based on the results of the test.
ステップ 3: Preview and Adjust
Using the red light preview feature, project the engraving onto the object. Adjust the size and position directly on the object itself using the red light guide within the workspace. Ensure the image is aligned precisely where you want it before proceeding to the next step.
This ensures a physical preview through the red light, allowing for real-time adjustments on the object before starting the laser engraving process.
ステップ 4: Start Laser Engraving
Once satisfied with the preview and settings, press the engrave button to initiate the laser engraving process. Ensure that all safety protocols are followed during the engraving operation.
Remember to consult the specific user manual or guidelines provided by the laser engraving machine manufacturer for any additional details or safety precautions.
結論:
In the realm of laser engraving with the ComMarker B4, technology intertwines seamlessly with creativity. The 60W Mopa laser module, guided by Lightburn software, transforms ceramic tiles into canvases for artistic expression. Parameters stand as silent architects, determining depth and intricacy in each engraved detail. Our step-by-step guide, from image upload to a red light preview, ensures precision in every step. コムマーカー B4, with its meticulous parameter control, becomes an artist’s tool, delicately etching images onto ceramic surfaces. This marriage of technology and human touch yields laser-engraved masterpieces, capturing beauty in every detail. As a celebration of artistic finesse, this journey inspires those venturing into laser engraving, where each stroke is a testament to the harmonious dance between machine and imagination.