Introduction
Laser engraving is a highly promising process when it comes to bringing your ideas to the table. It empowers you to devise artistic and versatile solutions as a designer or a producer. Over the years, people have been unfamiliar with the advantages of laser engraving, creating multiple lags for the artists. For this reason, there is a dire need to unpack the benefits of this process and discuss its phenomenon for deep understanding through this tutorial!

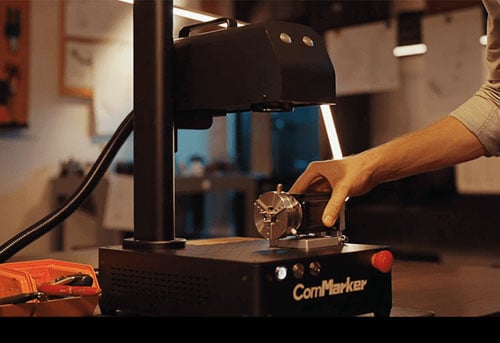
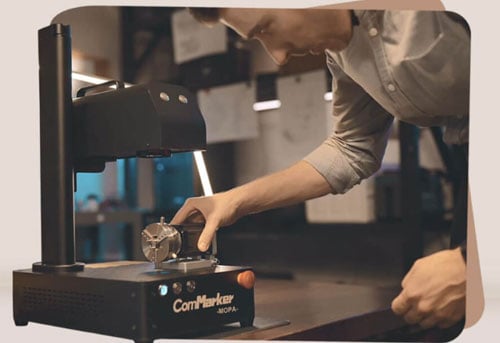
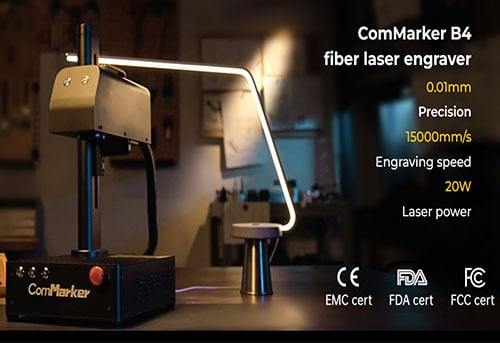
ComMarker B4 60W JPT MOPA Fiber Laser Marking Machine
Portable & Affordable: B4 MOPA 60W Fiber Laser Marking Machine weighs only 22kg; compact size within 336*555*635mm. Electric Lifting: Built-in hidden lifting motor for precise focusing. Color Marking & Super Cutting Ability: Capable of color engraving on stainless steel, black and white on aluminum, and cutting metals up to 2mm thick with 0.01mm accuracy. Spacious…
Overview of the Video Content
This detailed tutorial consists of all the phases of laser engraving so that beginners can understand it better. We are going to discuss why laser engraving has gained this much hype over the years and what makes it so special.
Step 1: Initial Setup and Connection

The first step is to install the Mopa Machine and EzCad for Commarker properly. Connect it with a laptop or computer. Check thoroughly whether the machine and all the components are attached and working or not. Last-minute checking if the correction file is imported and review ensure a smooth and flawless engraving process.
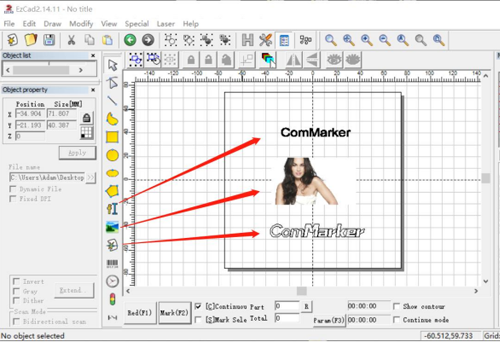
Step 2: Commarker and Interface

With Commarker, you get access to its supervising software. The reason behind using software is to make using this engraver more efficient and fun. Modern laser engraver now can work together with different designing tools that assist artists with engraving. The intuitive interfaces of this software allow you to handle the engraver with ease and enhance the quality of the designs.
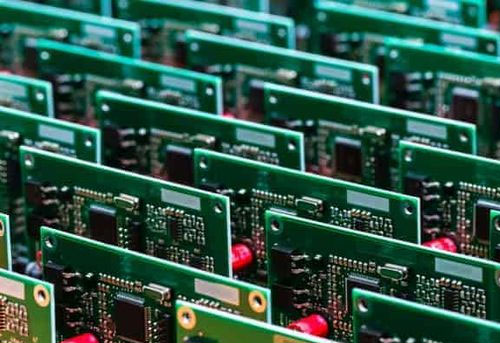
Step 3: Material Preparation

After setting up the machine, move on to the next step of loading the substance and material for engraving. Place all the material on the platform of the Mopa machine. Make sure that all materials are aligned correctly, then secure them with tight clamps to avoid any faults and errors during engraving if necessary
Step 4: Selecting the Engraving Tool
It is crucial to select an appropriate stylus or engraving tool like MOPA galvo machine. In order to create a high-quality and precise engraving, ensure the stylus is suitable and compatible with the material and Mopa Machine.

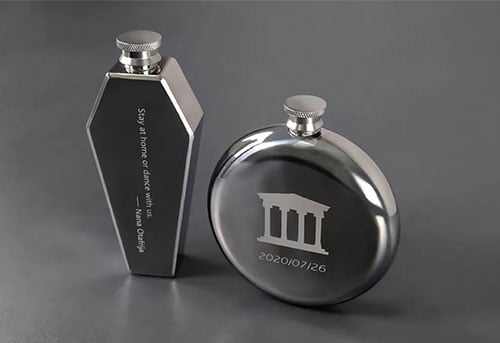
Step 5: Choosing the Color
The next phase consists of choosing an appropriate color for the different parts in engraving task. Pick the color according to the testing result, it’s crucial to select the color that goes well with the requirements of the project.
Step 6: Designing the Project
Designing is what makes your project stand out from others. It reflects your taste and view which is why it is a crucial step that needs precision and creativity. If you are making a new project design or utilizing the premade layout, see for yourself that it must be compatible with the material and the resolution of the Mopa machine. According to the corresponding parameters of the selected color (speed, power, pulse width, frequency, interval, number of passes), fill the corresponding area. Ensure that the parameters of the corresponding color are completely consistent with the parameters of the corresponding color in the test file.
Step 7: Uploading and Adjusting the Design
This efficient software enables you to see and make adjustments in the settings of the engraving like power, resolution, and speed as per your project’s requirements. Change the size and location to fit the material
Step 8: Starting the Engraving Process
At this point, you have everything you need for engraving. Now just press the button “Engrave” to start the process of engraving. The machine automatically selects the parameters for different colors and design as per the input and creates the design you want.
Step 9: Inspecting the Final Results
The last but most important step is the final inspection. Analyzing the project in the end ensures the design, color, and engraving is done properly. It also allows you to look for errors beforehand to avoid future unwanted events. Don’t worry if it fails, review the engraving process and check the area where wrong parameters were used. Through comparison, the cause of the error can be clarified and improved in the subsequent process.
Safety Precautions
Another essential thing to consider is your safety. Laser engraving is fun until you protect yourself from its side effects. One major downside of laser engraving is the toxic emissions. Therefore, you must work on your projects in an open, adequately well-ventilated space.Also, you’d better use a fume extractor which is able to extractor the dust and fume away.

ComMarker Fume Extractor-100W
BRUSHLESS MOTOR Low Noise and High Speed HIGHLY RECOMMEND IF YOU ARE WORKING AROUND FUMES AND SMOKE! 3-Stage Filter |
Troubleshooting and Maintenance
Engravers can undergo potential damage with time, which can damage their performance. To save your engraver from this, you need to take care of it. Some users must learn about the engravers’ software troubleshooting and mechanical maintenance.This costs them a lot of reworking and replacement expenditures. Therefore, you must carefully treat your engraver’s problems in time to make flawless designs and impressions.
Additional Tips and Tricks for Laser Engraving
Below, you will find additional tips for using an engraver effortlessly and more professionally, which will help you make your impressions stand out!
- Experiment with Frequency and Pulse witdth Settings: The best part about Mopa laser engraver is it has wide range of frequency and pulse width. Why? Because you can control them with these features to make your designs stand out and color engraving. Before working with new materials, it is hightly recommended to perform grid testing to ensure you find the right power, speed, frequency, and interval for the material
- Understand Material Responses: It is evident that the properties and nature of different materials respond uniquely to laser engraving.Therefore, you must be prepared to experience this response since you want to avoid getting shocked if something goes wrong. It will be better to learn about the properties of the material you are choosing through the internet and see how it reacts to the engravers. It will help you come up with seamless engraving each time.
- Regular Practice and Experimentation: Don’t underestimate the power of consistent practice to get friends with your engraver. Or else you won’t be able to use it for challenging and intricate designs when needed. This can hit your confidence, and you might give up on engraving quite soon. To avoid all this, watch multiple videos online and see how different people use engravers per their style and how you can learn from them.
- Learn from Each Project: We all make mistakes, and engraving experts, too, once made multiple mistakes. However, you should quit if you cannot achieve a particular engraving design. You should note down your mistakes and see what went wrong. Then, you can work on it before hopping on your next project. This is how you master the engraver’s settings, like its speed, power and interval, which are crucial for your projects.
- Be careful with thin materials: test with low power to prevent the material from being scorched or deformed by heat
Conclusion
Overall, the Mopa fiber laser engraver machine requires a number of steps for a successful engraving process. These steps include the machine setup, choosing the right color according to the grid testing result, modifying the settings, etching, and final quality and precision inspection. Every single step is equally important for a successful, high-quality, and precise final engraved product.
Here you go with the detailed tutorial regarding laser engravers. Hopefully, you are aware of this process now since our guidelines help you overcome the fear of using laser engraving for the first time. Be as creative as you want with your engraver, but meanwhile, ensure precautions, too!
It’s time to show your true engraving potential with a spectacular Commarker Laser Engraver. Go on, do experiments, and bring your imagination into reality today! Feel free to give us feedback once you use this fantastic engraver. So, it can empower others around you to give it a shot and make masterpieces out of their imagination right away!
Video tutorial: