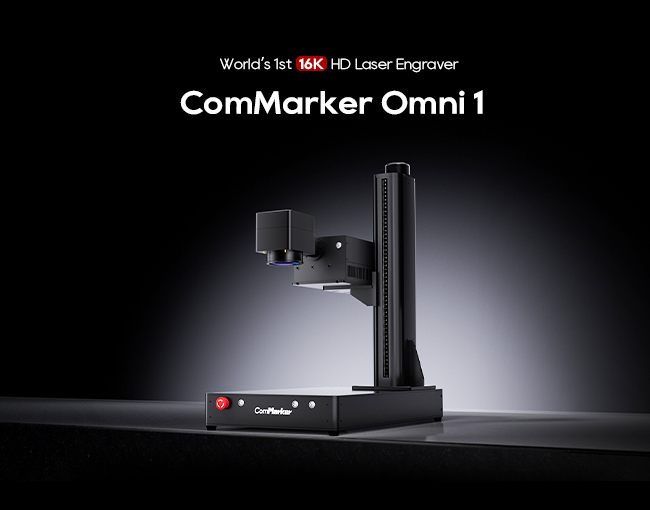
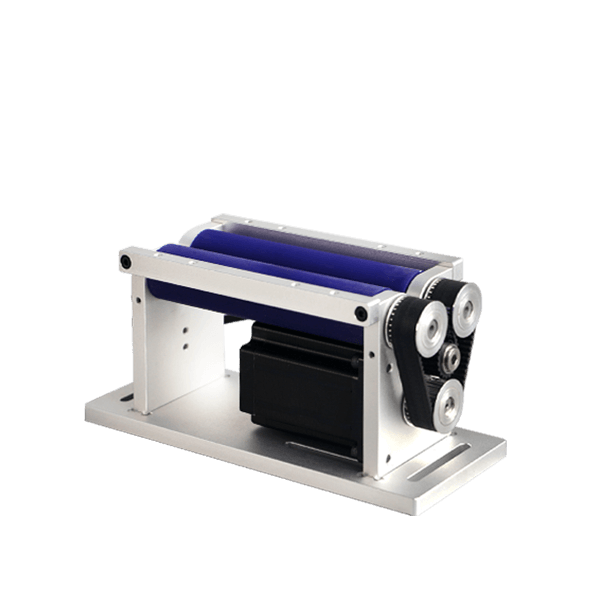
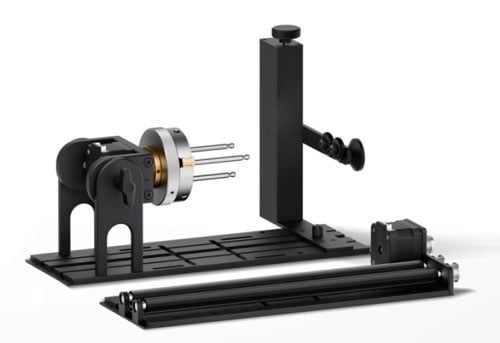
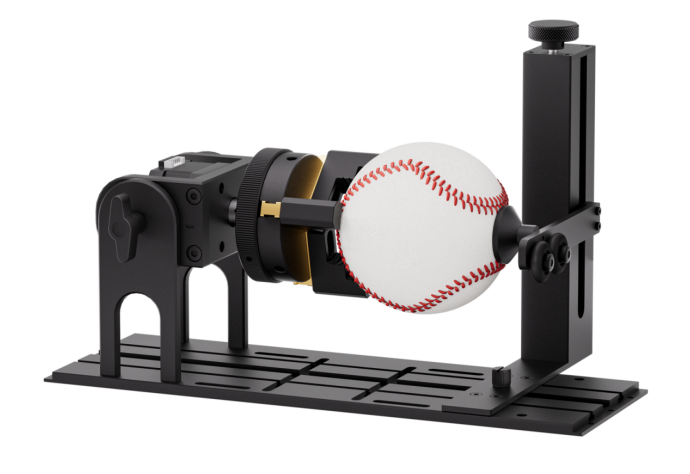
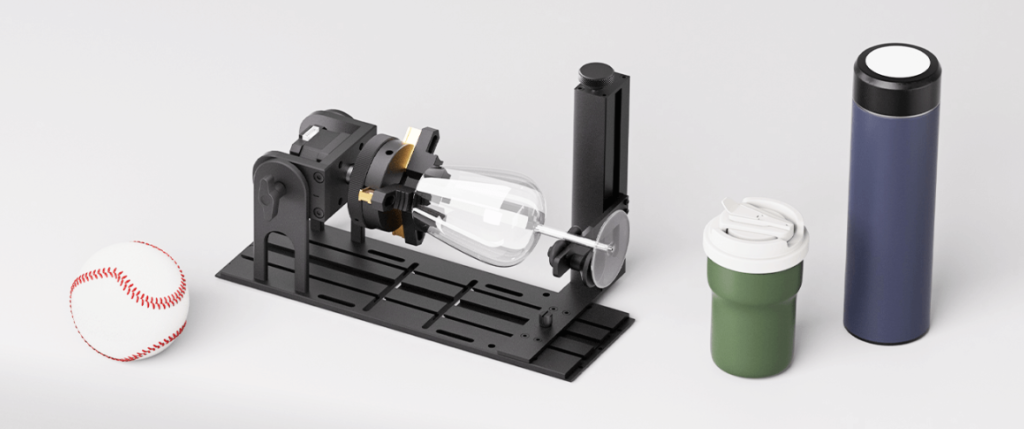
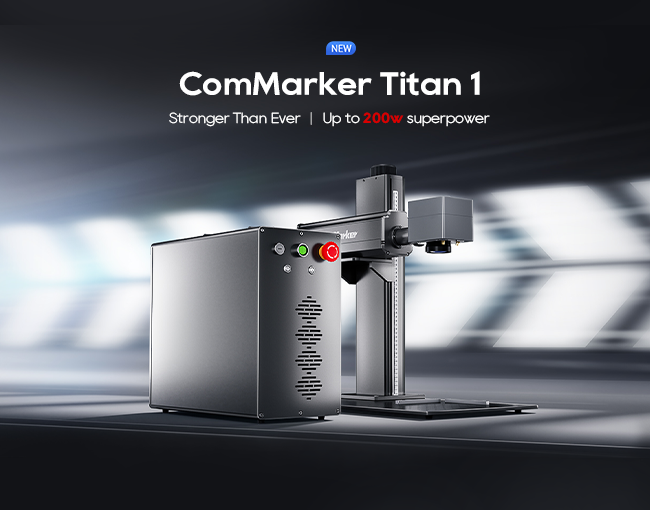
In today’s world, where personalized products are increasingly in demand, rotary engraving machines have become the go-to choice for both hobbyists and industrial users. Offering efficiency, precision, and versatility, the ComMarket R5 Multifunctional Rotary Engraving Machine is perfect for engraving cylindrical, spherical, and irregularly shaped objects. Paired with LightBurn software for intelligent control, the machine allows users to carry out engraving tasks with ease. This article will take you through every aspect of the ComMarket R5, from unboxing to advanced settings, to help you get started quickly.
1. Unboxing and Assembly: Setting Up Your Engraving Workstation
After receiving your ComMarket R5, unbox the contents and check that all core components are included. The following parts should be included (refer to page 2 of the manual for detailed images):
- Screws: Various sizes such as M8, M3, and M5 for fixing modules.
- Functional Modules: Double-step jaw, tail module, support holder, and baseplate.
- Key Accessories: Wing bolts, jaw chuck components, etc.
Assembly Recommendations:
- Choosing the Right Module: Depending on the object you are engraving (e.g., cylinders require roller clamps, and spheres require jaw chuck components), pick the appropriate module.
- Fixing the Baseplate: Using the step-by-step diagrams from pages 3-7 of the manual, securely install the support modules and ensure all components are tightly connected.

2. Software Configuration: LightBurn Rotary Parameters Explained
To operate the ComMarket R5, LightBurn software is required for controlling the machine. Below are the key configuration steps (refer to pages 10-18 of the manual):
Enabling the Rotary Axis:
- Go to Param (F3) and check the “Enable” box.
- Input the pulse count “12800” (this directly affects engraving precision).
- Choose the X/Y axis direction and enable “Reverse” if necessary to adjust engraving order.
Line Settings:
- In the Rotary Mark section, input the object diameter and create boundary lines for even distribution of engraving content.
- If the engraving pattern overlaps or has gaps, adjust the Gear Ratio (keep two decimal places and test for optimization).
Switching Between Roller and Jaw Clamp Modes:
- Roller Mode: Set Roller Diameter to 13mm for cylindrical objects.
- Jaw Clamp Mode: Input the object diameter (e.g., 56mm), and the system will automatically calculate the circumference.
General Parameters:
- Set the Split Size to 0.1mm, and fix the pulse count to 12800.
3. Hands-On Practice: Engraving Different Objects
Cylinder Engraving (pages 3-4):
- Place the object on the roller clamps, ensuring the preview red box is at the top.
- Import your vector file, then enable the Z Fill mode (do not check Mark Contour).
Engraving Spheres and Irregular Objects (pages 6-7):
- Secure the object with the jaw clamp, using the Force All Split function to prevent misalignment.
Text Engraving (pages 15-16):
- Enter your text in LightBurn and center it.
- Use Rotary Setup to calibrate the parameters, then click Mark to begin engraving.
4. Common Issues and Optimization Tips
Overlapping or Gaps in Engraving:
- Check the Gear Ratio value. Increase the number to eliminate overlap, or decrease it to fill gaps.
- Ensure the input diameter matches the real-world object size and that boundary lines are consistent.
Uneven Surface Engraving:
- Adjust the clamping force to prevent slipping.
- Enable Scale Compensation in LightBurn for fine-tuning adjustments.
Software Errors or Connection Issues:
- Restart the device and reconnect the USB cable.
- Verify that LightBurn is updated to the latest version, or download the driver updates from the official website.
5. Support and Resources
ComMarket provides comprehensive technical support for users:
- Official Resources: Visit www.commarker.com for video tutorials, documentation, and user guides.
- Technical Support: Reach out via email to support@commarker.com for quick responses to any machine-related issues.
6.Why Choose the ComMarket R5?
The ComMarket R5 Multifunctional Rotary Engraving Machine combines modular design and intelligent software, making rotary engraving accessible to everyone, from hobbyists to industrial manufacturers. Whether you’re mass-producing industrial parts or creating personalized items, the R5 offers high precision and flexibility to meet your needs.
Unlock Your Creative Potential: The R5 allows for a wide range of engraving tasks, making it a versatile tool for both professional and personal projects. With its user-friendly setup, powerful LightBurn integration, and reliable performance, the ComMarket R5 can transform your workflow and help you create unique, high-quality engraved products.
Safety Tips: Always wear protective eyewear and ensure proper ventilation in your workspace to maintain a safe working environment.
Start exploring your creative potential today with the ComMarket R5 Multifunctional Rotary Engraving Machine!
This version of the article offers a detailed yet concise guide, following a clear, logical structure and using appropriate technical terms to inform potential customers about the ComMarket R5. This approach can be both informative and engaging for those looking to invest in a high-quality rotary engraving machine.


