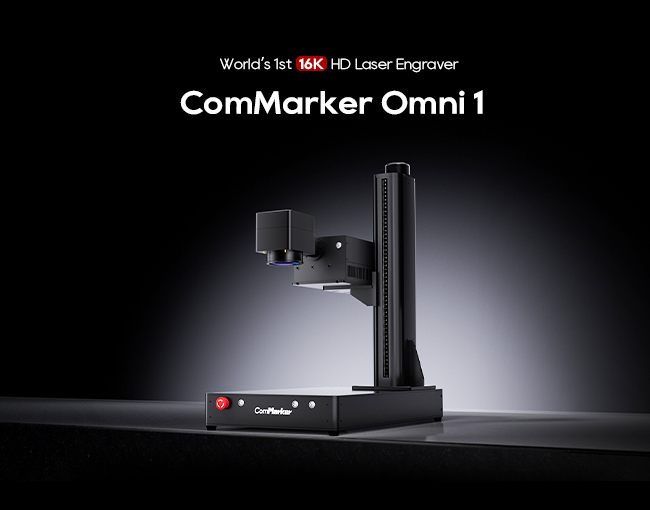
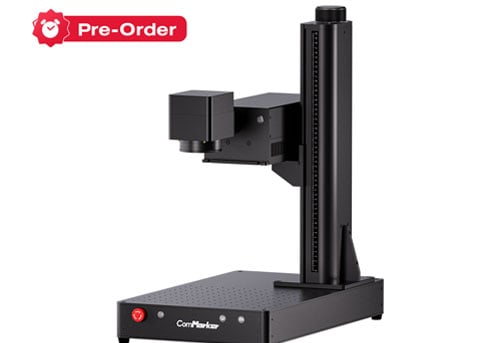
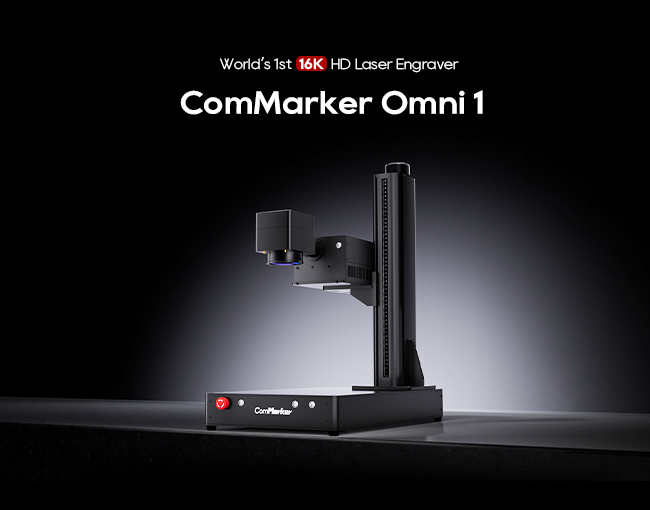
Laser engraving technology has revolutionized the way we personalize, mark, and create intricate designs on various materials. The ComMarker Omni UV Laser Engraver is a powerful tool that combines high precision and efficiency to deliver exceptional results on materials like metal, plastic, and glass. This guide will walk you through the essential steps for setting up and using this machine effectively while ensuring safe and efficient operation.
Safety Considerations
Before diving into the engraving process, safety should always be your first priority. Laser engravers, especially those using Class IV lasers like the ComMarker Omni, can pose serious risks if used improperly. Here are critical safety guidelines:
- Never leave the machine unattended during operation. Always monitor its performance closely to ensure it runs smoothly and safely.
- Inspect the machine thoroughly before each use to identify any damage or defects. If any issues are detected, refrain from using the device.
- Clean the workspace regularly, as debris buildup can lead to fire hazards. Laser cutting can generate tiny materials that accumulate inside the machine, potentially leading to overheating or other dangers.
- Do not modify or alter the machine’s structure without authorization.
Laser Safety
Class IV lasers are extremely powerful and can cause severe damage to the eyes or skin. Always wear laser safety goggles to protect yourself from accidental exposure. Additionally:
- Keep the laser beam away from any direct contact with your body.
- Ensure that anyone operating the machine is familiar with its risks, especially teenagers who must be supervised.
Material Safety
One of the main features of the ComMarker Omni UV laser engraver is its ability to work with a wide variety of materials. However, it’s crucial to use only recommended materials for engraving, such as:
- Metals: stainless steel, aluminum, bronze, brass
- Plastics: PP, PE, ABS
- Non-metals: wood, leather, paperboard
Avoid engraving unknown materials, as they may release harmful fumes or not react well with the laser beam.
Electrical Safety
The ComMarker Omni UV Laser Engraver requires a stable power supply with voltage fluctuations kept under 5%. The machine should also be grounded to avoid electrical hazards. Additionally:
- Operate the machine in a dry, well-ventilated space, and ensure the temperature remains within 10°–28°C for optimal performance.
Machine Structure and Specifications
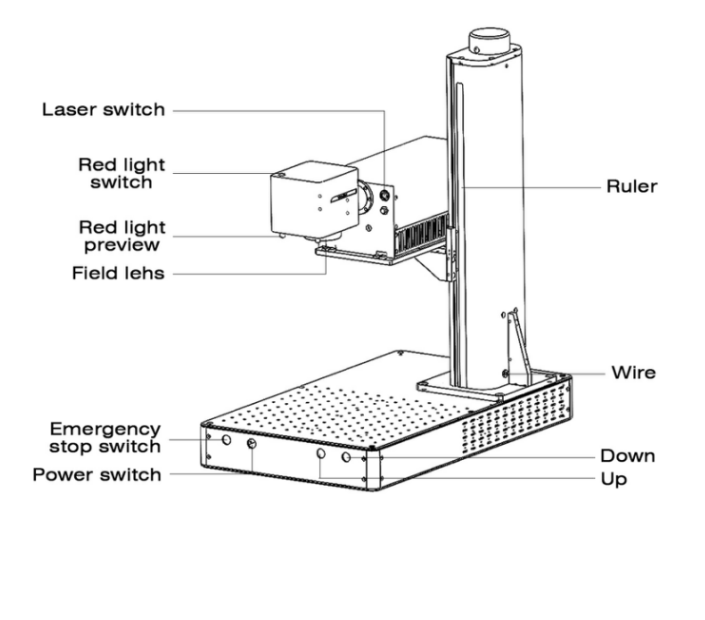
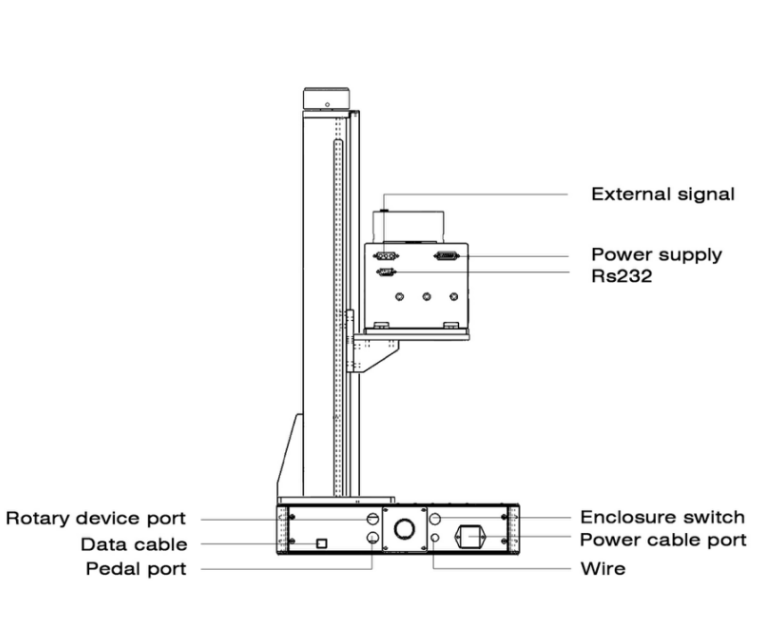
The ComMarker Omni UV Laser Engraver is built for high-precision work. Below are its core specifications:
- Working area: 70×70 mm and 150×150 mm
- Laser type: UV laser (355 nm)
- Marking speed: up to 7000 mm/s
- Supported graphic formats: AI, PLT, JPG, DXF
- Power output: 5W
These specs make the ComMarker Omni ideal for a variety of applications, from detailed artistic engraving to industrial marking.
Step-by-Step Operation Guide
1. Install the Driver
Start by installing the necessary drivers to ensure the laser engraver communicates properly with your computer:
- Right-click “This PC” and select “Manage.”
- In Device Manager, find “USBLMCV2” under other devices.
- Right-click “USBLMCV2” and update the driver by browsing for the correct file on the USB drive.
2. Launch the Software
After the driver installation is complete, open the USB drive and launch the EZCAD software. This is the primary tool for designing and controlling your engraving projects. You can input text, images, or vector diagrams. Begin by testing with text to get accustomed to the system.
3. Adjust the Focus
Proper focus is critical for achieving the best engraving results. Use the machine’s up and down buttons to align the two red light points until they overlap, indicating the correct focal point. The focal length varies slightly depending on the size of your working area:
- 70×70 mm
- 150×150 mm
4. Marking Test
Before performing a live engraving, test the marking area using the red light function to visualize the engraving space. Adjust key parameters such as speed, frequency, and pulse width to achieve the desired results.
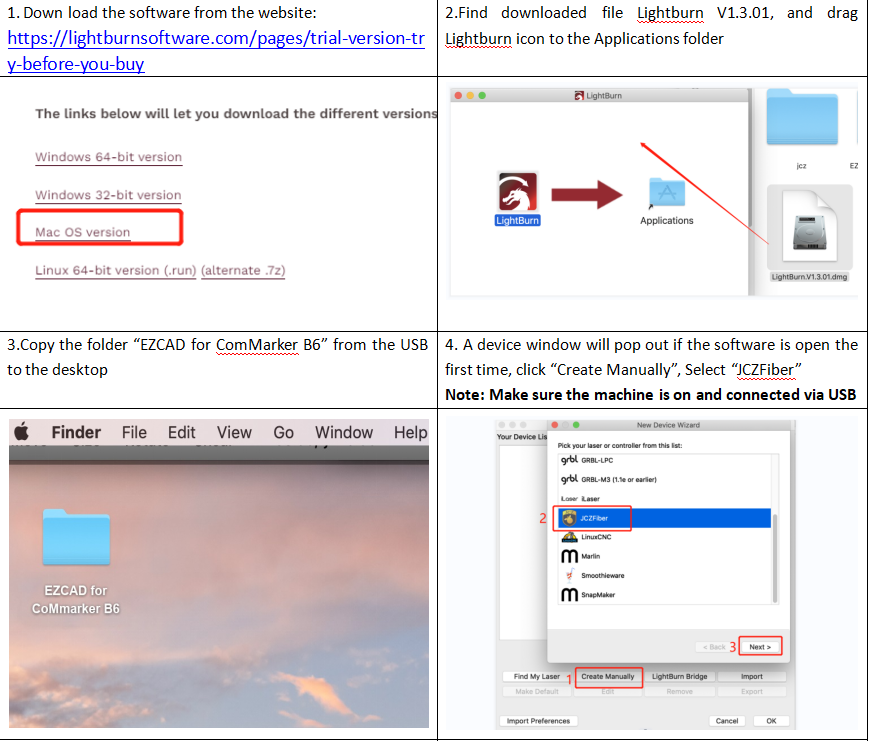
LightBurn Operation Tutorial (For MacOS Users)
For MacOS users, the ComMarker Omni UV Laser Engraver can be controlled using LightBurn, a highly popular laser control software. Note that the software requires a license beyond the free trial period, and it’s essential to download the latest version (1.3.01 or higher) for compatibility.
- Download LightBurn from the official website and drag the file into your Applications folder.
- Import the EZCAD configuration file and select the correct settings for your machine.
- Once the machine is connected via USB, LightBurn will display the “Ready” status, allowing you to start engraving projects immediately.
Maintenance and Troubleshooting
Maintaining your ComMarker Omni UV Laser Engraver is essential for long-term performance. Clean the workspace and machine interior regularly to avoid debris buildup. If you experience issues such as misaligned red lights or power fluctuations, refer to the FAQ section in the manual or contact technical support.
FAQ
Q1: The driver installation was unsuccessful. What should I do?
- Ensure you are using a genuine Windows operating system. If not, try using another computer to install the UV Laser Engraver drivers.
- Replace the data cable, preferably with a magnetic interference-proof one.
- If the issue persists, it might be related to the computer port or motherboard. Try using a different computer.
Q2: The double red light alignment is not at the optimal focal length.
- The UV Laser Engraver’s focal length is manually measured, and each device may vary due to differences in laser sources and field lenses. The measured distance should be from the bottom of the laser head to the engraving material’s surface. Adjust accordingly.
Q3: The USB flash drive is damaged and cannot be opened.
- Visit the official ComMarker website to download the UV Laser Engraver driver and software.
- Alternatively, contact after-sales support or email us for assistance.
Q4: The red light preview works, but the mark is missing or very light.
- Adjust the focal length. Refer to Q2 for debugging tips on your UV Laser Engraver.
- If the issue continues, contact after-sales support or email us.
Q5: The dongle is missing, and the software operates in demo mode.
- Ensure the UV Laser Engraver is powered on and properly connected to the computer via the data cable.
Q6: The preview and actual mark size are inconsistent or appear misaligned.
- Import the calibration file as per step 3 of the operating instructions for the UV Laser Engraver.
- If the issue remains unresolved, go to “Parameter (F3)” and input adjustment values under “Offset X,” “Offset Y,” or “Angle” based on your measurements.
- Contact support if the problem persists.
Q7: The red light preview doesn’t match the engraving position.
- Import the calibration file (see step 3 in the instructions for the UV Laser Engraver).
- If this doesn’t resolve the issue, go to “Parameter (F3)” and adjust “Red light pointer” by inputting the “Offset X” and “Offset Y” values according to the actual deviation, using a ruler for accurate measurements.
Q8: The previewed shape or mark appears distorted.
- Reimport the calibration file for your UV Laser Engraver (refer to step 3 in the instructions).
- If the problem remains, contact after-sales support or email us.
Q9: Nothing appears on the canvas when importing text or pictures.
- Make sure to click the “Practical Center” button to center the text or image on the canvas in your UV Laser Engraver software.
By following these guidelines and safety measures, you can maximize the potential of your ComMarker Omni UV Laser Engraver while ensuring safe and efficient operation. Whether you’re an artist, hobbyist, or small business owner, this versatile tool offers endless creative possibilities.


