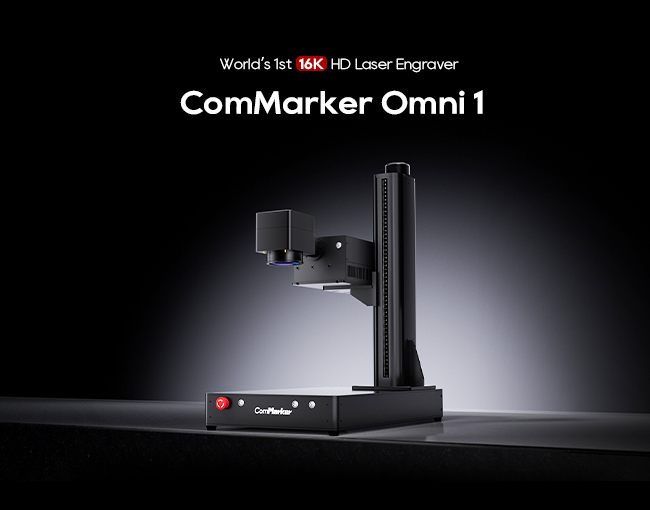
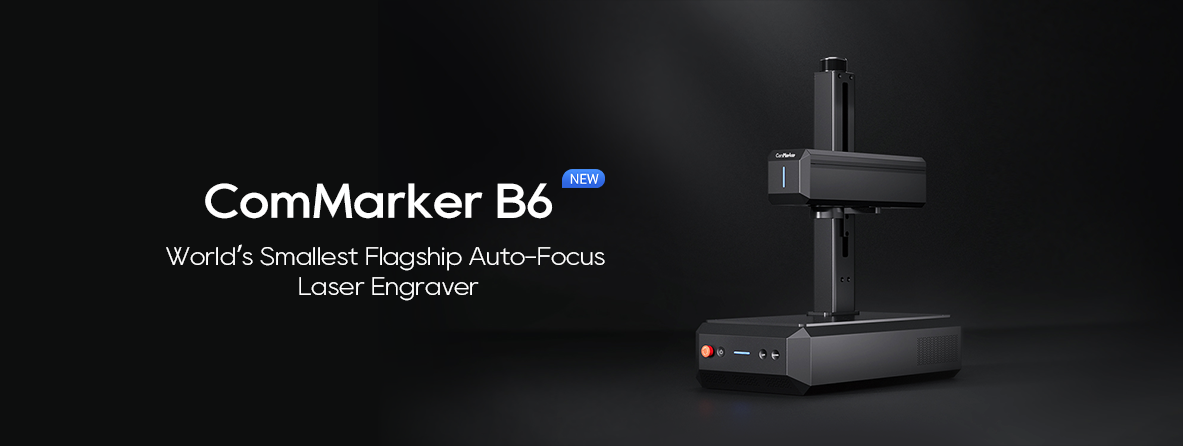
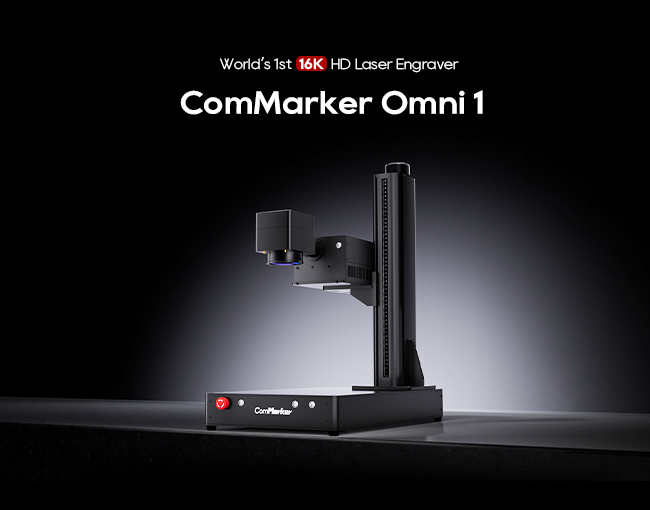
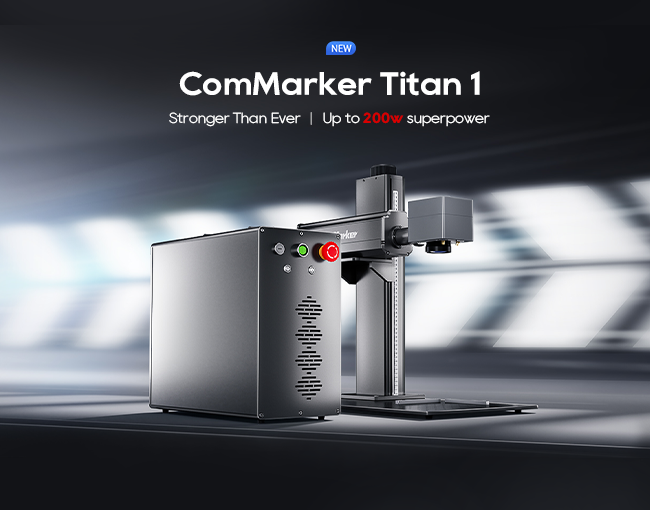
Whether you’re customizing nameplates, award plaques, or serial number tags, knowing how to laser engrave plates correctly is key to achieving clean, long-lasting results. This guide is designed for makers, small businesses, and industrial users alike. We’ll walk through the materials, settings, and best practices to laser engrave plates like a pro—using machines like the ComMarker B6 and Omni 1.
By the end, you’ll know how to select the right laser, avoid common issues, and achieve precision engraving across metal, plastic, or coated plates—all while keeping your process smooth, safe, and efficient.

Why Laser Engraving Plates Is a Must-Know Skill
Laser engraving plates is one of the most versatile and in-demand applications for both fiber and UV laser machines. From military dog tags to industrial control panels and restaurant signage, plate engraving ensures durable, legible markings that last for years—even outdoors.
Top Applications:
- Nameplates & ID tags
- Control panels & switchboards
- Promotional signage
- Asset tracking & barcodes
- Commemorative plaques

Choosing the Right Machine to Laser Engrave Plates
Different materials require different laser types. ComMarker offers two key options that cater to most use cases:
1. ComMarker B6 (Fiber Laser, 20–50W)
- Best for: Stainless steel, aluminum, brass, anodized metals
- Advantages: Deep engraving, high-speed marking, permanent results
- Power Tip: Use 20–30W for marking; 50W for light cutting or deep engraves
👉 Explore B6 Fiber Laser
2. ComMarker Omni 1 (UV Laser, 5–10W)
- Best for: Plastic plates, coated metals, leather, acrylic
- Advantages: Ultra-fine detail, cold engraving (no burn marks), versatile materials
- Power Tip: Great for PVC-free plastics and indoor signage
👉 View Omni 1 UV Laser

Recommended Materials for Plate Engraving
| Material | Laser Type | Notes |
|---|---|---|
| Stainless Steel | Fiber | Deep contrast, especially at 1064nm |
| Anodized Aluminum | Fiber or UV | Color options with MOPA; good for ID tags |
| Coated Brass/Steel | UV preferred | No charring, retains clean edges |
| Acrylic & Plastics | UV | Crisp details without melting |
| Wood Plaques | UV or CO₂ | Optional paint fill after engraving |

Step-by-Step: How to Laser Engrave Plates
1. Prep Your Plate
Clean with isopropyl alcohol to remove oils, dust, or protective films. Use masking tape if needed to reduce residue (especially on plastics).
2. Load Your Design in Software
Whether you’re using LightBurn or EZCAD2, import your vector file (SVG, DXF) or bitmap (JPG, PNG) and scale it to fit your plate size.
3. Set Your Parameters
Sample Settings for Fiber Laser (B6):
- Material: Stainless Steel
- Speed: 800 mm/s
- Power: 40%
- Frequency: 30 kHz
- Passes: 1–3
- Hatch: 0.03 mm at 0°/90° crosshatch
Sample Settings for UV Laser (Omni 1):
- Material: Acrylic plate
- Speed: 1200 mm/s
- Power: 30%
- Frequency: 40 kHz
- Line Interval: 0.02 mm
💡 Tip: Always do a small test engrave in the corner first.
4. Focus and Frame
Use auto-focus if available. Frame the job area to ensure proper alignment and avoid clipping the design off the edge.
5. Run Your Engrave
Monitor the first pass. If engraving depth or contrast isn’t sufficient, increase the number of passes or adjust the frequency.
6. Clean and Inspect
Use a soft brush or microfiber cloth to wipe off debris. For metal plates, a dab of polishing compound can enhance shine.

Common Troubleshooting Tips
| Issue | Cause | Fix |
|---|---|---|
| Faint engraving | Low power or too-fast speed | Lower speed or increase power |
| Burned edges (plastics) | Too much heat | Switch to UV laser or lower settings |
| Misalignment | Plate not fixed or beam not centered | Use clamps or run “frame” preview |
| Inconsistent depth | Uneven focus | Check autofocus or use focus gauge |
Best Practices for Long-Term Results
- Batch your jobs: Use a jig or fixture for engraving multiple plates at once.
- Record your settings: Save presets in LightBurn/EZCAD2 for repeat jobs.
- Rotate designs: For multi-directional plates, engrave from different angles for deeper texture.
- Protect your lens: Use air assist or a fan to blow away debris during metal engraving.

Which Laser Is Right for Your Plate Work?
If you’re working primarily with metal plates, the ComMarker B6 Fiber Laser is the go-to choice. It’s fast, reliable, and produces professional-grade results with virtually no maintenance.
For delicate work or multi-material applications (like plastic, coated metal, or acrylic), the ComMarker Omni 1 UV Laser is unbeatable in clarity and safety—no fumes, no burns, just clean and sharp engravings.
✅ Ready to laser engrave plates with pro-level precision?
🔗 Shop the ComMarker B6 now →
🔗 Explore the Omni 1 UV →
Your next plaque, tag, or panel deserves engraving that lasts. Make it happen with the right machine from ComMarker.


