How to Install & Use EZCAD for Fiber Laser Engraver?

- Install the driver
Note: please conduct the following operation before installing the driver
1) The machine is on; 2)Keep the emergency button not pressed; 3) Data cable connected1.Right-click “this PC”, click “Manage” - Click “Device Manager”, find “USBLMCV2”, “USBLMCV4”or“Unknown Device” in “Other devices” or “Universal SerialBus devices”
- Right-click “USBLMCV2”, “USBLMCV4” or “Unknown.Device” and “Update driver”
- Select “Browse My Computer for Drivers” 1234
- Find the corresponding file with window system in the USB drive, click OK
- Click “Install”
- Click “finish” if it is successful
- It will display “BJJCZ Device” in Device Manager
Noted: *It is recommended to copy and paste the files of the USB disk to the computer desktop or other computerdisks.
How to use EZCAD Software with Fiber Laser Engraver?

Step 1: Open EZCAD Software
- Connect the USB to your computer.
- Navigate to “EZCAD for ComMarker” in the USB folder.
- Select the 110mm folder if your lens is 110mm.
- Open the software “EZCAD2“.
Step 2: Add Text or Import Files
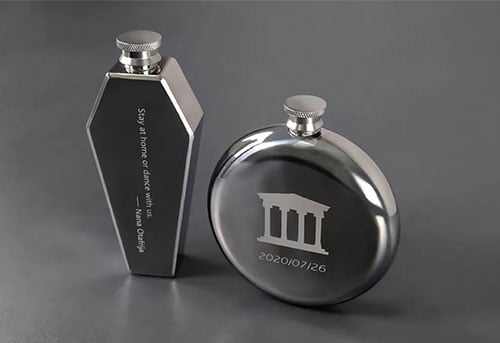
- You can enter “text”, or import “pictures” or “vector files” as needed.
- It is recommended to select the text for initial testing.
Step 3: Import the Correction File
- Select “Parameter (F3)”.
- Tick “Use Correct File”.
- Select the .cor file from the USB flash drive or computer disk.
- Click “OK (确认)”.
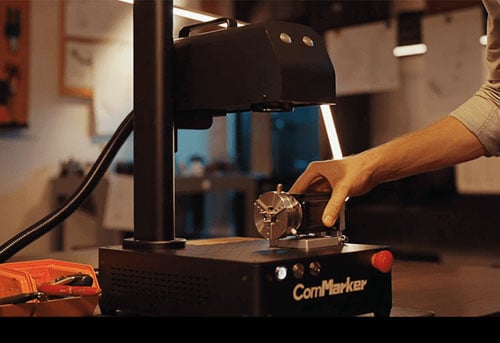
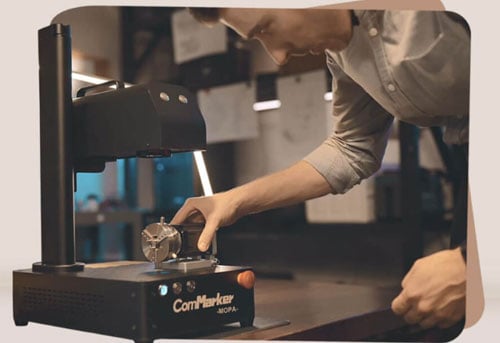
Step 4: Adjust the Focus
- Press the up or down button to lift or lower the laser head until the three red light points overlap, indicating the best focal point.
- The measuring focal length of this machine is ___________ mm (110×110) and _________ mm (200×200).
- The measuring distance is the length from the bottom line of the laser head to the surface of the engraving material.
- Focus calibration steps:
- Place the stainless steel test plate on the machine table.
- Lift or lower the laser head to the best focus point according to the handwritten number.
- Turn on the machine and connect it to the computer.
- Import “TEXT” for testing, select default parameters, and tick “continuous part”.
- Press “red (F1)” to ensure it’ll mark on the test material. Click “mark” for continuous marking.
- Adjust the laser head to observe changes in laser intensity. Stop at the strongest laser intensity.
- Loosen the screws for the auxiliary red light beams.
- Adjust the red light dots to overlap and tighten the screws.
Step 5: Marking Test
- Place the test engraving material on the machine.
- Click “Red (F1)” to outline the marking area with the red light.
- Tick “Default Parameters”.
- Click “Mark (F2)” to start marking.
Following these steps ensures that your ComMarker machine is set up correctly with the EZCAD software for optimal performance.
EZCAD Software FAQ:
1.Is LightBurn better than EZCAD?
LightBurn is designed to be user-friendly and accessible to users of all skill levels. While it does offer a good level of customizability, it may not have as many advanced options as EZCAD.
2.How does Fiber laser engraving software work?
With the right Fiber laser marking software, users can create designs, configure them to communicate with their machines, and apply the appropriate Fiber laser power settings.Fiber Laser engraving software operates as an essential intermediary between the user’s imagination and their engraving machines.
3.What is the best Fiber laser engraving file?
The best file formats for laser engraving are vector files such as:
- SVG (Scalable Vector Graphics): Ideal for maintaining high quality at any size.
- AI (Adobe Illustrator): Commonly used by professionals for detailed and scalable designs.
- DXF (Drawing Exchange Format): Widely supported in CAD and laser cutting software.
These formats ensure precise and clean engravings, as they use mathematical formulas to create shapes and lines, making them highly scalable without loss of quality. For images, high-resolution PNGs or BMPs are preferred for engraving detailed pictures.