


Unboxing & Safety
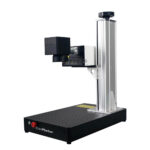
All right, welcome back to the Redbeard Ops Workshop . Today, he is going to be reviewing a fiber laser from ComMarker. He had seen some other YouTubers using ComMarker B4 laser engraving machine , and that gave his the confidence to collaborate with ComMarker for a review from the perspective of a knife maker. As you all know, he has reviewed the Xtool 20W diode laser engraver in the past, and he will be getting into what differentiates these two laser machines later in the video.
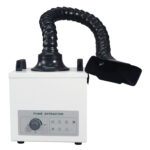
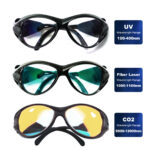
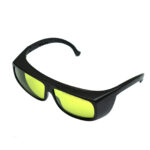
While putting the machine together, it’s impaortant to note that these lasers are not toys and can cause damage to your eyes or lungs, depending on what you’re engraving. The laser comes with a set of protective glasses, but they ended up ordering another set that is certified and will protect them with both lasers in their shop since they have different wavelengths. The 190nm to 550nm range will cover the diode laser, and 800nm to 1100nm will cover this fiber laser. Additionally, he emphasizes the importance of keeping the shop ventilated and potentially using a fume extractor if engraving toxic materials or working in high volumes.
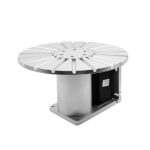
As you just saw, the assembly was very straightforward, especially in contrast to putting together the Gantry on the Xtool diode laser. The only movement this fiber laser has is in the Z-axis in order for a user to focus it.
Preliminary Understanding
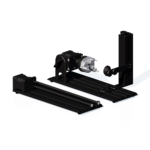
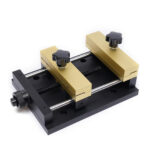
RedBeardOps hadn’t been satisfied with the quality of the plastic fences that came with ComMarker B4. Consequently, he took it upon themselves to design replacements using Fusion 360, intending to print them out on their Bamboo Labs P1S. Additionally, they designed a 3D printed stand for the rotary attachment, which they planned to attach to the laser bed since it tended to hang off the side during use. They mentioned that free links to these print files would be included below in the description.
ComMarker B4 includes a USB stick with the necessary drivers and a copy of ezcad to facilitate setup. However, as RedBeardOps is already a Lightburn user, he opted to upgrade to the galvo version of Lightburn software, which is required for fiber laser engraver . Although he decided not to delve into the mundane details of computer setup, he indicated that an installation guide link would be provided in the cards and/or description below.
Before proceeding with knife steel depth testing and maker marks on knives he cared about, RedBeardOps wanted to acquaint themselves with commarker b4 laser marking machine .
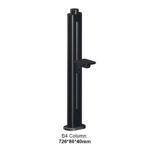
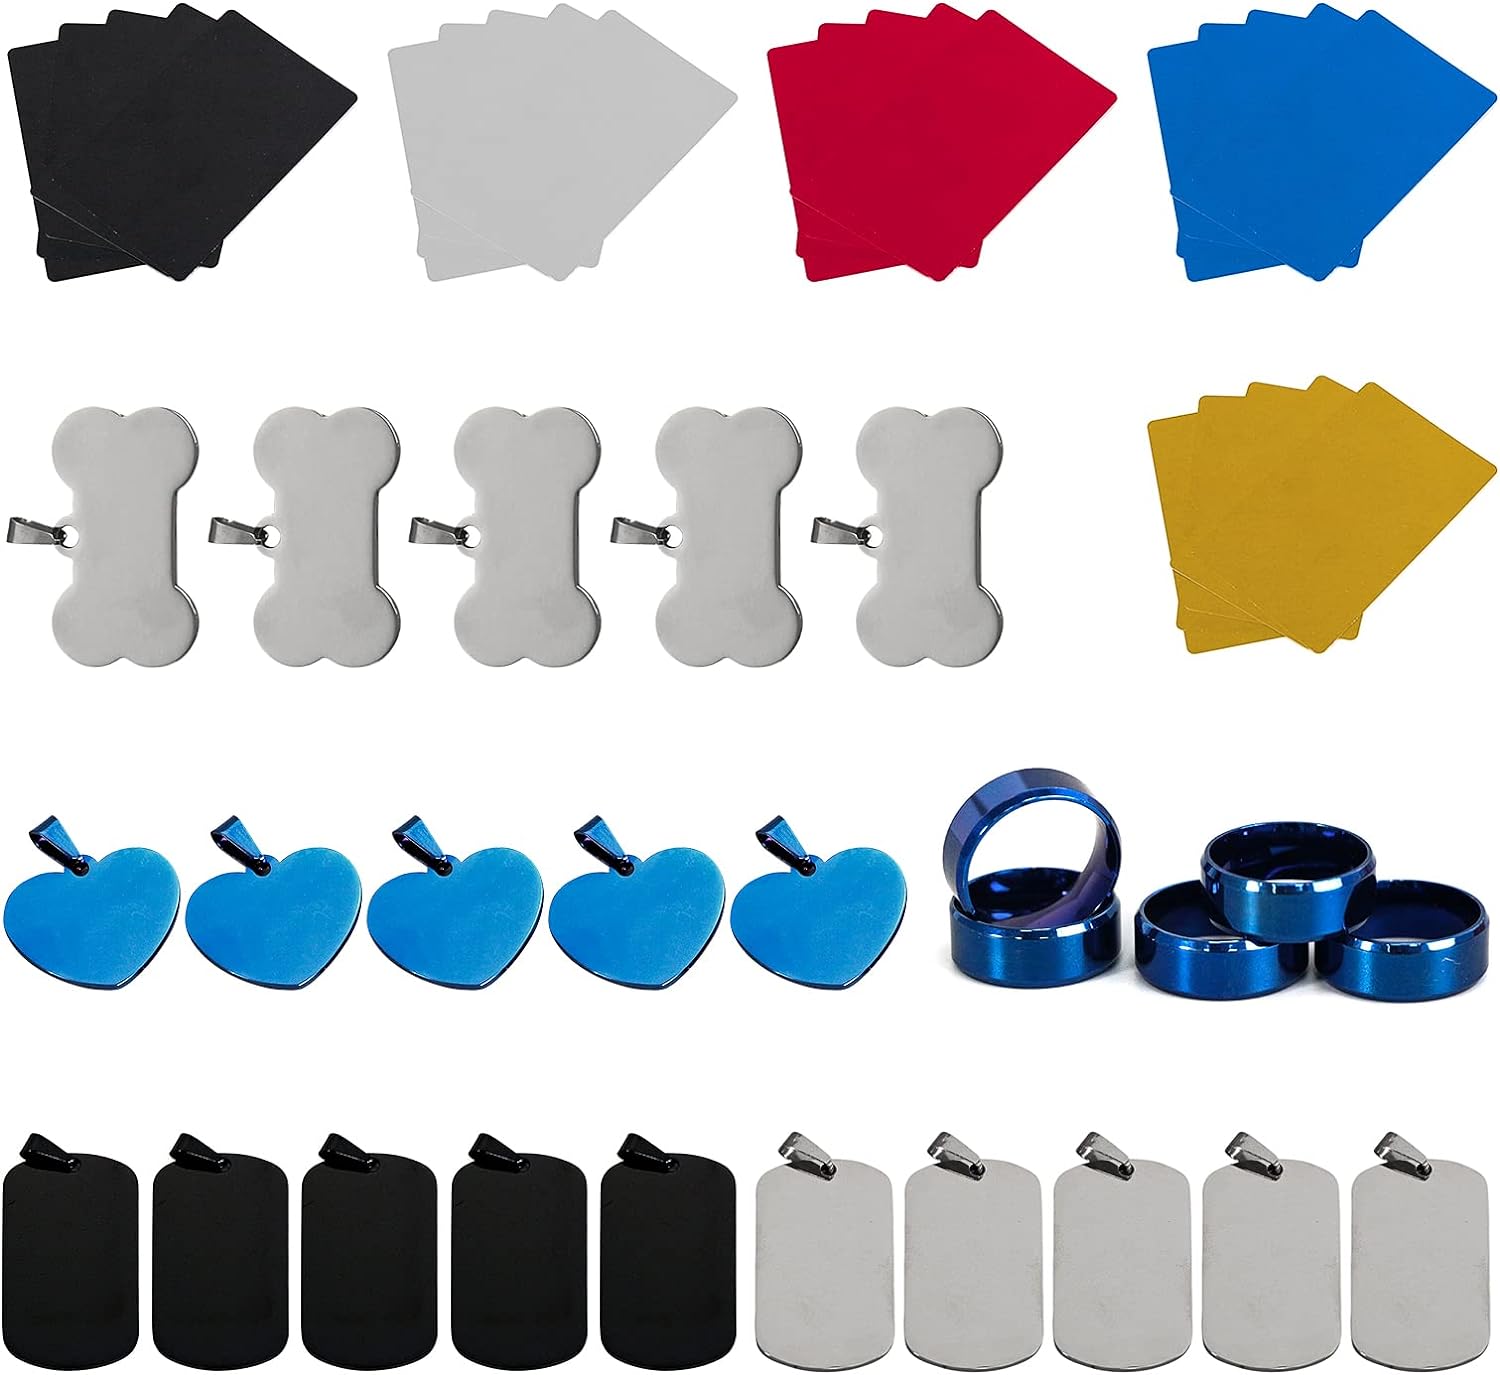
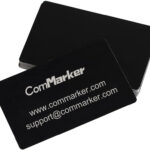
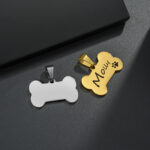
In the segment about laser bed alignment, RedBeardOps mentions that the ComMarker laser engraver cames with a pack of sample materials, such as business cards and dog tags, which are suitable for testing purposes. He quickly noticed that his laser wasn’t aligned with the fences. To address this issue, he lined up one of the business cards with the fence and etched a horizontal line on it using Lightburn software . Adjusting the alignment was a simple process that involved loosening the column bolts and gently turning the column counterclockwise within the tolerance of the mounting holes.
He then experimented with the settings using a chrome dog tag from the sample pack. After some trial and error, he found the optimal settings that resulted in a dark and deep etch into the dog tag. He emphasize that achieving the desired results often requires experimentation and sacrificial materials.
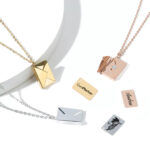
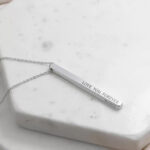
Feeling confident after successfully etching the dog tag, they express their intention to personalize some tools, which they believe can be useful not only as gifts but also for keeping track of tools in a multi-person environment.
RedBeardOps acknowledges an issue with the Red Dot preview frame not lining up with the final result on steel. Although he resolved this issue after shooting most of the footage, he mention that there is a software solution in Lightburn settings to offset the frame, ensuring accurate alignment.
Finally, he remark that the laser performed well in etching both brass and aluminum materials.
Material Testing
Brass & Aluminum
In the discussion about etching brass and aluminum, RedBeardOps expresses his impression with the laser’s performance, particularly in etching these materials deeply. He notes that he has observed others using the fiber laser for etching brass coins, which leads him to believe that with enough time, it could be utilized for creating custom brass leather stamps or similar items.
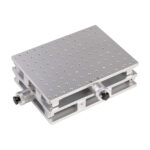
RedBeardOps mentions the simplicity of focusing the laser using the Z-axis motor, where one aligns the material on the bed and adjusts the laser head until the three dots overlay each other. He demonstrates this process by etching his vice jaws to showcase the laser’s performance on aluminum. Additionally, he intends to incorporate some branded elements into the background of his hand sanding footage using commarker b4 fiber laser engraver .
Moving forward, He expresses his intention to continue testing different materials and settings with commarker b4 20w laser marking machine .
Leather & Wood
When discussing etching on leather and wood, RedBeardOps mentions that a fiber laser engraving machine is not particularly suited for these materials. Its higher wavelength makes it ideal for metals, but it tends to underperform compared to a diode laser when it comes to natural soft materials. Although some people have achieved success with leather etching using a fiber laser, RedBeardOps believes it requires a significant amount of time to fine-tune the settings. He demonstrate their experimentation on a test piece, showcasing a range of light to ultra-dark marks.
Additionally, He notes that the performance on wood is also subpar. For those interested in etching wood and leather, RedBeardOps recommends opting for a diode laser like the 20W Xtool, which he has previously reviewed on his channel. This recommendation extends to cutting applications as well. If one intends to cut out sheath templates or custom wood boxes, a diode laser is the preferred choice.
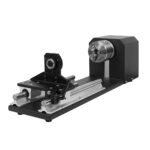
Before transitioning to knife steel testing, RedBeardOps highlights the rotary tool and its functionality.
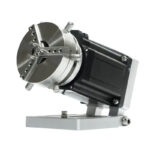
Rotary Tool(Tumbler)
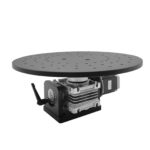
When discussing the performance of the fiber laser on tumblers, RedBeardOps highlights his popularity for engraving purposes, whether as gifts or for creating custom merchandise for shops. He recounts spending hours figuring out the right settings for Yeti tumblers on the machine and hope that sharing his insights will assist others looking to undertake similar projects. Noteworthy is the mention of focusing the laser at the apex of the cup and employing a small split on the rotary tool settings. He also mentions running multiple passes at lower power to avoid marking the underlying stainless steel and only burn off the powder coat. He emphasizes the importance of proper ventilation when using the laser in the shop.
Regarding the potential rotary application for knife making, RedBeardOps speculates that it could potentially be used to engrave pommel nuts but admits to drawing a blank on other potential uses in the shop. He invites viewers to share any ideas they may have in the comments section.
In conclusion, RedBeardOps indicates that they have now familiarized themselves with the machine and are ready to proceed with their planned activities.
Knife Steel Initial Testing
In the process of testing knife steel with the machine, RedBeardOps begins by taking a piece of 104 bar stock and initiating test grids for speed and power using Lightburn’s built-in testing panel. He mention the ability to vary the interval and frequency for fiber lasers, starting with a general spot. Subsequently, they commence running iterations of their maker mark on the test piece to evaluate the sample etches.
After completing the etching process, RedBeardOps transfers the bar to his sanding bench and removes the soot around the edges with sandpaper to assess the depth of the etch. Noticing that the first batch of marks was washing out, they realize the need to increase the laser duration with multiple passes. They point out running a relatively low power setting to avoid edge discoloration around their mark, though they acknowledge the necessity for further testing to confirm this theory.
Upon completing the second batch of maker marks, RedBeardOps is pleasantly surprised by the improved outcome, particularly noting the cleanliness and depth of the third mark. They express their astonishment at the quality achieved and hint at further testing in the future to refine their process.
Depth Testing VS Electro Chem
In order to provide a comprehensive comparison, RedBeardOps decides to conduct depth testing between the fiber laser, their normal electrochemical etching method, and the diode laser. He explains their methodology, which involves etching small rectangles onto a piece of stainless steel using Lightburn software for the lasers. For the fiber laser, they run tests at both 10 and 20 passes, noting the time taken for completion. He observes that during the longer etching cycles, the bar stock becomes slightly warm.
For the diode laser, He adjusts the size of the rectangle to save time, as it etches slower than the fiber laser. Despite running it at 90% power and 5 mm/second, the diode laser yields shallow etches compared to the fiber laser.
Upon inspection, he expresses slight surprise at the depth achieved by the diode laser, noting that previous tests on carbon steel resulted in a darker finish. They proceed to compare the results with those obtained from their DIY electrochemical etching machine, which typically produces deep and dark etches.
After performing the tests, they clean the test bar with sandpaper and measure the depths of the etches. The 10-pass fiber laser etch reaches a depth of approximately 1/2 thousandth of an inch, while the 20-pass etch reaches 1 and 1/2 to 2 thousandths of an inch. In contrast, the diode laser etch does not register any significant depth, and the electrochemical etching machine achieves a depth of around 2 and 2 thousandths of an inch.
Overall, RedBeardOps finds the results from the fiber laser promising, as additional passes could easily increase the depth if needed. They conclude by acknowledging the depth achieved and expressing satisfaction with the laser’s performance.
Etching KNVIES
With the knowledge gained from their previous tests, RedBeardOps proceeds to etch actual knives. They mention a recent buoy build where they used the laser to imprint their maker mark on the ricasso. Expressing satisfaction with the ease of alignment and the etching performance, they note running 20 passes on the mark but wish they had done a few more for a slightly deeper etch. Despite this, they consider the mark acceptable.
They then turn to an old knife they made based on Knife Talk build-along plans, using it to compare the fiber laser mark with an electrochemically etched one. After cleaning the knife’s side without the electrochemical mark, they etch it with the fiber laser using 20 cycles, consistent with previous tests. Upon inspection with a digital microscope, they note significant differences in precision and cleanliness between the two methods.
Impressed by the fiber laser’s performance, RedBeardOps considers various applications such as labeling materials used in builds, personalizing blades for customers, or leaving hidden messages on knife internals. They express excitement about the machine’s capabilities, which they plan to use for etching their maker mark in future work, replacing their electrochemical etching machine.
To conclude, they provide affiliate links to the laser and free 3D print files mentioned earlier in the video and invite suggestions for future laser experiments or improvements in settings. Finally, they express gratitude to ComMarker for providing the machine ComMarker B4 20w laser engraver for review and for use in his workshop.
Commarker also thanks Redbeard Ops Workshop for being willing to share the adaptation he made with us. If you want to learn more experience with engraving tools, you can click on this link to consult Redbeard Ops Workshop https://www.youtube.com/watch?v=rRrAhYeloCc