


So Commarker graciously sent over their B4 20W fiber laser engraver for Gomeow Creations to examine and create a video about. If one isn’t familiar with fiber lasers, they are essentially a type of laser capable of engraving onto metals. However, it’s important to note that it’s not restricted solely to metals, as demonstrated. It’s highly efficient, producing intricate details at remarkable speed. The real-time engraving showcased here isn’t manipulated or sped up in any way, which is quite impressive for just 8 seconds. Additionally, this laser enables various intriguing engraving techniques, such as 2.5D or 3D engraving, which are surprisingly easy to execute. He promises to demonstrate these techniques later in the video. First and foremost, though, they must assemble the laser and get everything prepared. This encompasses all the necessary components for setup.
Out of the box
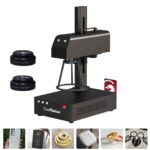
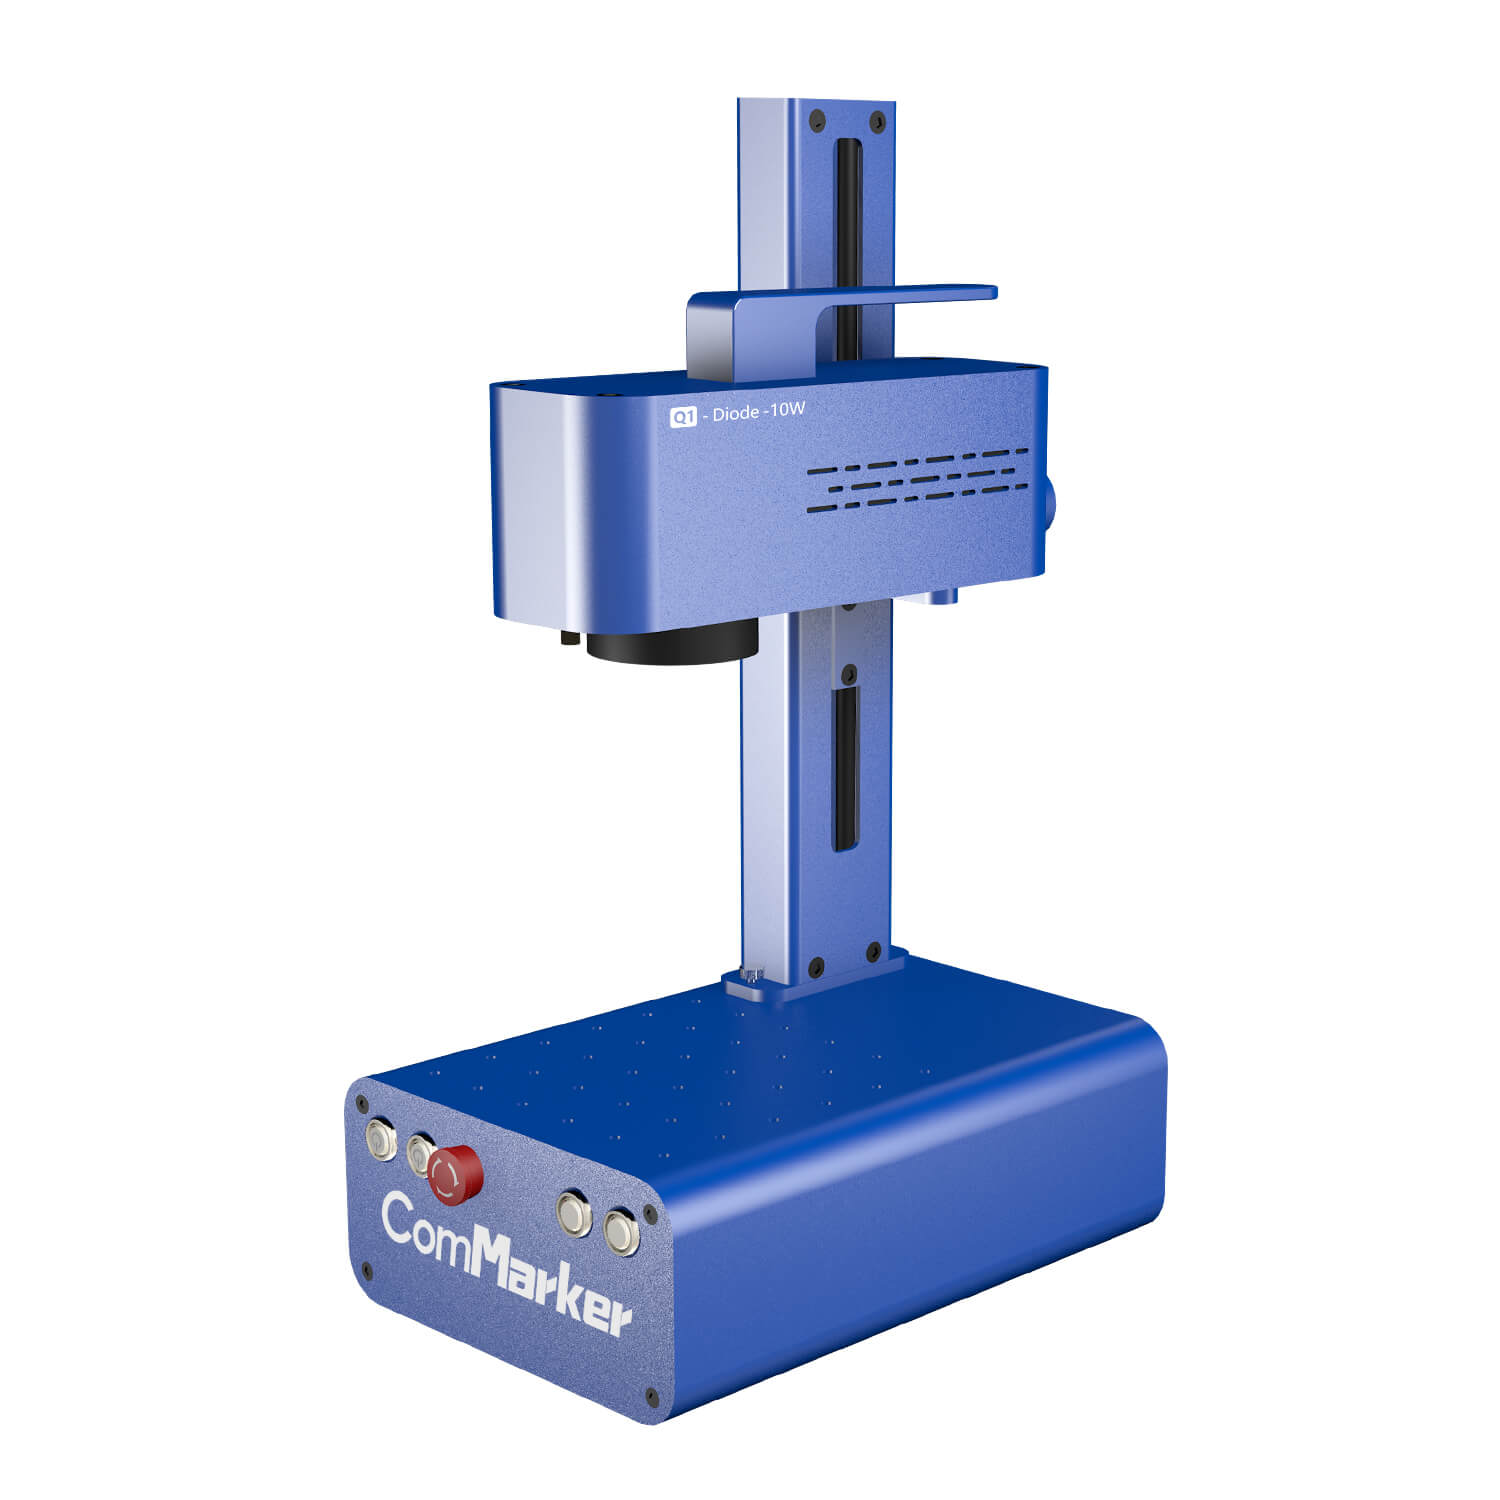
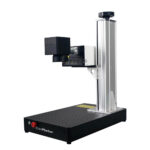
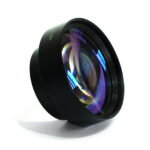
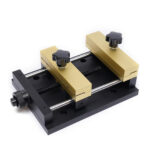
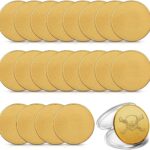
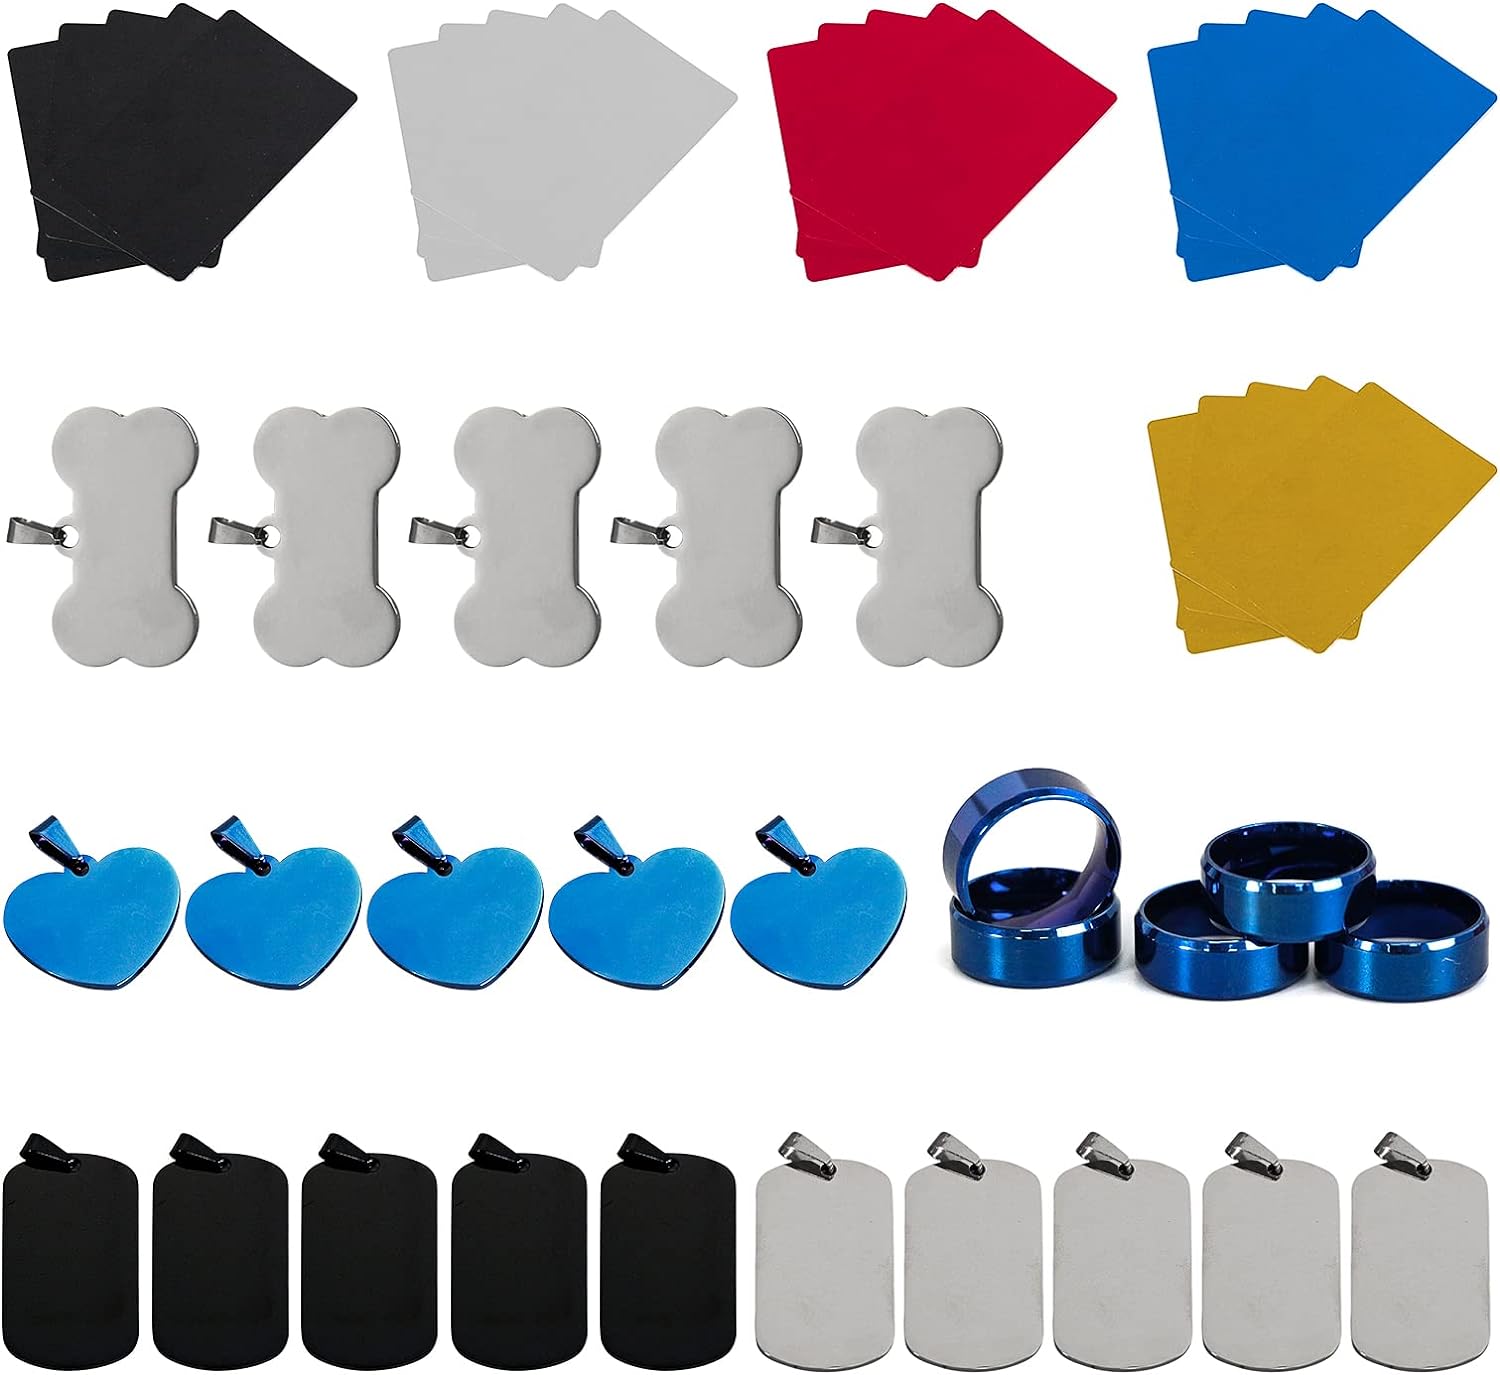
The B4 20 W fiber laser comes with a secondary lens, offering flexibility in terms of the work area size and accuracy. This option is particularly advantageous. Additionally, Commarker included a variety of test materials, ensuring users have something to practice with and get acquainted with the laser’s capabilities. All parts of the laser are constructed from metal, providing a sturdy feel.
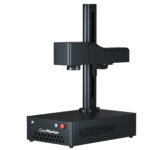
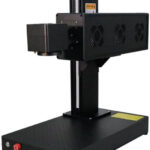
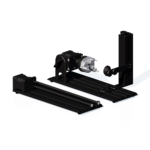
Following the instruction manual, assembling the laser was straightforward. Once assembled, it occupies a relatively small footprint, especially when compared to larger lasers like the 50 W version. The 50W and 60W options of the B4 laser engraver share the same form factor, providing users with more power if needed.
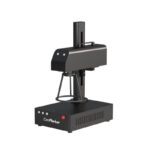
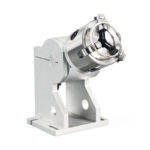
On the front of the machine, there are simple controls, including an emergency stop button for immediate shutdown, a main power button, and focus controls. These controls allow for precise adjustment of the laser head. Even with power, the movement is slow, aiding in achieving perfect focus. A hand crank is also provided for manual adjustment. Laser guides assist in focusing on the engraving material, with converging points ensuring accuracy.
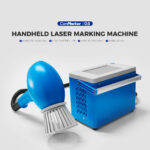
The laser head is detachable, with a handle for handheld use. The long cable at the back facilitates mobility. A cage ensures consistent focus during handheld operation. While this feature may not be frequently utilized, it adds versatility to the laser’s capabilities.
Overall, the B4 20W fiber laser machine offers a comprehensive set of features and controls, catering to both beginners and experienced users alike.
Software & Protection
However, it’s beneficial to have both options available. Operating the laser requires the use of a computer, utilizing either the free software called EZCAD or the paid software called Lightburn, which entails a one-time fee of $150. As the user is accustomed to Lightburn software with all of his lasers, he will utilize it in this video as well.
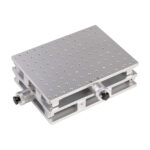
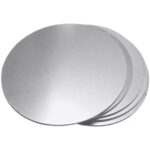
Although the laser came with small metal sheets for testing purposes, he decides to use them as backing to conduct a material test engrave. This precautionary measure helps safeguard the work area in case of excessive heat or penetration through the metal. He recommends implementing this practice for every material to be engraved, as it streamlines the process and reduces guesswork.
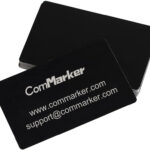
For instance, he demonstrates engraving on a simple stainless steel card. The manual provides settings that can alter the color of the engraving on stainless steel, mainly by adjusting the frequency. He suggests having more examples for different materials would be helpful. Similarly, he conducts a material test on an aluminum business card, which unexpectedly results in a hole being burned through it, emphasizing the importance of conducting such tests.
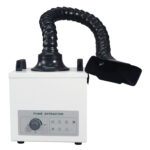
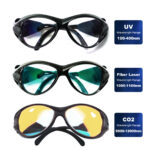
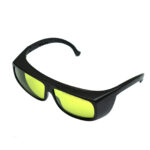
Furthermore, it’s imperative to ensure proper ventilation when using the laser, particularly when burning metals, to avoid inhaling harmful fumes. He employs ducting and inline fans to expel the exhaust outside. Emphasizing safety, he advises wearing eye protection while operating the laser.
3D Testing
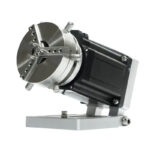
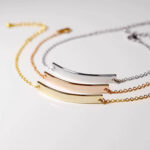
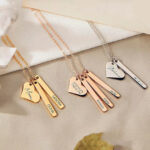
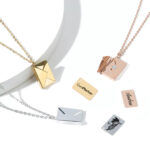
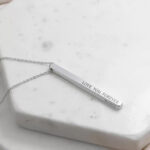
The outcome saw some improvement but remained imperfect, as is often the case with trial and error processes. For individuals engaged in jewelry making or metalworking, the laser proves invaluable for marking designs and cutting metals, offering functionality similar to the templates previously designed. However, the laser’s capabilities extend beyond those of templates by simultaneously marking parts and adding intricate details. With its ability to engrave deeply, concerns about wear over time are alleviated.
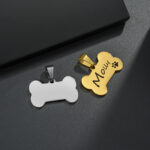
Moving on to deep engraving, the potential of 3D engraving is explored, which presents numerous possibilities and is surprisingly easy to execute. Utilizing a 3D file of the desired design, sourced from platforms like Printables, conversion into an image format compatible with the laser is necessary. A free converter simplifies this process, producing a grayscale image that serves as a depth map for the laser. Adjustments to important settings ensure proper engraving, with power and speed settings varying for different materials. A screenshot of these settings can serve as a reference for tutorial purposes.
The most crucial aspect is ensuring the image mode is set to 3D sliced. Additionally, ventilation is essential due to the generation of metal dust during the engraving process. Upon completion, the finished piece may be warm, requiring caution when handling. Detailed pieces can be obtained, as demonstrated with metal dust collection for potential reuse.
The versatility of the laser is further showcased by its ability to clean tools and remove rust, extending to larger objects when used handheld. Protecting the work area is simple, as the laser does not affect ordinary white paper. The high build quality and diverse capabilities of this laser setup make it a worthwhile investment, especially for business use. Despite its relatively high price tag of around $2,000 for the 20 W version, its longevity, with a claimed 100,000-hour lifespan, justifies its value, particularly for those utilizing it for profit.
cost performance of B4
The 20 W laser unit is priced at approximately $2,000. For individuals intending to utilize it for business purposes and generate income, this price is considered reasonable. Particularly when compared to alternatives such as the Laser Pcker 4, which typically falls within a similar price range but offers only a 20 W laser, the value proposition of the B4 laser becomes evident. Despite the nearly $500 price difference, the B4 laser’s 20 W power significantly surpasses the Laser Pcker, resulting in superior performance and considerable time savings during engraving tasks.
Drawing from personal experience with various laser models, it’s concluded that the Commarker B4 presents the best value for money at present. Additionally, for users requiring even more power, the option of upgrading to a 100 W unit is available, albeit at a substantially higher cost of approximately $88,000. Nonetheless, as demonstrated, the 20 W laser is capable of accomplishing a considerable amount.
Links to all discussed products will be provided in the video description for viewers to explore further. With that said, this concludes the video presentation. If there are any inquiries or comments, please feel free to leave them below, and responses will be provided promptly. Thank you for watching, and until next time, goodbye.
Many thanks to him for making and sharing his experience using commmarkerB4.