
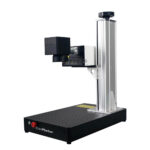


Introducing himself as Ryan from Buster Beagle 3D, the reviewer proceeds to introduce the subject of his review: the 60W Commarker B4 MOPA fiber laser marking machine. Highlighting its attributes, he describes it as a highly efficient tool capable of marking, engraving, sculpting, and even cutting various materials such as metals, plastics, stones, and leather. With its 60W power output, it stands as his most powerful laser to date. Moreover, owing to the MOPA JPT power source, it boasts enhanced versatility compared to conventional fiber lasers.

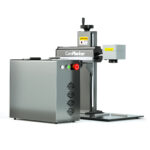
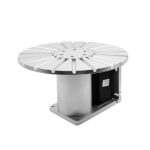
ComMarker B4 JPT MOPA Fiber Laser Marking Machine
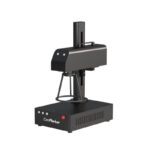
ComMarker B4 -MOPA JPT MOPA fiber enables vibrant color marking on stainless steel and high contrastengraving on anodized aluminum. Not
However, he acknowledges that such power, versatility, and speed (up to 10,000 mm/second) come with a significant price tag of approximately $55,200 USD at the time of recording. He expresses his intent to explore the capabilities of this laser and share his thoughts on it.
Expressing gratitude to Commarker for providing him with the machine for an honest review, he discloses the presence of affiliate links in the video description, which may benefit the channel if viewers choose to make a purchase based on his review. Nevertheless, he assures that his opinion remains unbiased regardless of any potential affiliation.
The introduction concludes with a reference to his previous videos, hinting at a continuity of content for viewers familiar with his channel.
Mopa’s Laser Principle.
You may have come across the review I conducted on the laser’s smaller counterpart, also named the Commarker B4 for some reason. However, this machine differs significantly. Not only is it physically larger than the other B4, but it also utilizes a different laser power source known as a MOPA laser, standing for Master Oscillator Power Amplifier. Without delving into intricate technicalities, unlike regular diode or CO2 lasers that primarily rely on speed and power for engraving and cutting, a fiber laser incorporates power, speed, and frequency to mark surfaces.
With a MOPA fiber laser, an additional adjustable feature called pulse duration is introduced. This provides flexibility in working with different materials by delivering high energy in potentially shorter durations, thereby minimizing heat generation. This feature is particularly beneficial for engraving delicate materials like certain plastics that are sensitive to high heat. Moreover, it can produce more reliable color results on stainless steel and titanium. The MOPA laser also offers a wider frequency range, providing more options for marking materials.
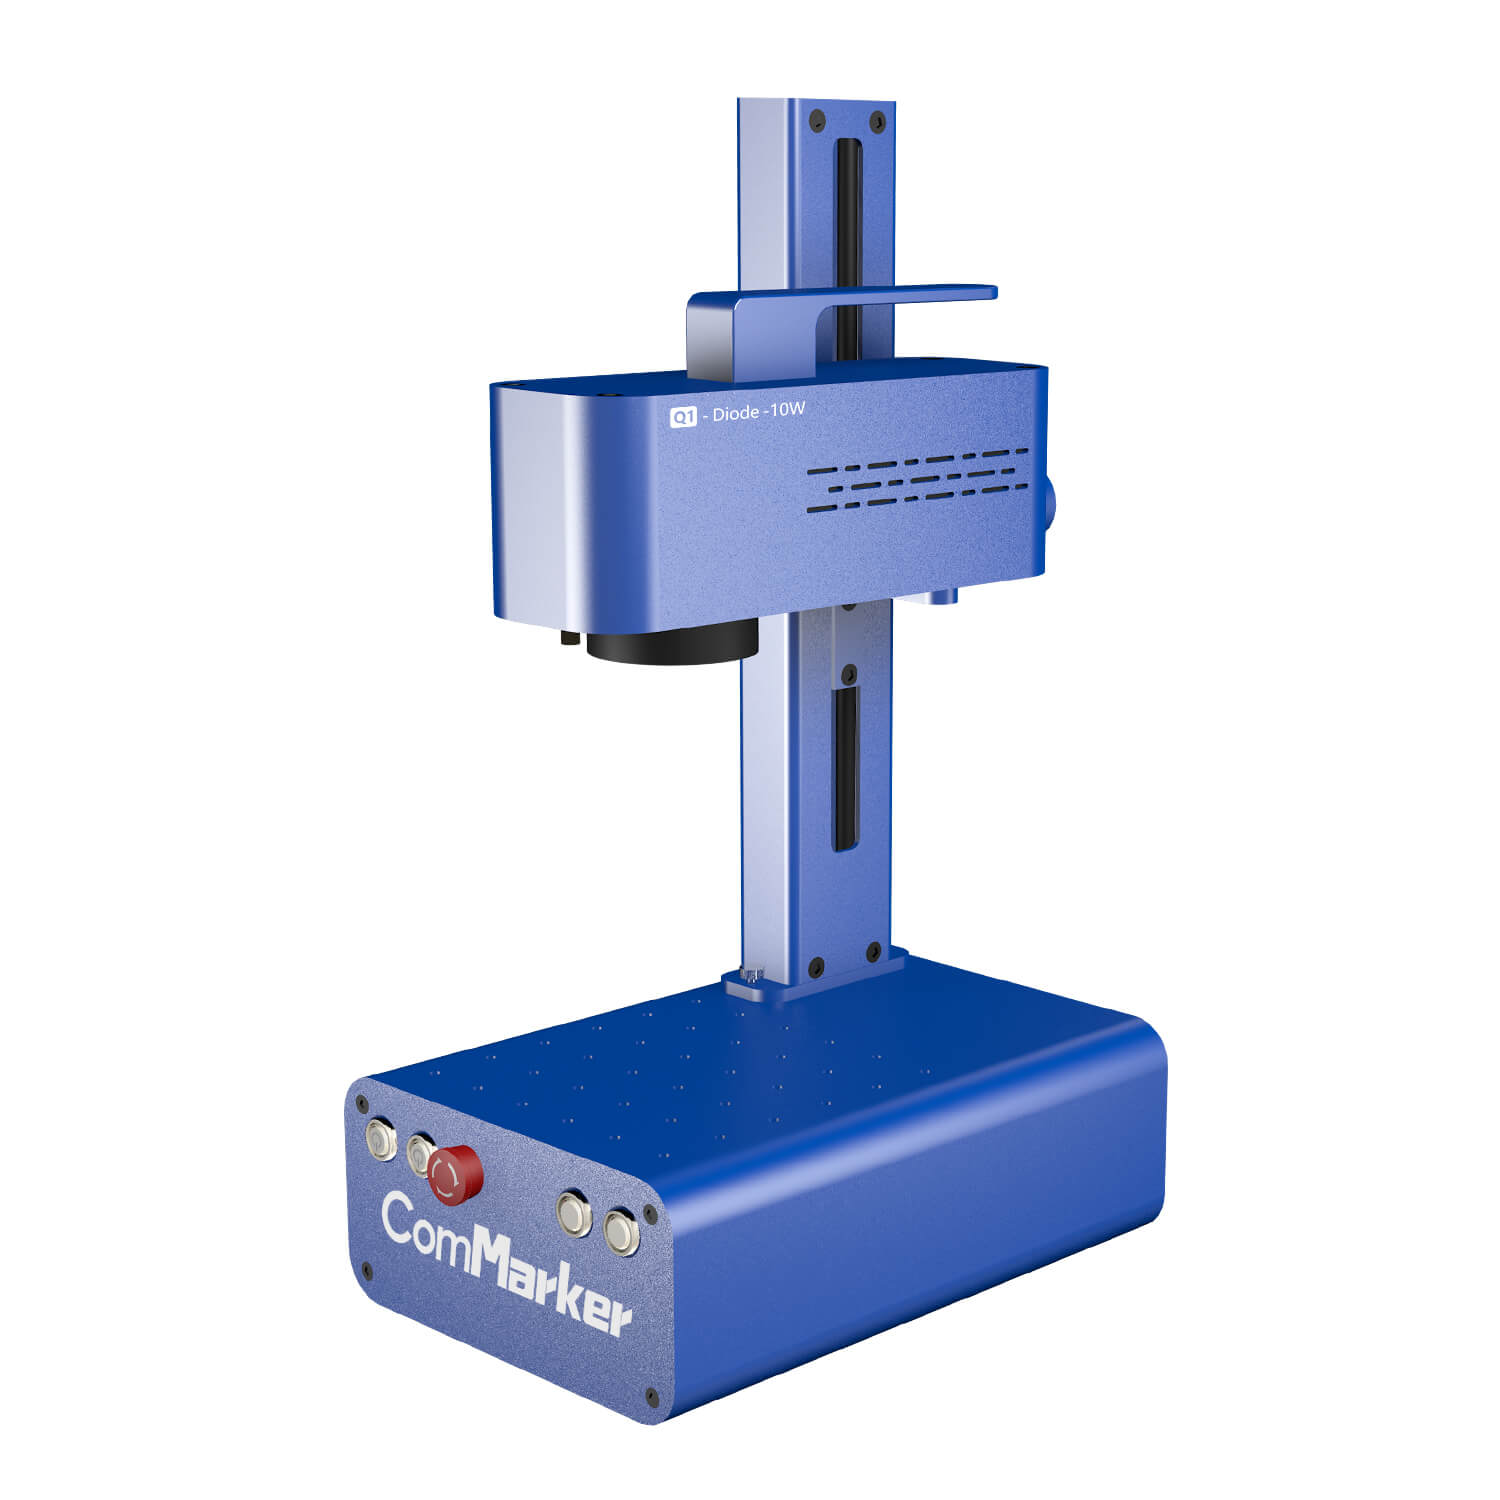
In terms of construction, the machine is a single unit, unlike its smaller counterpart. It’s evident that this laser machine brings a host of capabilities and advantages due to its MOPA technology, setting it apart from traditional laser systems.
Machine Features
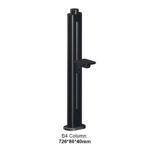
In terms of features, the machine offers versatility and ease of use. Attaching the included focusing bracket allows for straightforward operation by holding the handle on the top. While it can be handheld, it’s not exactly portable due to its weight and the need for a computer connection to operate. Although handheld operation isn’t planned, it’s appreciated to have the option available if needed.
The head of the laser features buttons labeled “R” for framing work and “M” for starting the job, providing convenient control options. Additionally, there’s a power button, along with buttons for adjusting the vertical movement of the laser and an emergency stop button for safety.
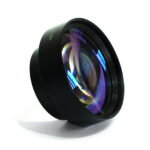
The machine comes with two different lenses, altering the workable area. The 110 mm lens, installed by default, offers a workable area of approximately 110 mm x 110 mm. Switching to the 200 mm lens expands the workable area to about 200 mm x 200 mm, although with a larger and less powerful laser spot. Various interchangeable lenses, ranging from 70 mm to 200 mm, are available for further customization.
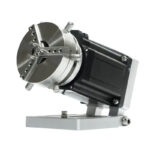
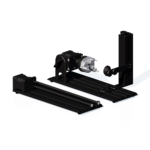
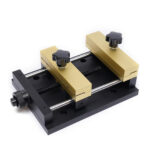
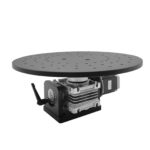
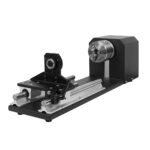
Two laser pointers in front of the lens aid in proper adjustment, ensuring convergence with the red laser at the correct focal height. A metal ruler provided by the company facilitates accurate measurement of the focal length. The base of the work area features spaced holes for screwing down angle brackets to secure workpieces. Optionally, these holes can accommodate a rotary tool for additional functionality.
An observation regarding the work area is the absence of pass-through holes seen in previous versions. Instead, a metal plate has been added behind the holes to prevent debris from falling into the electronics below, indicating a design improvement for better maintenance and longevity.
Accessories and Specifications
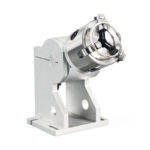
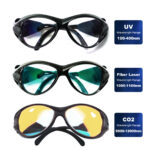
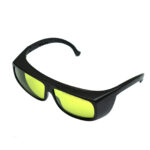
The machine is accompanied by a box containing the driver for rotary tools, although a rotary tool itself is not included as standard. Different rotary tool designs are available for purchase as add-ons when ordering the machine. Additionally, the B4 model includes a foot pedal, facilitating easier and faster operation of batch jobs. Notably, the machine comes with a pair of safety glasses and a laser shield, a welcomed addition that enhances safety during operation.
Operating as a galvo laser engraver, the laser head remains stationary while tiny mirrors within the head adjust to direct the laser beam. This design enables the machine to achieve remarkable speeds, reaching up to 10,000 mm/second. Available in various power options, including 20W, 30W, and even 100W versions, the machine utilizes a JPT M7 MOPA laser source, known for its reliability and quality.
With a precision of up to 0.1 mm, the machine is capable of achieving extremely fine detail. As a fiber laser, it operates at a wavelength of 1064 nm, making it suitable for metals, plastics, stones, and leather, but unsuitable for materials such as paper and wood. The machine can be controlled using both the provided EZCAD software and Lightburn. However, for Lightburn software usage, a galvo license must be purchased separately.
Before delving into the jobs completed with the machine, it’s worth discussing the setup used during testing. This provides context for understanding the results showcased in subsequent demonstrations.
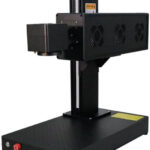
Enclosure
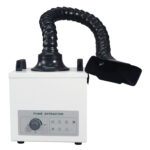
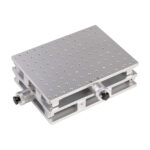
Lasers possess considerable power, capable of engraving metals by vaporizing the surface, creating metal dust. It’s imperative to have an effective fume or dust extraction system in place to avoid inhaling these particles. While Commarker offers an enclosure and fume extractor, their efficacy remains untested by the speaker. For personal use, the speaker constructed a small enclosure from a wooden box, initially crafted on another diode laser engraver. Secured to a base plate, the box features a top hole to accommodate the Galvo laser head. A latchable door at the front provides access, while a variable-speed fan aids in dust and fume extraction. Connected to a powerful inline fan, the setup efficiently removes particles to an outdoor filter. Additionally, a camera is mounted inside for job monitoring, with a fin plate or heat sink underneath to dissipate heat and protect the work surface. Although this setup is detailed for informational purposes, alternatives may suffice depending on individual preferences. An SVG file of the enclosure is provided in the video description for those interested. The speaker’s initial exploration with the machine focuses on achieving colors on stainless steel.
stainless steel
Colors can be achieved on stainless steel using less expensive diode lasers, but the consistency obtained with the MOPA laser is unmatched. By joining the Laser Master Class and Commarker Facebook groups, the speaker discovered test files for marking color on stainless steel. Initially, a color swatch test found in the Commarker group was conducted using EZCAD to ensure the machine’s functionality, yielding satisfactory results. Subsequently, a Cadillac keychain test from the same group was executed, producing pleasing colors. To work primarily in Lightburn, the speaker replicated the EZCAD test values in Lightburn, ensuring parity between the two software. Additional tests and colors were explored based on findings from the Laser Master Class Facebook group.
The results revealed a variety of vibrant colors, albeit some being angle-dependent. Leveraging this knowledge, a color engraving of Mario’s head was created with adjustments made to achieve satisfactory results, except for the red in the hat. While the Mario image cannot be released due to copyright restrictions, a public domain Mickey Mouse file was utilized to demonstrate color engraving capabilities. With the same settings obtained from previous tests, a color version of Mickey Mouse was successfully engraved, showcasing impressive colors and detail. The Lightburn file for Mickey Mouse will be provided in the video description for public access.
Stainless Steel Tests
After feeling confident with the color settings, the speaker proceeded to conduct image tests on stainless steel. Employing similar values as the color test, a highly detailed image of a motorcycle was successfully engraved onto the metal surface. Further experimentation with the values is deemed necessary, as some results were heavily dependent on viewing angles, while others appeared too dark overall. Despite this, the speaker expressed satisfaction with the overall outcome of the tests, acknowledging room for further tweaking and improvement.
Brass Coins 3D engraving
the speaker moved on to their favorite activity with fiber lasers: 3D engraving. This process involves converting a 3D model into a height map, which can be sliced in Lightburn, similar to how a 3D printer operates. For this task, a brass coin blank purchased from Amazon was utilized. Initially, a highly detailed file sourced from the Laser Masterclass Facebook group was attempted, although it proved almost too intricate upon completion. Subsequently, a file specifically designed for this purpose, acquired from Etsy, was employed with the same settings, yielding impressive results. The speaker expressed enthusiasm for 3D engraving due to its capability for intricate detail.
Dust removal was emphasized as essential during 3D engraving, given the pulverized material generated during the process. Moving on from coins, the speaker conducted an aluminum business card test, a task well-suited for fiber lasers. The machine’s included material pack contained such cards, among other test products, with a thickness of almost half a millimeter. The speaker successfully engraved a dog image onto one of these cards using Lightburn, achieving excellent results.
With the engraving tasks completed, the speaker expressed an interest in trying card cutting next.
Card Cutting
For the card cutting experiment, the speaker decided to test the machine’s power by cutting a design out of a card. They utilized an image of an eagle purchased from Etsy and applied the same settings used for engraving, followed by a cutting operation. The cutting was executed at a speed of 2500 mm/s, with 100% power, a 60 kHz frequency, 200 nond C pulse, and 1500 passes. Given that Lightburn has a maximum limit of 500 passes, the job was run three times consecutively to achieve the desired result. The speed was indeed remarkable, with the footage capturing the process without any alterations. However, the camera accidentally obstructed the laser during filming, prompting the speaker to consider incorporating the residual parts into the design as a stand for the artwork. Subsequently, they intentionally left a tab in the design for this purpose, which proved successful.
Additionally, the speaker conducted another test where the cut was fully removed from the card, yielding satisfactory results. Finally, the last test performed on the machine involved experimenting with plastic, although they acknowledged the need for further tests in this regard.
Plastics Testing
In the plastic tests, the speaker aimed to gather data on various materials to establish a comprehensive catalog of settings. Although further experimentation is required, the initial outcomes show promise. They conducted tests on different materials to assess their suitability. Two tests were conducted on travel power bricks, both utilizing identical settings. However, the results varied significantly: one appeared white, while the other appeared dark. This discrepancy demonstrates that the type of plastic used greatly influences the outcome of the markings.
Conclusion
Overall, the speaker expressed satisfaction with the performance of the machine. They acknowledged that working with fiber lasers, especially those with MOPA functionality, may have a steeper learning curve compared to standard diode or CO2 lasers. However, for tasks such as metal marking, engraving, or cutting, fiber lasers offer significant advantages. They emphasized the valuable learning resources available on platforms like the Laser Everything YouTube channel, which provides tutorials and power-speed libraries for beginners.
Regarding cost, the speaker noted that while the reviewed 60W MOPA laser is not cheap, there are options available with lower power and without MOPA capabilities that could be more affordable for those with different needs. They highlighted that the choice ultimately depends on the specific requirements of the user.
In conclusion, the 60W B4 MOPA laser from ComMarker is recommended for those seeking MOPA functionality and features such as consistent colors on stainless steel and a wide range of shades on different plastics. The speaker expressed gratitude to ComMarker for providing the machine for an honest review and invited viewers to explore affiliate links in the description for further support. They closed by thanking the audience for watching, encouraging engagement with the content, and promising more videos on laser engraver, 3D printing, injection molding, and other maker-related topics in the future.
Many thanks to speaker Buster Beagle 3D® for sharing the video he made with us. To watch more videos about him, please click this link https://youtu.be/V1Ks6x_YDZU?feature=shared