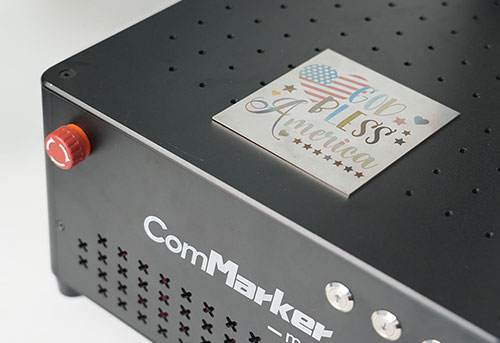
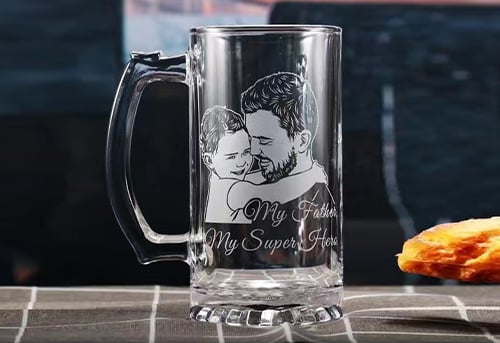
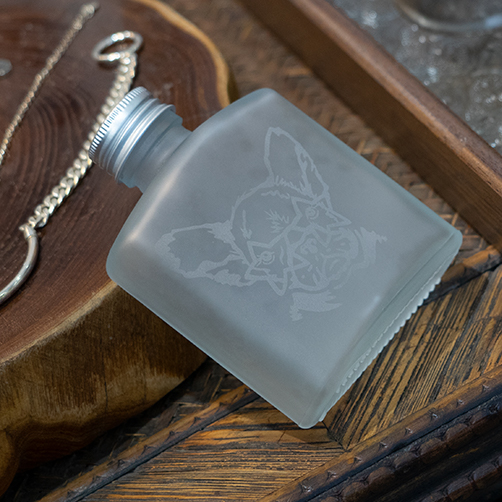
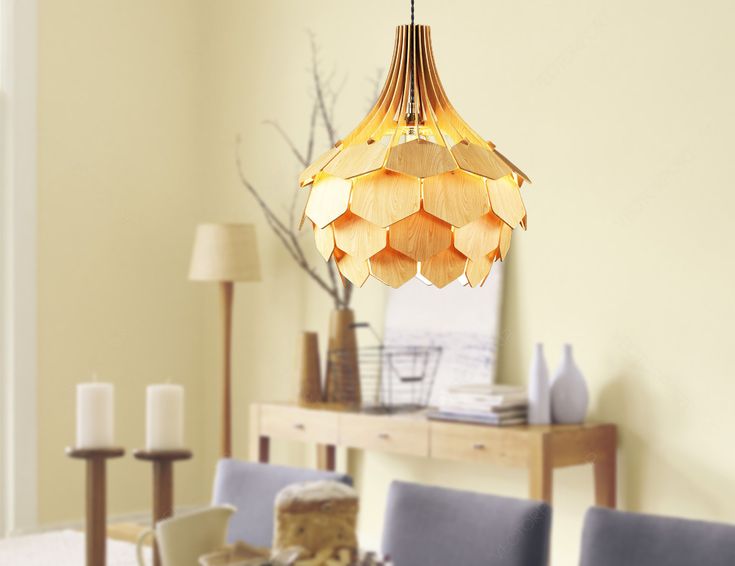
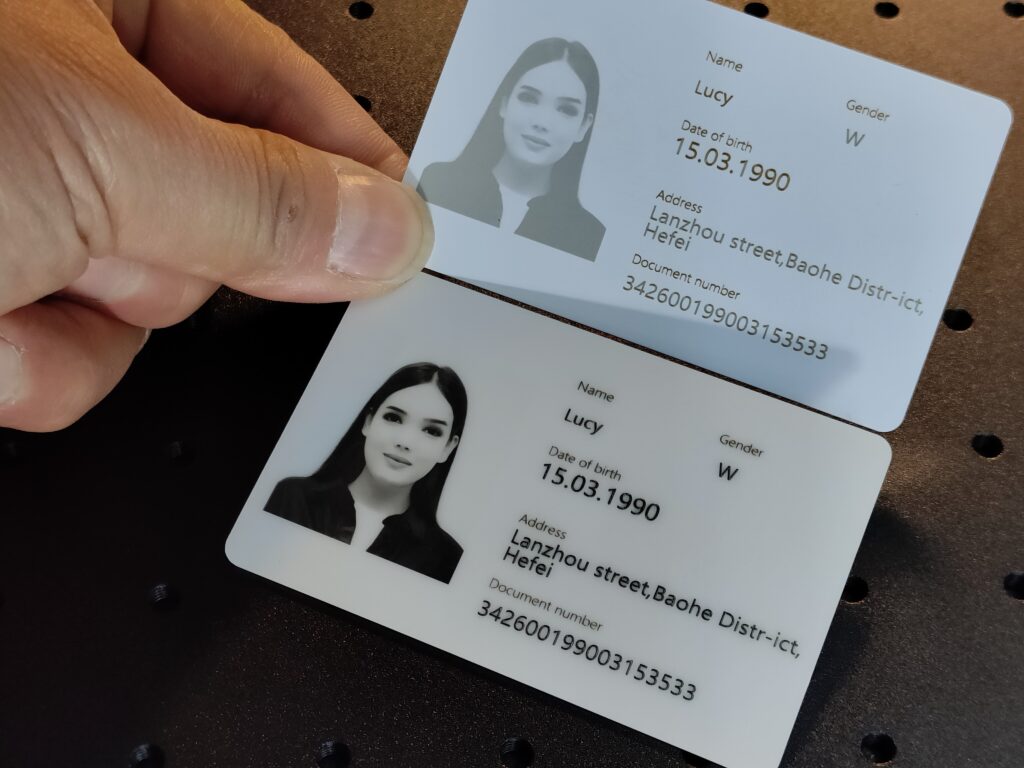
The past few years have seen tremendous growth in laser engraving techniques, with an exponential rise in market size. From manufacturing, signage, product production, and to the home decor and the art industry, all have gained optimum business growth advantages and revenue streams from laser engraving.
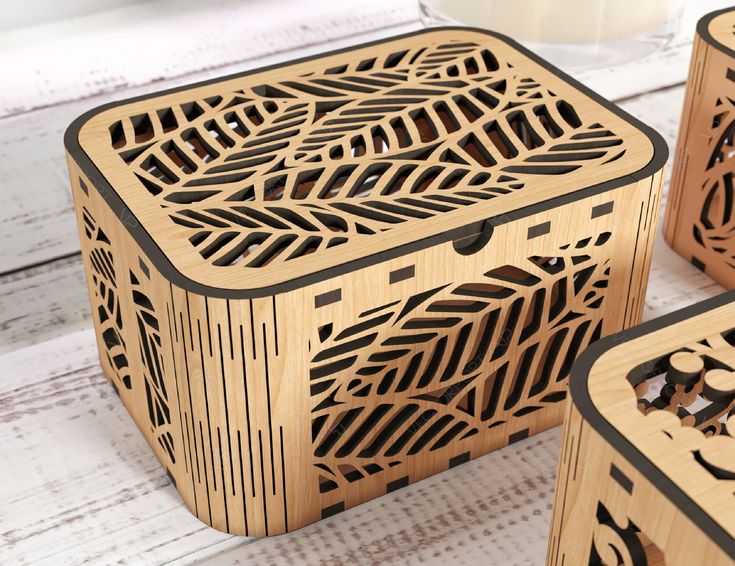
Among all sorts, wood engraving is highly popular as it is sought after by interior designers and house stylists. Statement rooms and a stylish ambiance are in reach with this approach. With the wood-engraved furniture industry skyrocketing, manufacturers are on the lookout for versatile and swift laser engraving machine.
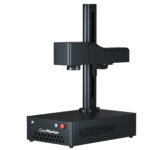
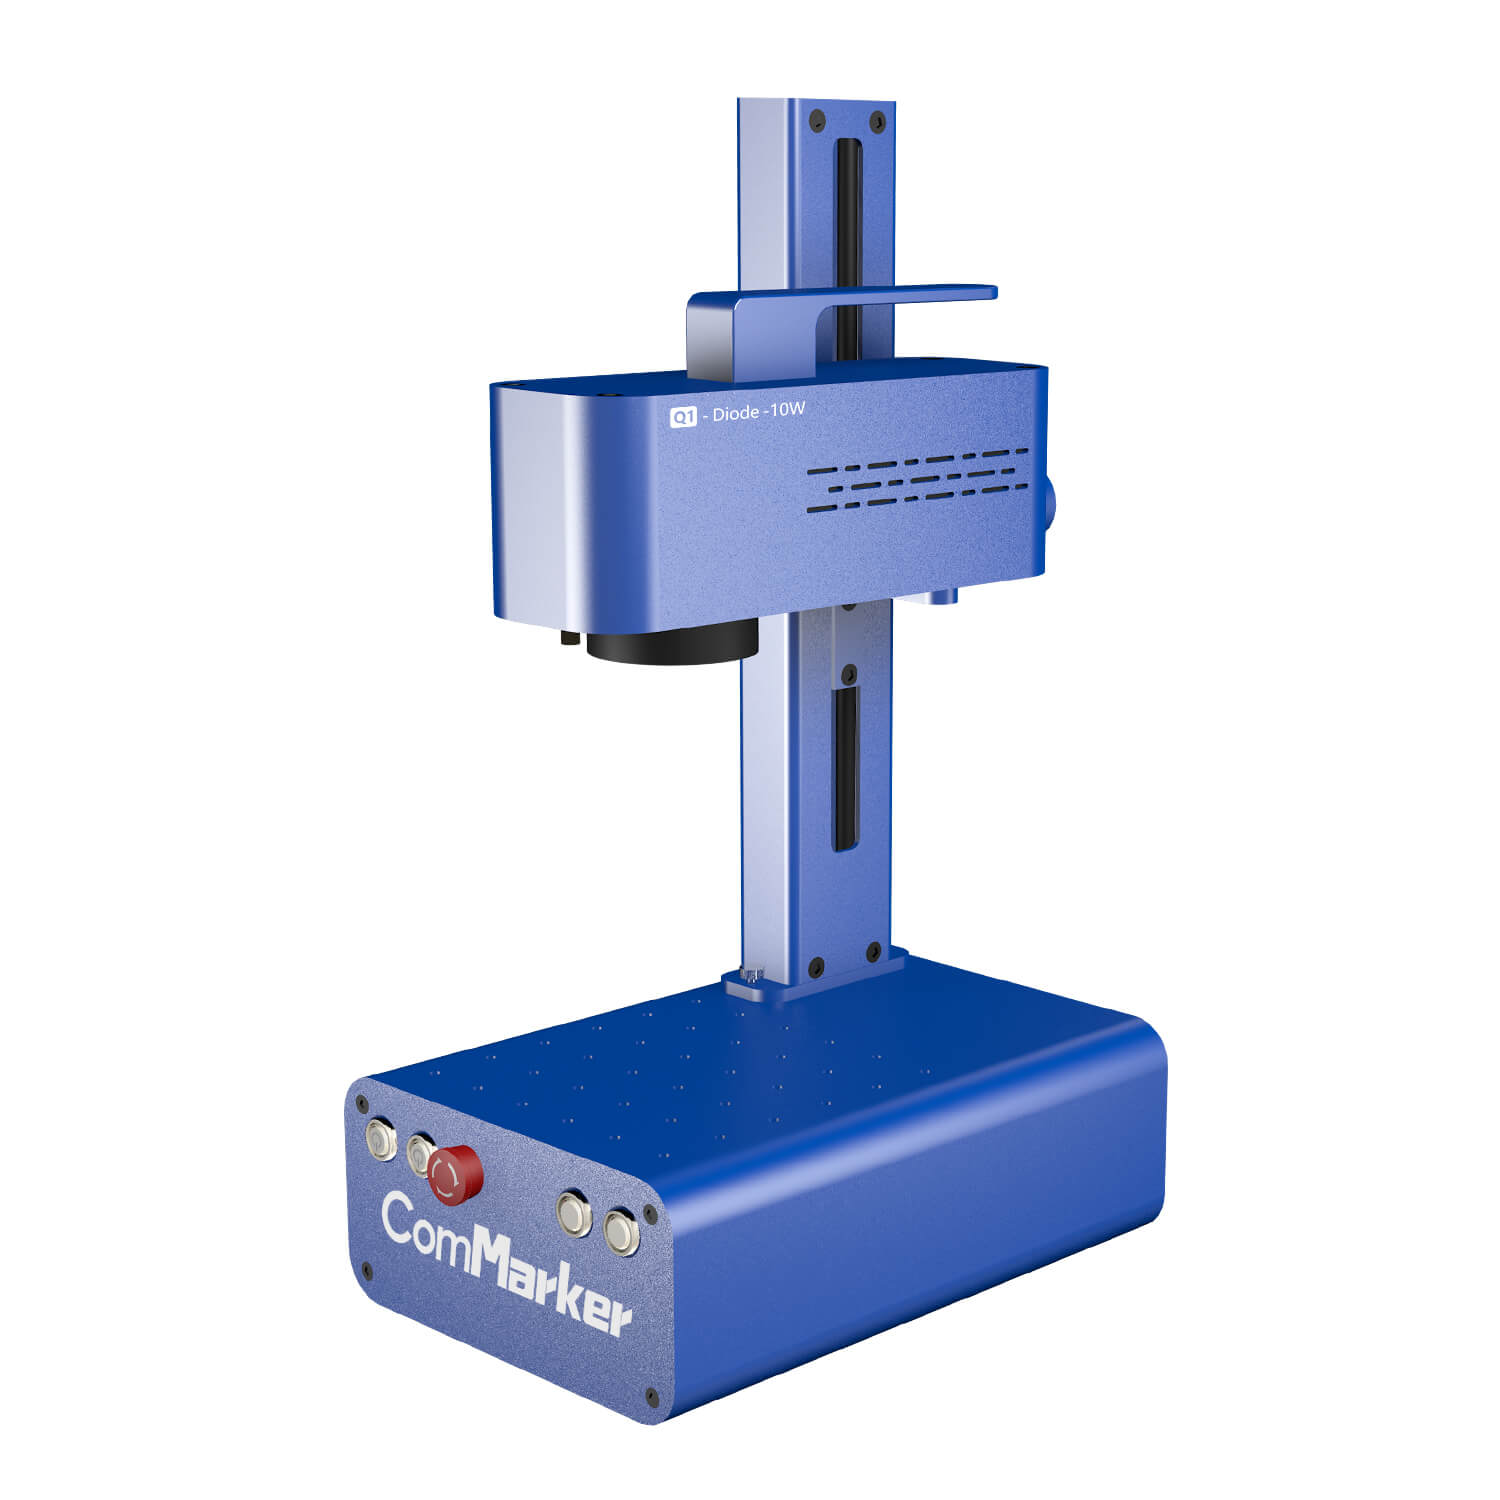
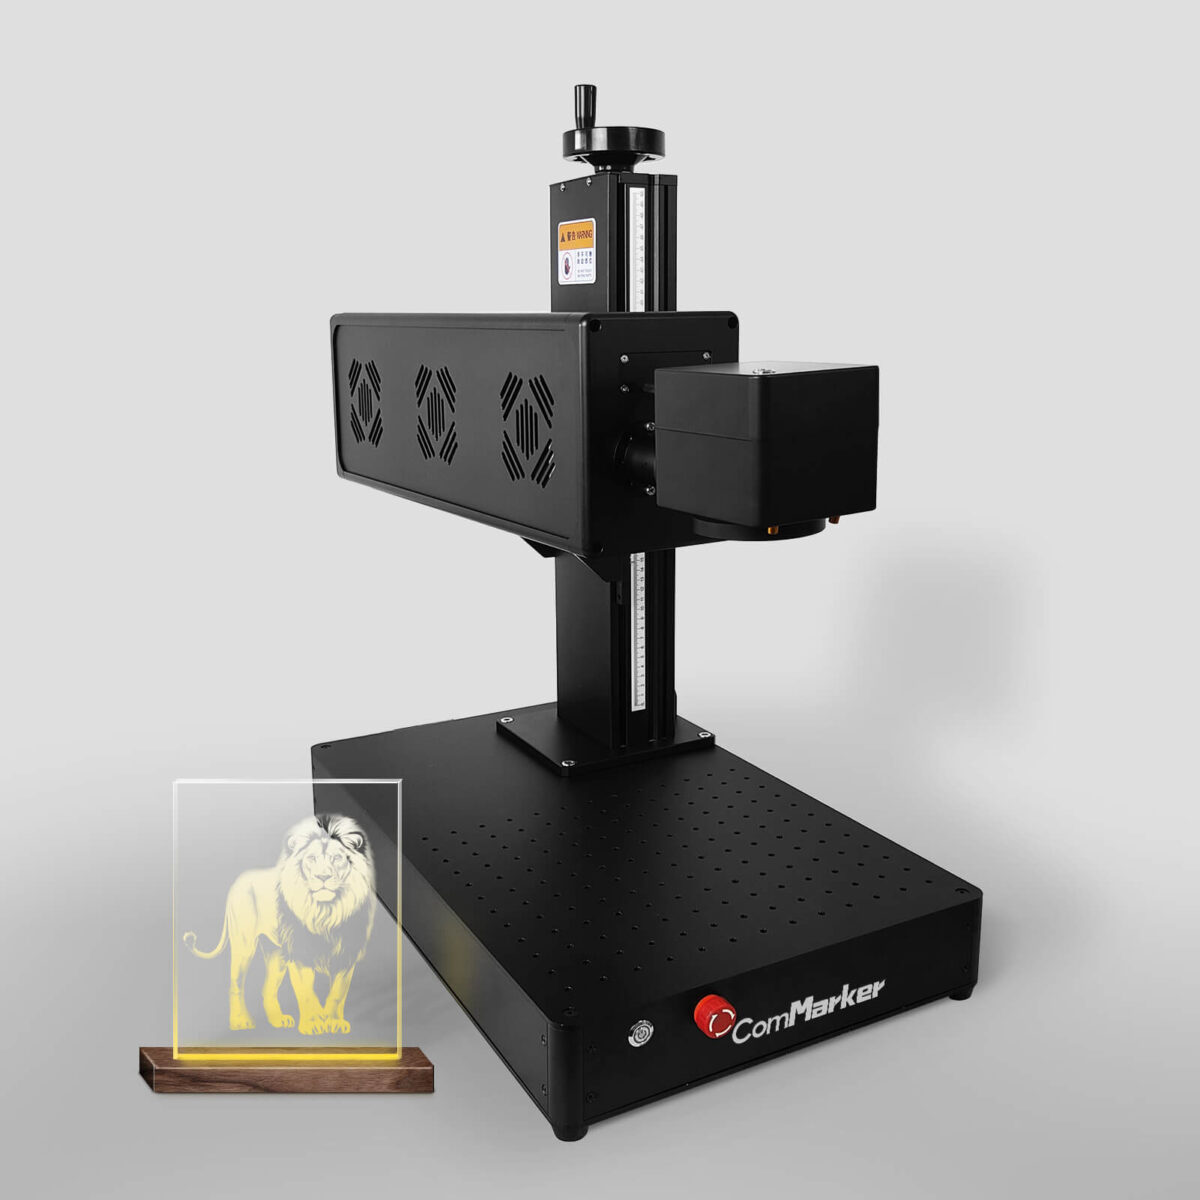
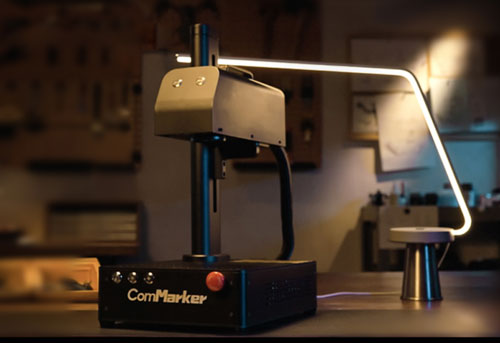
CO2 laser engraving technology is a leading method in this regard, as it utilizes a high beam of infrared light to evaporate material from the top layer of a surface. A reliable provider such as ComMarker comes forward with its CO2 laser marking machine which comes with 0-15000mm/sec marking speed for creating accurate details on pieces of furniture.
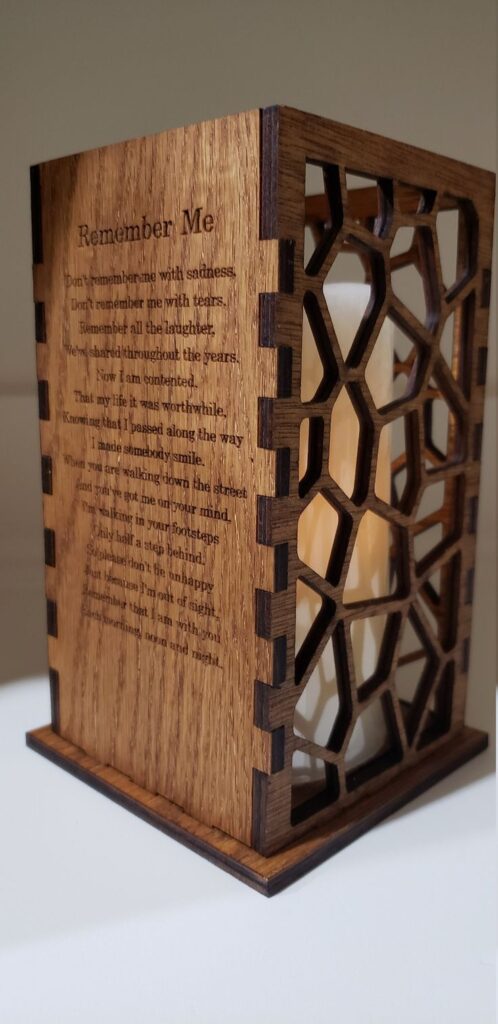
To create complex geometric motifs, adding texture to wood can only be done through using a CO2 laser engraver. To gain more information on how to create intricate designs on wood furniture through a CO2 laser engraver, refer to our detailed article below.
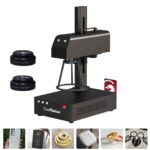
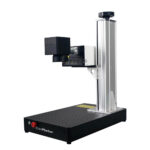
ComMarker CO2 Laser Marking Machine
Industry-leading CO2 Galvo Laser engraver and Marking System Different from fiber laser engraver machine ,CO2 laser marking machine adopt CO2 RF
Table of Contents
Understanding CO2 Laser Engraving
Before deep diving into the entire process of wood carving with the help of a CO2 laser engraver, it’s important to understand how it functions.
Basic Principle
For non-metallic materials, an excited form of CO2 gas, into a concentrated beam of around 10.6 micrometers, is generated. This is then focused on mirrors and lenses which amplify this infra-red beam and focus it on a specific point for an intense effect. Permanent marking is created on the material the beam is focused on by evaporating the top layer of the material on the required area. This is the basic working of a CO2 laser engraver.
Comparison of CO2 Laser Engraver with Traditional Wood Carving Methods
A CO2 laser engraver is much more efficient than conventional wood carving techniques due to several factors that include precision, physical exertion, and mass production. Let’s look at all the major differences here.
Precision
A standard CO2 laser engraving machine such as ComMarker CO2 laser engraver has a high precision of 0.01mm with which it can create fine details on wood. However, traditional wood carving requires concentration and careful working. The results are not as precise as the desired image making it less convenient.
Time-efficient
With a marking speed of over 15000 mm/sec, ComMarker’s CO2 laser engraver can create complex designs within a short span. Traditional carving methods however can take hours to days to create carvings in the desired material.
Repeatability and Scalability
If considering CO2 laser engravers then due to having a pre-programmed design, these engravers can mass produce the same design. This helps in mass-producing smaller furniture items, particularly. But traditional engraving methods show uniqueness. No two can be created, which keeps the piece distinct.
Contact
CO2 laser engravers show minimal contact with the desired material. This minimizes damage to delicate pieces. However, traditional methods can vary in skill level and can damage the material If more pressure is applied.
Types of CO2 Laser Engravers Suitable for Furniture Carving
There are generally two types of CO2 laser engravers in the market which are ideal for wood carvings. These are elaborated below.
DC (Glass Tube) Lasers
These have a sealed tube filled with a mixture of gases, with an electrical discharge exciting the CO2 gas within. These are entry-level and mid-range laser marking machines used by hobbyists and require minimum maintenance. These are versatile and compatible with wood, leather, and other materials. Thin wood can be engraved using this, which can come in handy while carving delicate furniture items.
RF (Metal/ceramic) Lasers
In contrast, RF laser engraving machines have a metal or ceramic core and utilize radiofrequency to excite the CO2 within. This creates a laser beam with deep engraving ability and a longer lifespan compared to DC laser machines. These machines maintain consistent power throughout their lifespan, making them ideal for engraving harder materials such as hardwood, metal, and glass. They are commonly used by large manufacturers due to their durability and minimal maintenance requirements.
Preparing for Laser Engraving on Wood
To do proper laser engraving on different kinds of wood, necessary preparation is required.
Selecting the Right Wood Type
For stunning results that retain for longer periods, choosing the right type of wood is an important step. Maple, birch, and Aspen are the lighter kinds of wood that offer more contrast and minimal burning effect by laser engraving. For darker wood, you can choose cherry or walnut wood, as it is ideal for making designs and wooden logos.
To get softer wood for a more delicate design, you can choose poplar or oak, which can only be engraved with a low laser power setting. Moisture content also needs to be considered which needs to be below 12% to ensure that the wood doesn’t warp during the laser engraving process.
Pre-treatment and Conditioning of Wood Surfaces
To ensure that long-lasting results are created, you need to pre-treat the desired wood to create premium designs.
- Use a damp cloth to remove any dirt or residue from the surface of the wood.
- Then use fine grit sandpaper (220 or higher) to lightly scrub and sand the top of the surface to remove any bumps and texture. This creates a smooth finish.
- Denatured alcohol can be applied on wood such as cherry to keep the wood from darkening during engraving. This can be due to its high resin content.
- In case of any oils present on the surface of the wood, mineral spirit can be applied. This can create a clean finish of the wood required for laser engraving furniture.
Safety Precautions and Workspace Setup
The next step is to set the entire system up and get it ready to engrave different furniture pieces. Ensure that the table or desktop that you work on is stable, with a dedicated space for the process. Make sure the room is ventilated and keep the workspace free.
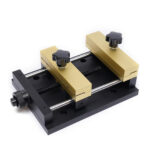
ComMarker laser engraver requires setting up the software which is the lightburn software in which the designs are set up to follow an engraving path. Set up the proper focal according to your machine and move the work table of the laser engraver according to the piece. ComMarker CO2 laser engraver has a variable work area from 70*70 to 200*200mm where the wood piece can be placed and held with the help of clamps.
To safely go through with the whole process, you need to follow some safety measures, which are as follows.
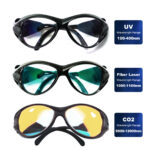
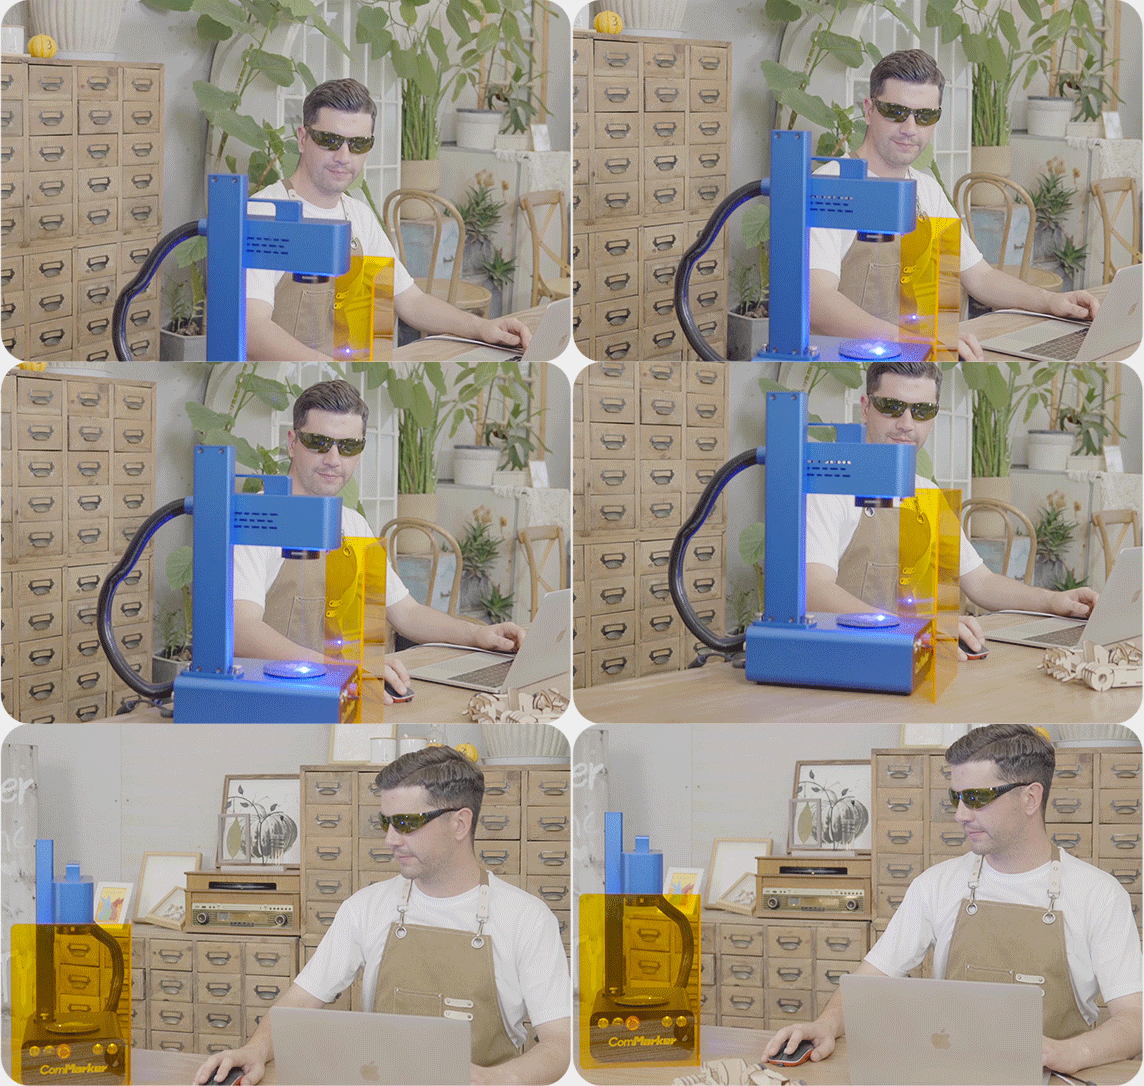
- Keep laser-protected eyewear close by, which keeps the yes from getting affected by the specific wavelength of the laser engraving machine. It prevents eye injury.
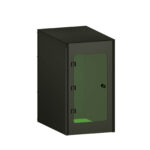
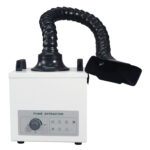
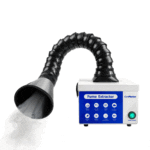
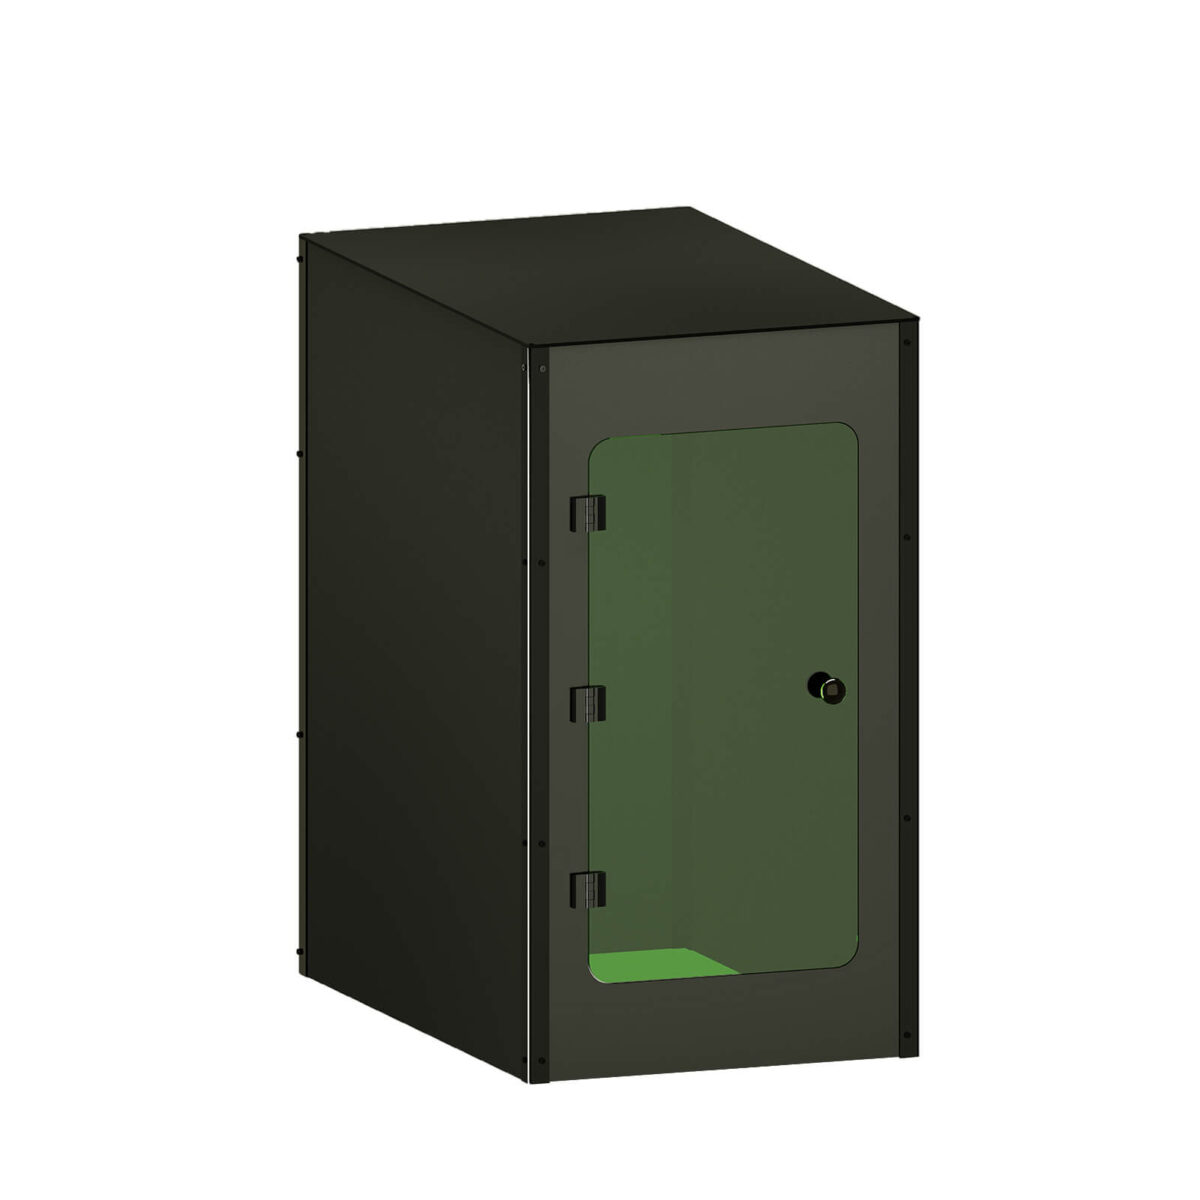
- Ensure proper ventilation in the workspace, which emits any harmful residue and gases emitted during the process and keeps the technician from suffocating. Commarker have a fume extractor to protect the safety of the staff. Additionally, Commarker also have professional-grade enclosures designed for 1064 light protection, with good sealing properties that can be used in conjunction with the fume extractor to provide excellent protection.
- Grounded equipment and outlets should be used to avoid any electrical hazards and optimize safety. Shut off the CO2 laser engraving machine before repairing any broken parts or replacing any parts. Even during maintenance, make sure the machine is powered off.
- Follow the manufacturers’ guidelines to ensure all necessary precautions are followed to operate the equipment easily.
Commarker Fiber Laser Engraver Safety Enclosure Protective Cover Pro
Laser Engraver Enclosure Noise Reduction | Smoke Insulation M size enclosure is suitable for 20W machineL size enclosure is suitable
Designing Your Carving
Looking for different design options and software programs to create delicate designs on wood requires research. Some people prefer patterns, while others opt for 3D designs with varying depths and shading/gradients.
In terms of software options, LightBurn software is a leading tool that is dedicated to laser engraving machines. It supports various file formats, making it easier to upload images and designs with an easy interface to work with. It allows easier settings to control the working of the laser and is highly compatible with almost all laser engraver.
Another software option to create designs is Canva, which is a cloud-based program. It gives the option to templates and choose from predesign elements for the furniture piece. It helps personalize the wood without much hassle.
The Engraving Process
After all this, we need to understand the step-by-step instructions on how to make intricate designs on wood to create high-quality furniture.
1. Create Original Works of Art
Make the design you want to use a program that’s compatible with it, such as Adobe Illustrator, Inkscape, or LightBurn. Keep in mind the suitability of the material, the amount of detail, and the thickness of the lines.
Import the design after this. In the laser engraver program, import your design file and modify the power, speed, and interval settings according to the kind of wood you’re working with and the depth you’re aiming for.
2. Laser Engraving
Secure the wood in place. For precise engraving, set your piece of furniture firmly on the laser bed, making sure it is flat. Adjust the laser focal point for optimal power delivery to the wood surface. Before proceeding, do a test on a piece of scrap wood.
Start engraving and monitor it closely. Check for any problems, such as charring or excessive burning. To get the best possible clarity and level of detail, adjust parameters like as power or speed based on the first engraving results.
3. Finishing
Thoroughly wipe off the carved surface. Use a delicate brush or an air blower to clear the engraved area of any dust or debris. Finally, apply a protective coating. One option to preserve the engraved area and make it last longer is to add a clear coat of furniture wax. However, this depends on personal preference and the item’s intended usage.
Post-Engraving Finishing Touches
After you have engraved the wood for the furniture, some post-engraving touches keep the wood in pristine condition.
- A clear coat of acrylic or water-based sealer for finish should be used on the engraved area for clean results.
- Furniture-grade wax should be applied later for added shine to the furniture post-engraving.
- To enrich the wood apply an oil such as linseed oil which also adds to the shine of the wood.
- To enhance colors, wood stain or pigment powders can also be applied to the engraved area to create bold designs.
Conclusion
Prepping furniture through laser engraving of several wood types has been in popular demand for years now. Flexible manufacturing has generated major revenue for big corporations as they have started incorporating CO2 laser engravers to carve wood pieces and create intricate furniture designs.
Various kinds of wood such as maple, oak, and cherry can be preferred depending on the design you have opted for. CO2 laser marking machines provide durable designs that add to the value of your space. We hope this article helped you understand how CO2 laser engravers can carve wood to create furniture pieces effectively.
FAQs
Can I add color to my laser engravings?
Yes. You can consider applying wood stain, rubbing pigment powders into the lines, or hand-painting the engraved details with acrylic paints.
What types of designs can I create with a CO2 laser engraver on furniture?
You can create a wide range of designs, from intricate patterns and lettering to realistic portraits and detailed landscapes. Remember that the level of detail achievable depends on the laser’s resolution and your software skills.
How much does a CO2 laser engraver cost?
The cost depends on the power, capabilities, and brand. Entry-level machines start around $5000. While professional models can cost upwards of $20,000. It is integral to research your options and consider renting a machine or joining a market space before investing in your own.

