


Preserving precious moments by having photos printed on the material of preference has gained popularity among young adults in modern times. With the print-on-demand industry and printing industry rising in fame due to the advent of social media networks, photo engraving has become common.
Due to still being a modern technique, it requires a particular method to be followed for excellent results. For the desired image, use a photo editor to edit it according to your choice and convert it into grayscale. This photo has different gradients, which the laser beam scans later on.
The high-beam laser removes the top layer of the material used where the picture is pre-determined to be. Colored engravings with fine details can also be made through photo engraving now. Due to being high in demand, different industries such as home decor, jewelry, interior design, and product production make use of it.
If we talk about which materials are compatible with laser engraver in terms of photo engraving are generally wood, acrylic, glass, and metals. This is seen as a fast-evolving industry, with the photo engraving market size reaching over 2 Billion in 2023.
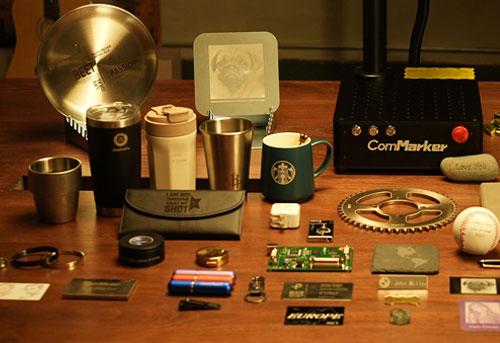
In this aspect, manufacturers and startup founders look for reliable laser engraving machine that offer bulk production of products. ComMarker is a leading provider of laser engraving machines in this aspect, with its machines showing an accuracy of 0.01mm.
The materials mentioned for laser engraving have properties that show affinity with the engraver. They create high-definition images and provide durability. Our article focuses on how effective photo laser engraving can be made possible with a range of materials and tips to care for the product later on.
Table of Contents
Choosing the Right Photo for Engraving

The characteristics of the material on which the photo is to be engraved need to be considered before starting work on it. It helps us determine which photo will go perfectly with a certain material. In photo selection, choose a photo with a high resolution for crisp results.
Not one power of the laser engraving machine can be used on various materials. For each one of them, the power, speed, frequency, and line interval need to be adjusted accordingly for each of them. Another factor to be considered is that while choosing the photo, select one that has a plain or simple background with no distractions in the back.
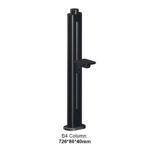
Different materials showcase different strengths during laser engraving. For metals, photos that have patterns and details should be considered. The next material is acrylics and most people opt for high-contrast photos with these. Acrylics show transparency, so a high-contrast image or photos with bold graphics will mesh well with the background. However, sculpting acrylic requires a certain amount of professional technology, so to a certain extent, acrylic engraving is a test for non-professionals. ComMarker B4 MOPA Fiber Laser Engraver works ideally well for all these materials and should be considered for your next project.

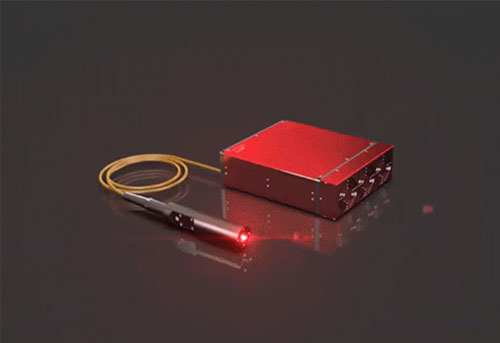
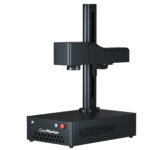
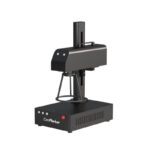
ComMarker B4 JPT MOPA Fiber Laser Marking Machine
ComMarker B4 -MOPA JPT MOPA fiber enables vibrant color marking on stainless steel and high contrastengraving on anodized aluminum. Not
Editing Tips to Make Photos Suitable for Engraving
Adjusting the photos so they adapt well with the material and final results might also require some editing on the editing apps. For a smooth experience while editing photos, here are a few tips you can follow.
- First and foremost, the Adobe editing app and other tools need to be installed. These apps not only offer different formats after editing that will be compatible with the laser engraver’s software but also are easier to use.
- With a proper editing tool, you can sharpen the photo to be engraved. In this way, the details of the photo are not blurred and remain crisp.
- Another great tip is to increase the contrast of the photo. It creates a great balance between the image’s engraved area and its non-engraved background.
- There are also features in the editing tools where you can remove unnecessary things from the photo of your choice. If you want an object or extra details removed from the background, use the tool, which then helps the laser engraver to create detailed images.
- Fix overexposed areas of the image by adjusting the brightness level from the editing app. This creates a more uniform appearance for the photo.
- To create personalized effects on the images, name initials or dates can be edited on the photo. This will create a personal style and feel of the image.
Laser Engraving on Wood
To create photo artwork, home decor, and other items, wood is generally used. However, this can be challenging due to wood being sensitive to the high beam of laser and the risk of burning. The first and foremost step is to find the right type of wood.
Maple, poplar, and birch are popular choices in wood for getting photos engraved as these are highly durable and have smooth surfaces. Fine-grit sandpaper can be used to remove any excess on the surface, which can create uneven engraving designs.
Due to compatibility with wood, ComMarker’s QI Diode laser engraver can be used with an engraving accuracy of 0.05mm.Before starting your work, it’s beneficial to conduct a grid test, as this can help you save time by finding the optimal parameters for your task. Start with a low power setting on the laser and then gradually increase the power as needed. Select a suitable mode as it works well on wood. Once the engraving is complete, apply a clear sealant on the wood and add paint to customize the engraving further.

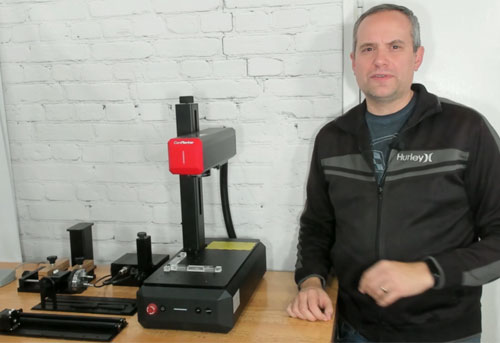
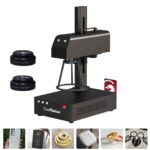
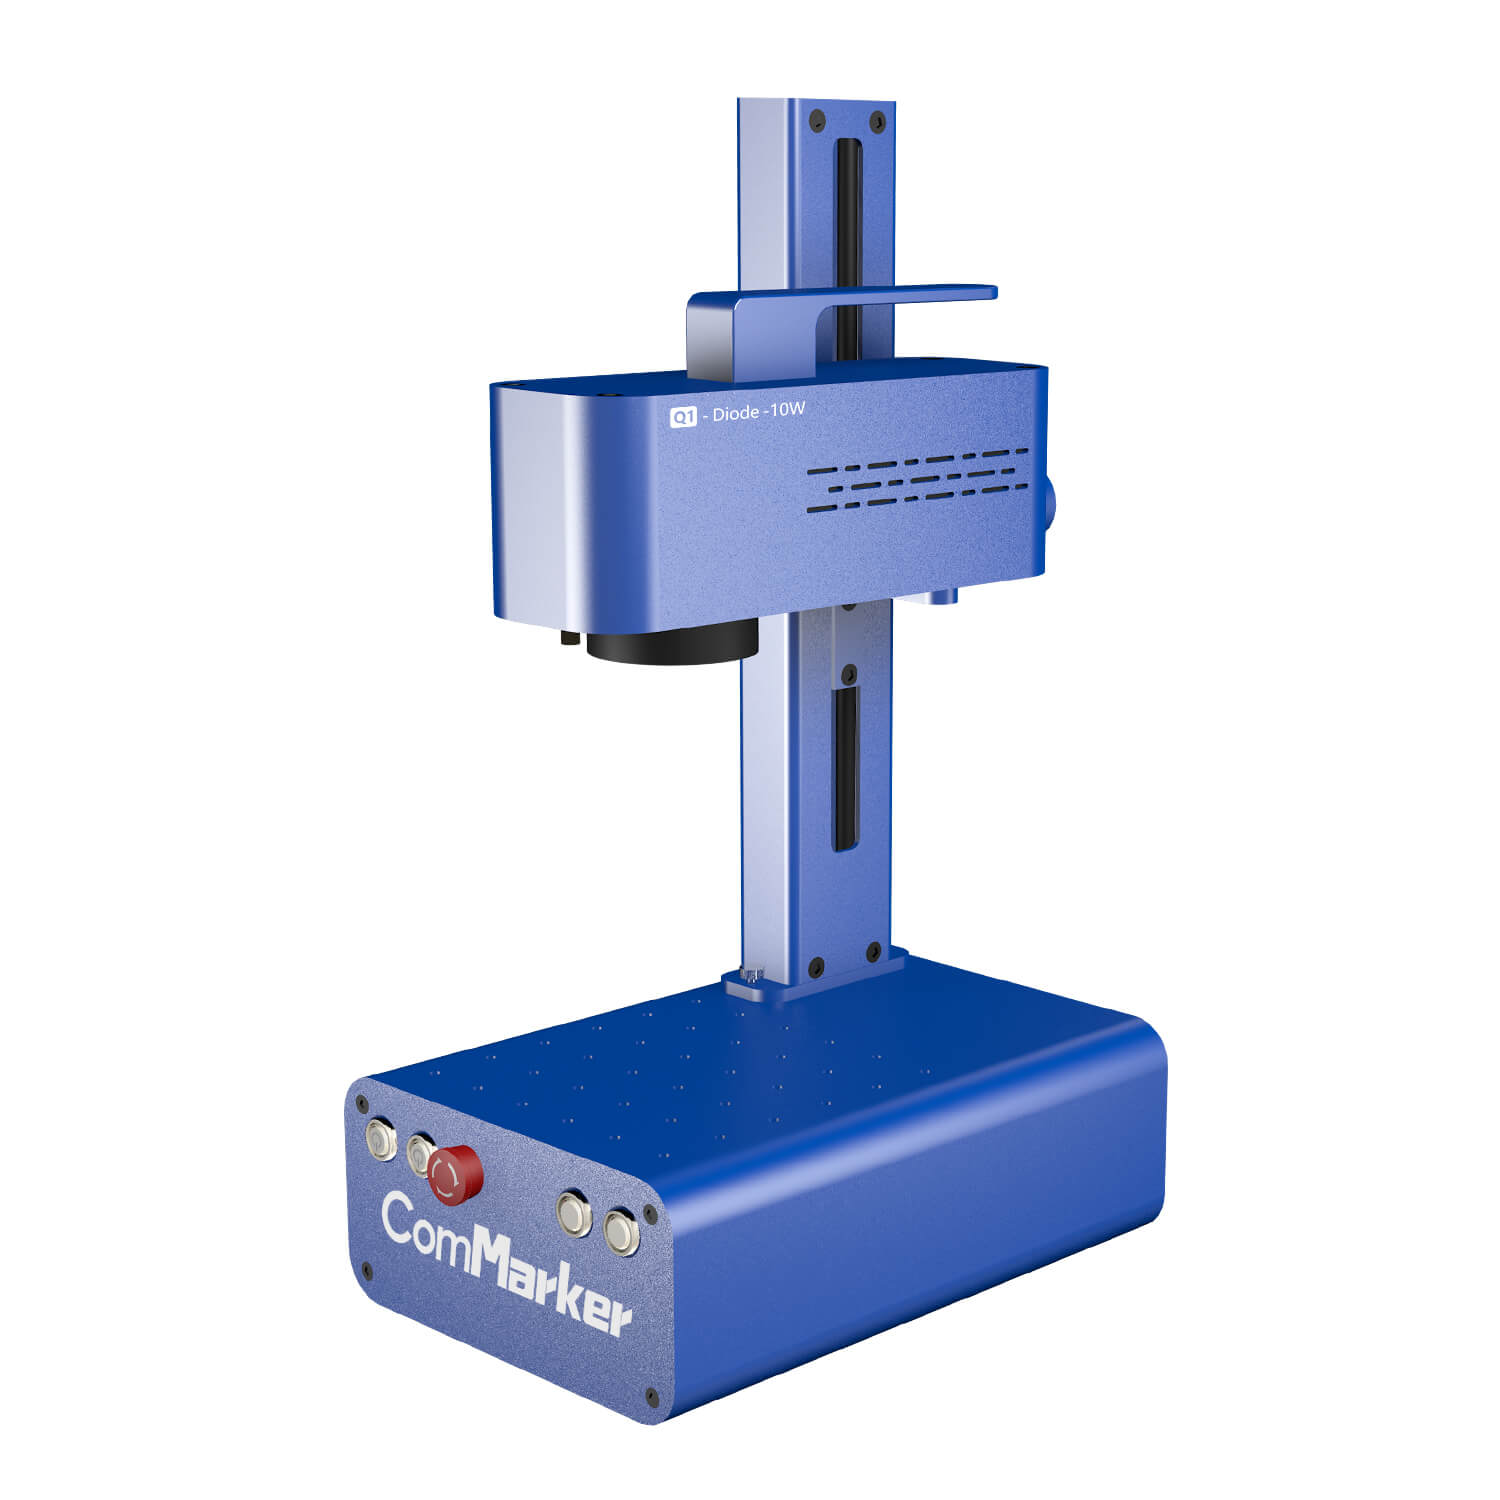
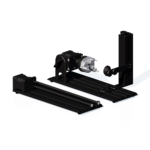
Q1 Diode Laser Engraver
康马克 Q1 真正的工业级 10W 二极管振镜激光雕刻机 便携且价格实惠 工业级应用: Q1 二极管激光雕刻机 VS CO2 激光机 Q1 振镜二极管激光器重量仅为 5.0 千克 (11bs),是便携性和便利性的典范,可轻松 与 CO2 激光机相比,它适用于多种应用,您可以雕刻
Laser Engraving on Acrylic
Keychains, coasters, and other products can get a frosted effect using laser engraving. To create high-quality images, higher resolution is opted for in photos for better engravings. Clarity and optical quality should be considered while choosing the acrylic material for the engraving.
One more factor that should be considered while choosing acrylics is the thickness of the materials. For engraving photos of decorative pieces, thin sheets of acrylic (2-3mm) should be chosen. While thicker sheets (5-8mm) are suitable for keychains and other items of regular use.
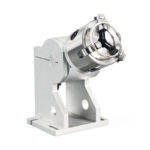
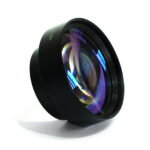
Then choose the photo with a high contrast by editing it on the editor app. Select the right laser engraver for this, which can be ComMarker’s B4 JPT LP laser engraving machine. This is compatible with acrylics and creates deep markings with 110x110mm field lens. To avoid cracking of acrylic, conduct a grid test before engraving to help select the optimal parameters.
Small line interval can be used to create fine details. With a microfiber cloth, you can polish the engraved area after engraving. This also avoids any scratches.
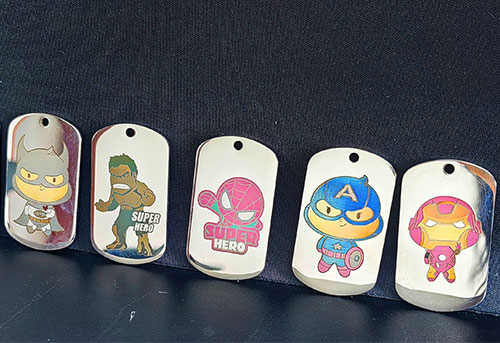
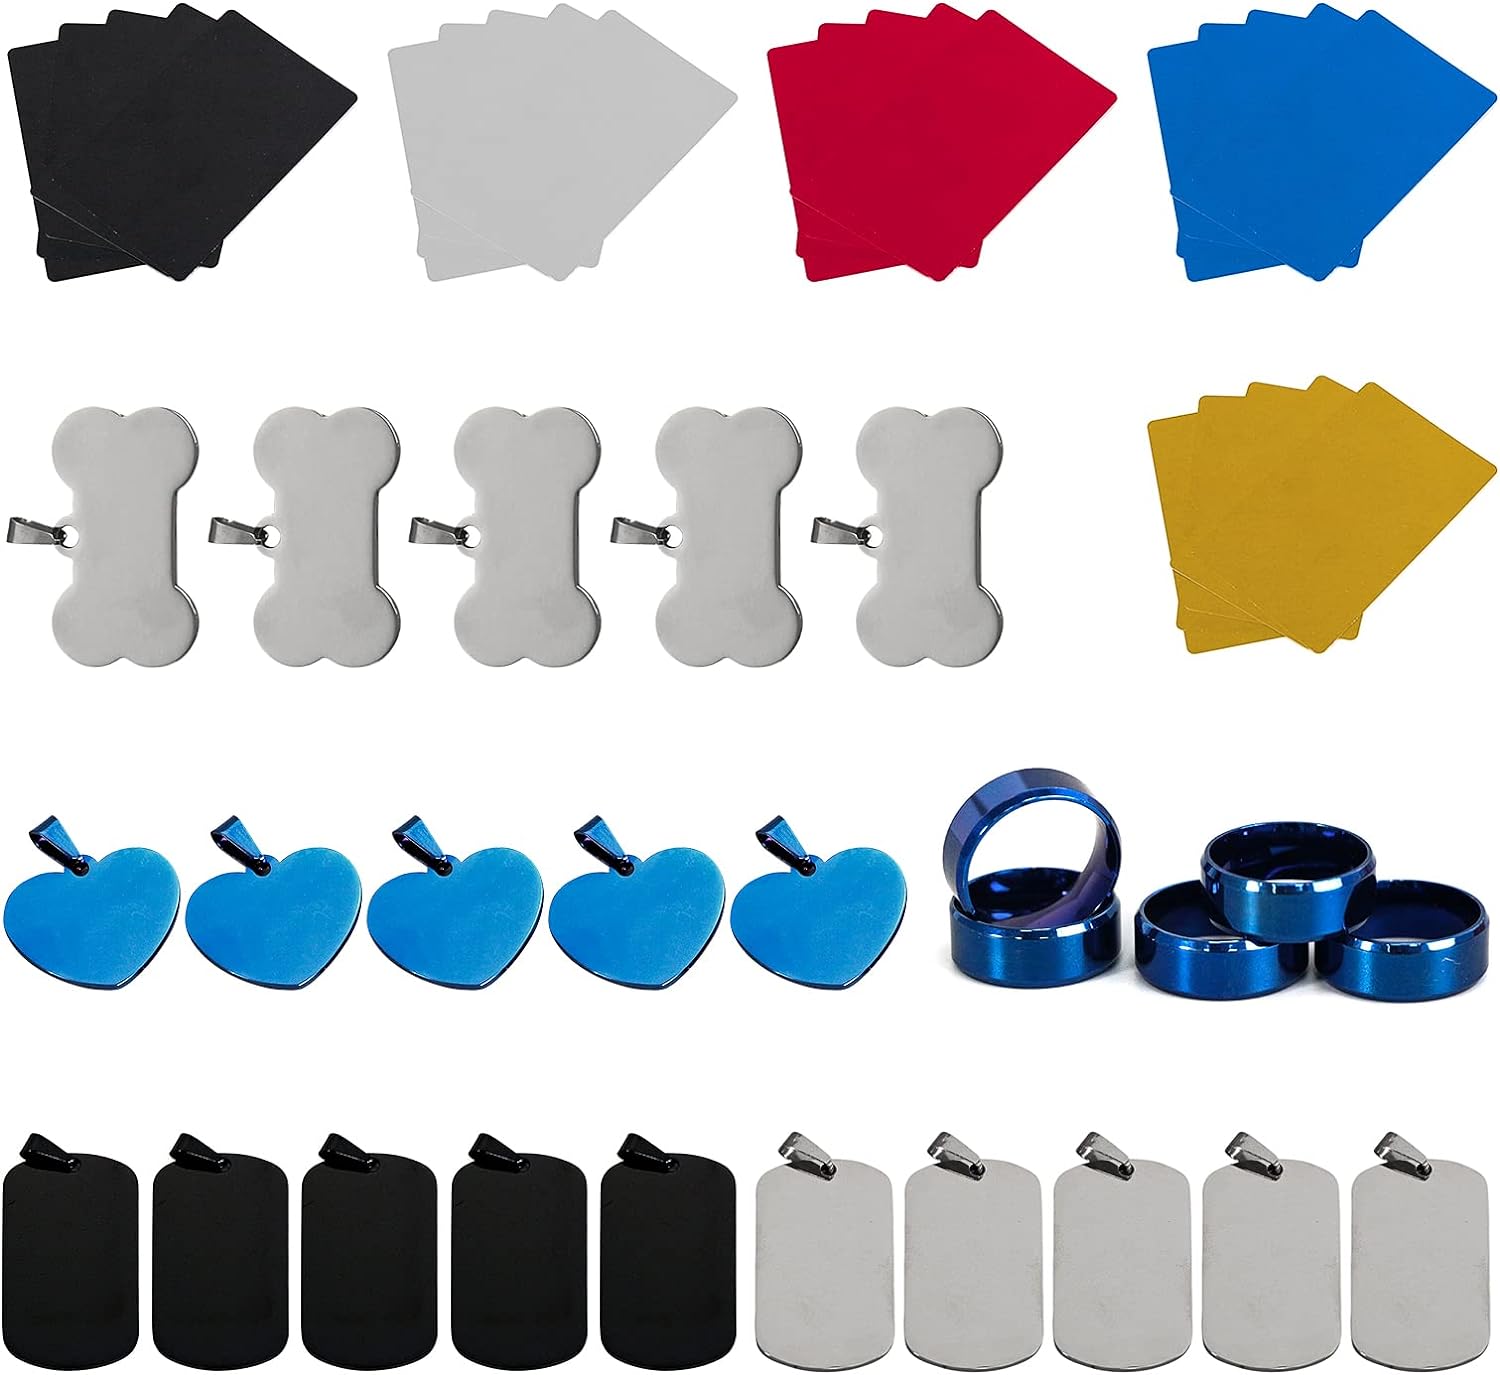
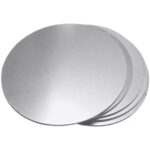
Laser Engraving on Metal

Being highly reflective, metals are the most challenging to engrave photos on but provide the most longevity. Stainless steel., anodized aluminum, and titanium are the most popular choices for laser engraving photos due to their polished surfaces and weather resistance. Clear carvings can be created on these.
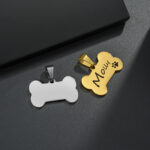
The thickness of the metal sheet is an important factor to consider when choosing materials for laser engraving. Thicker sheets, typically 2-3mm, are better suited for intricate engraving of detailed designs, as they are less prone to warping from the heat generated during the engraving process. On the other hand, thinner sheets, around 0.5-1mm, are suitable for engraving smaller images or for post-engraving shaping using laser cutting to create unique designs. Choose the best suitable resolution of photos and for this purpose, a minimum of 600 dpi should be chosen. This is for creating more precise and crisp results.
Edit the photos accordingly, and use a laser engraver such as ComMarker B4 JPT fiber laser at low setting. For titanium use higher power and for stainless steel use low power to create a better-quality image. After engraving, use a soft cloth to lightly polish the engraved area. Clear coat sealant should be applied on this to prevent the metal from getting oxidized with time.
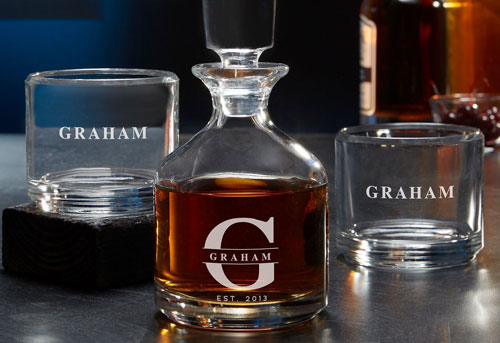
Laser Engraving on Glass
Drinkware and tableware are made by engraving on glass easily, and it is another material that is popular for photo engraving. Glass has different properties such as thermal fracture and the ability to burn. This makes it a challenging material to engrave on.
With the help of this, customized presents and artistic decorations can be created easily. For this purpose, the ComMarker UV Laser Engraver is the proper tool as it is engraved on different glass finishes without any hindrance. For different finishes different results are created at the end if we look at glass types people prefer, Borosilicate glass, tempered and frosted glass for photo engraving.
As with other materials, high-resolution photos of at least 300 dpi should be chosen. Photo inversion during editing can be done for a white-on-black effect, which is unique. Post engraving, apply a sealant on the engraved area for long-lasting results.

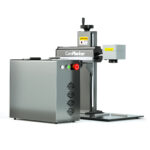
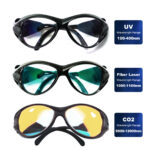
UV Laser Marking Machine
ComMarker UV Laser Marking Machine 📜Specification parameters: Air Cooling, Power: 3W/5W Size:350x650x720mm(13.78×25.59×28.35inch), Lens: 110mmx110mm(6.89×6.89inch), Weight: 50.71 lbs(23KG) 🤖ComMarker UV laser
Post-Engraving Tips
To keep the results of photo engraving for longer periods, you need to maintain it after the engraving process. Cleaning the area along with polishing and sealing it is necessary. To get more tips regarding keeping the photo engraving looking fresh for a long, follow the tips below.
- Laser engraving can leave debris on the material, which can result in not so smooth a finish. To remove this and not hinder the outcome, you can make use of a gentle brush to clean that area.
- Compressed air can is also used for sensitive materials to remove any debris.
- Another cleaning tip is to use a moist cloth to wipe any residue from the edges of the area engraved to not ruin the whole image.
- After cleaning, use a microfiber cloth to polish the area before applying a sealant. Note: In theory, items that have been laser engraved do not require a sealant to last a long time, but using a sealant can better prevent oxidation or discoloration of your work.
- If we look at sealing the engraved area, then a sealant like varnish should be applied to the respective area. The material characteristics and compatibility with the sealant should be considered for ideal results. This helps the results not oxidize or change color by interacting with the sealant.
- Another great tip is the use of UV protectant spray, which reduces the effect of sunlight on the engraved area. This helps the image not fade out or look worn after some time.
Conclusion
The photo engraving industry has seen a tremendous increase in recent years due to social media networks becoming a common means of staying connected. People prefer giving each other personalized gifts, which has given a chance to laser engraving industries to utilize the full potential of this.
However, choosing different materials such as metals, acrylics, wood, and glass to laser engrave photos with fine details is a meticulous process. We hope this article helped you understand how to laser engrave photos on different materials effectively.