


Flexible manufacturing practices are being adopted worldwide with the advent of social media platforms. This has indirectly increased the customer’s demand for customized products with their continuous digital marketing.
The laser engraving technique has taken the front row in delivering personalized engraved items as per requirement. As the laser engraving process involves permanently carving the desired text or image on a material’s surface with precise focusing of a high-powered laser beam, it requires proper setup.
Any desired design or photo can be laser engraved onto a material using graphic design software compatible with the laser engraver. In this regard, Lightburn is considered a layout, editing, and control software that works seamlessly with a diverse range of laser engravers.
ComMarker offers the most premium quality laser engravers which allow easy connectivity with Lightburn resulting in high-quality engraving results. However, the outcome of the project also heavily relies on the speed, power, and mode set for the laser engraver.
These determine engraving depth, detail, textures, visual effects, and reduction of material damage. To elaborate on how different speeds and modes affect the photo engraving on a material, we have conducted an experiment where a ComMarker B4 fiber laser marking machine is set up.
There is Lightburn software installed that gauges the working of the laser engraver. The purpose of the experiment is to explore how different modes of the Lightburn software affect the engraving of a photo on a material. To gain more details, refer to our detailed article below.
Table of Contents
The Experiment Setup
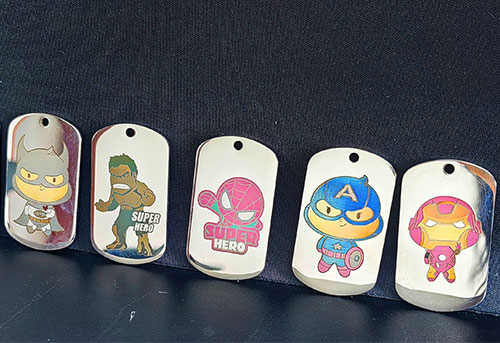
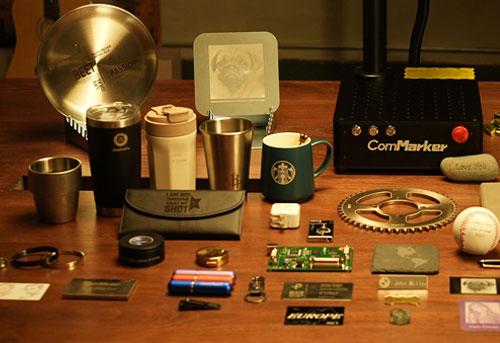
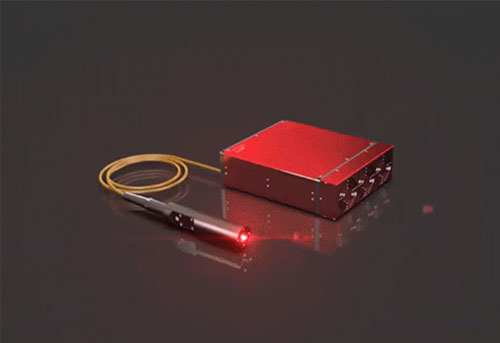
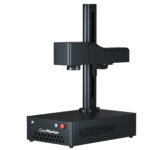
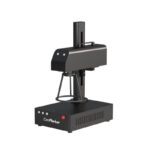
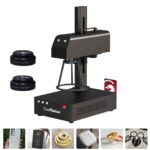
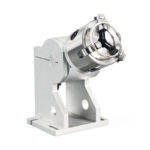
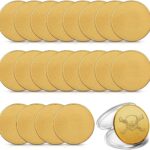
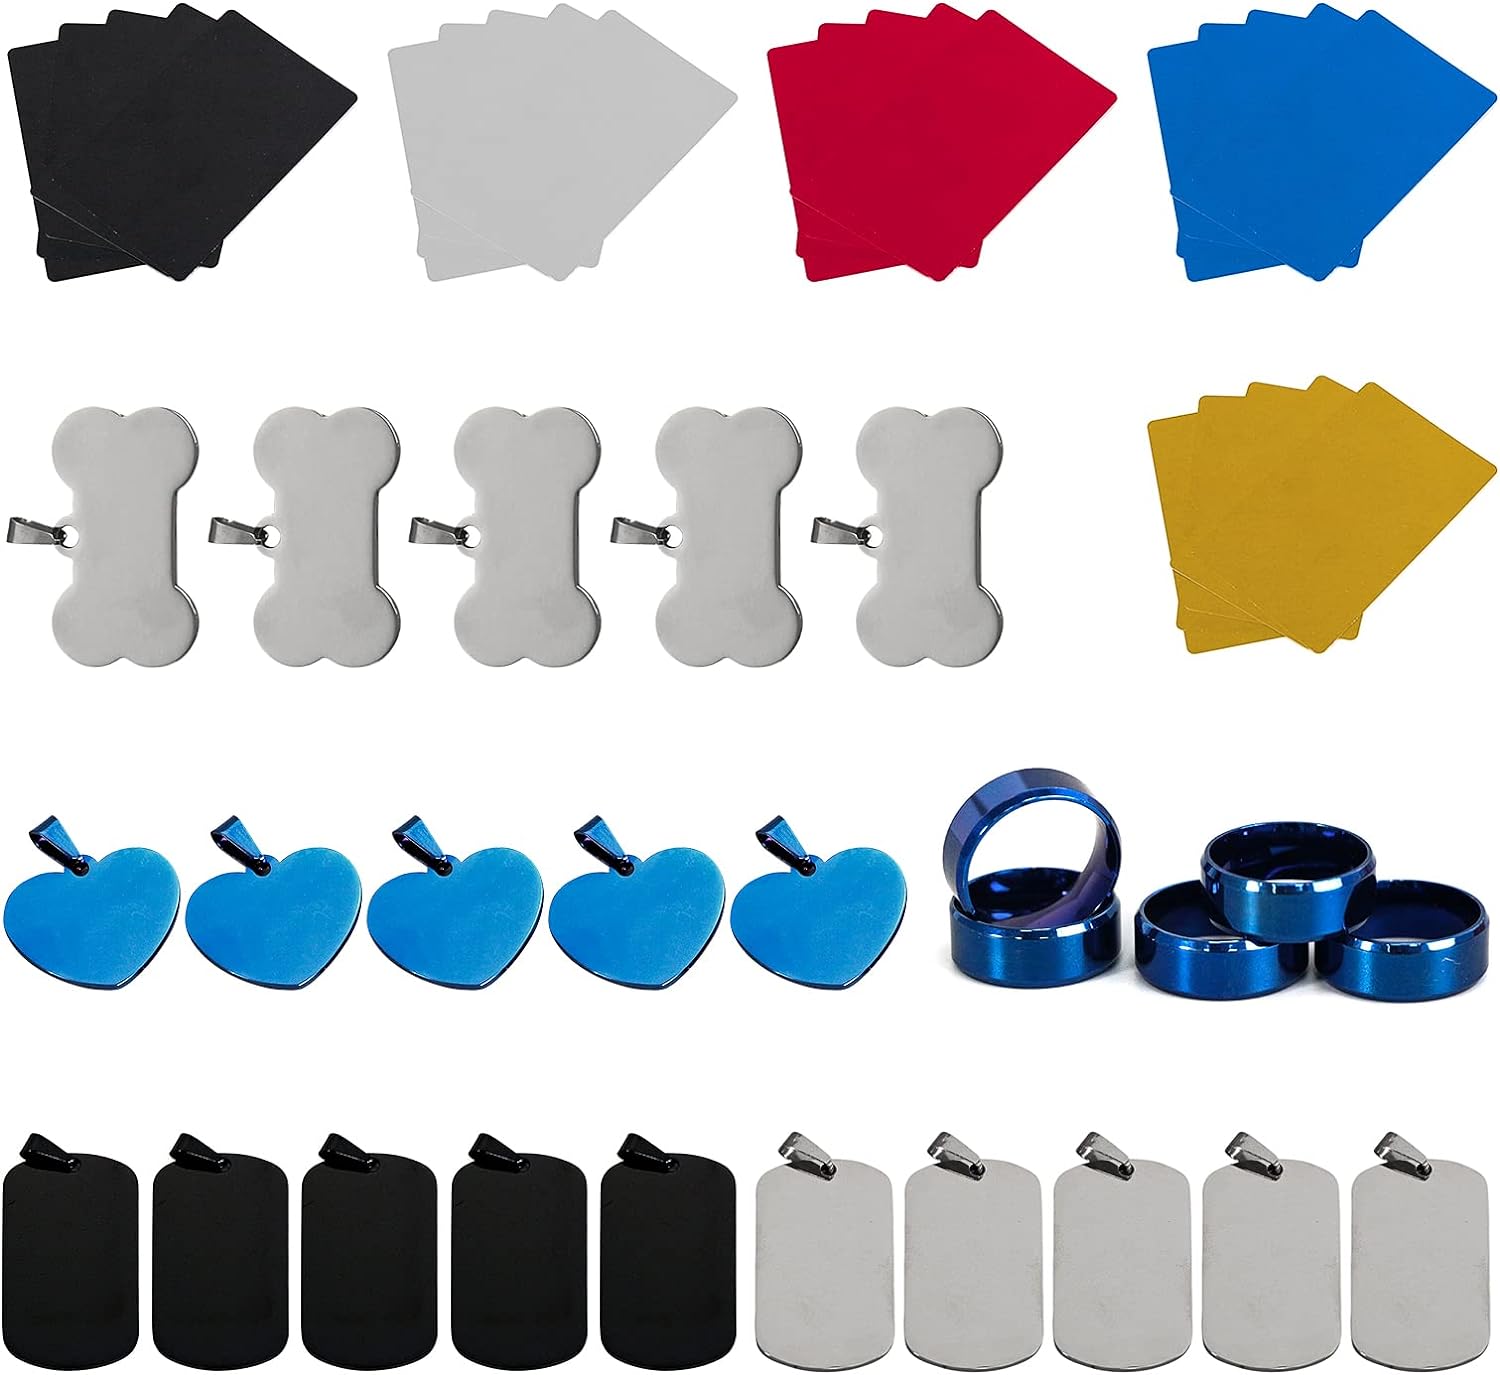
Within the arrangement, the laser engraver used is the ComMarker B4, which is one of the leading fiber laser engravers offered by the firm. The materials compatible with the laser engraver are aluminum, stainless steel, gold, silver, titanium, some acrylics, cowhide leather, painted wood, and plastics.

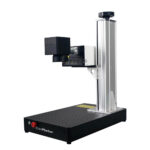
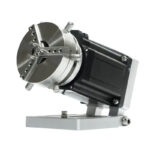
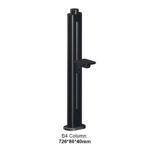
ComMarker B4 – 20W/30W/50W/60W/100W fiber laser engraver&laser marking engraver machine
B4 fiber laser engraver 0.01mm Precision 15000mm/s Engraving speed 20W Laser power ComMarker B4 fiber laser engraver 0.01mm Precision 15000mm/s
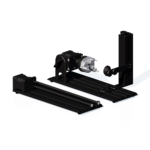
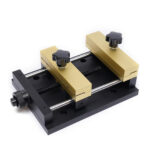
The laser engraver is placed on a flat desk and plugged into a power source in this setup. The parameters of the ComMarker B4 in place for the experiment are the speed set at 1000mm/sec, and the max power of 30% applied. The Line Interval is set at 0.06 with the Dither sample at 0.020.
The software used for the experiment is Lightburn to create and edit vector graphics from within the software directly. Various formats like AI, DXF, PDF, SVG, and image files can be imported into the software. Import any desired picture from the files of your desktop on the software.
The next step is to adjust the size of the picture according to the engraving that needs to be done. In the set-up, the image is set with a height of 32.25 mm and a width of 40.963mm. After that, the mode needs to be chosen which will determine the texture, details, and the overall loom of the picture created on the material.
Modes Explored

Now let’s talk about the modes that can be used for the picture marking in the ComMarker B4 fiber laser engraver and how they affect the overall result of the image produced. Here are some we would like to mention below.
1. Threshold Mode
The images with clear contrast, for simple black and white lines this mode is used. Two-colored images, like the one used in the experiment, logos, and texts can be made with this mode of the Lightburn.
Apart from this to create outlines of certain images, this mode can also be applied. At the set power level, pixels darker than the threshold mode set are engraved. Choose the Threshold mode from the mode option within the software.
The engraving depth is the same in this mode, and it cannot be varied. With the experiment, a picture is created with only the outline and black and white lines visible, but the details are not clear. This mode is not ideal for grayscale images.
2. Ordered Mode
Next, we have the ordered mode chosen for the experiment, mostly used for the grayscale effect. To engrave cartoons, unshaded images, and a structured picture, ordered dithering mode is a potent mode. A predefined grid or pattern like the Bayer matrix, or Stucki matrix is used in this mode.
If the partitioning is visible in the image provided, then the shading done on the image comes out in good quality. In the experiment, the image created with this effect is balanced and every detail is visible.
3. Atkinson Mode
Another mode that can be used for picture marking through Lightburn is Atkinson Mode. Images with subtle details like illustrations or photographs can be created by selecting this mode. This is a mid-way option and a standard approach for solid colors and smoothly shaded images. It preserves more details of the photo and reduces noise. However, this works slower than threshold mode and takes more time to create all the details of the image precisely.
Within this mode, in the B4 jpt fiber laser engraver different error diffusion levels should be considered. This is to adjust the balance between the detail and processing speed. In the experiment conducted, the image created with this mode is precise, with the lines and details visible and in balance with the lighter parts of the image.

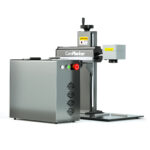
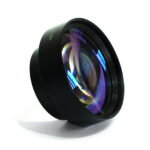
ComMarker B4 JPT MOPA Fiber Laser Marking Machine
ComMarker B4 -MOPA JPT MOPA fiber enables vibrant color marking on stainless steel and high contrastengraving on anodized aluminum. Not
4. Theard Mode (Floyd Steinberg Diffusion Dithering)
This is a common dithering algorithm used in grayscale engraving from a laser engraver. For photorealistic image creation, this is ideal. This engraving method uses a pattern of engraved and non-engraved pixels to create the illusion of continuous tones in grayscale.
Select the “Floyd-Steinberg” pattern from the Ordered Dithering option in the Lightburn software to enable this specific dithering method. In this experiment, it is not considered the best choice for picture marking in this experiment, as it creates a light image with the darker details not entirely visible.
5. Stucki Mode
For high-quality dithering, Stucki mode is mostly chosen to create photo images during laser engraving. To compare pixel brightness against other thresholds, use a predefined grid or pattern for better results, like Stucki 16×16, Stucki 4×4.
Compared to other methods, this mode provides precise control over grayscale transitions within the photo. This mode is also comparatively faster than others, creating better results. You have to adjust the dithering level to control the size of the dithering pattern and processing speed in Stucki mode.
A well-balanced picture is created in this experiment with this mode and all the depths, lines, and minor details are easily visible. This makes it a viable option for grayscale image engraving on different materials, creating some of the top selling laser engraved products.
6. Jarvis Mode
A superior mode among all these used through the Lightburn software for precise image creation is the Jarvis mode. It offers excellent details and the transitioning between different shades provided through this mode is seamless, making it a popular option.
It can be selected from the image mode in the software and applied to the desired material. With reduced noise in the picture and relatively faster processing speed than other dithering modes, Jarvis is considered one of the most prominent modes. It is a valuable tool providing high visual quality for smooth-shaded photos.
The most outstanding image is created as a result of this mode in the experiment conducted, which is the closest resemblance to the image provided for engraving. The colors are balanced with all lines visible.
7. Newsprint Mode
The halftone effect of printed newspapers can be created by choosing the newsprint mode through Lightburn. To achieve this effect, it uses a pattern of dots of varied sizes to represent the image’s various grayscale tones.
When you are trying to achieve a vintage newspaper printing style on a material, then the dot pattern created by this mode is ideal. Simple image creation can be done through this mode. The outcome of using this mode in the experiment performed is accurate and visually of top-notch quality. This mode is highly effective as it works at a high engraving speed.
8. Halftone Mode
The next mode we want to mention used in the experiment is the halftone mode, which provides various engraving depths depending on the image brightness. When the image that needs to be engraved is of moderate to high detail quality, then halftone mode comes in use.
This is a step ahead of the newspaper mode, where the noise can be visible in the picture, making it appear with grains. Instead of fixed-size dots, Halftone Mode utilizes cells of varying sizes to represent different shades. In the experiment, the use of Halftone mode creates better brightness for the darker areas by reducing the contrast levels.
9. Sketch Mode
Sometimes there is a requirement to engrave line drawings and handwriting on a specific material. The sketch mode comes into play in this retard, this mode within Lightburn is specifically used for handwriting. It detects the edges of the image and only prints that.
In the experiment, this creates a poor-quality image, as only edges and lines are printed on the material. The image is not visible and with no shading, the image is not complete. This mode has limitations in its use and is only useful for certain types of images.
10. Grayscale Mode
Finally, we have the grayscale mode, which allows 3D engraving easily, but with specific laser types like CO2. Using LightBurn’s Grayscale Mode, 3D engraving can be achieved.
The engraving depth is adjusted according to the image’s brightness, resulting in realistic grayscale effects. In comparison to other modes, such as dithering, it provides the most degree of detail and makes the cleanest transitions.

Photos, portraits, artwork with delicate coloring, and elaborate patterns all perform well in this engraving technique. A fine image with all depth and details visible is created with this mode in the experiment. It is highly compatible with fiber laser machines like ComMarker B4.
Results and Analysis,
All in all, the ComMarker B4 mopa fiber laser engraver is a perfect tool for creating grayscale and colored images according to the provided picture. With our findings in the experiment, Jarvis mode create the most detailed and clear images of the material under similar settings.
The rest of the modes require adjustments to create an ideal result. The final product and image engraved as a result of using this mode are marketable and of high quality. This will directly result in high sales for the firm as it is precise to create custom designs for the customers.
Conclusion
The Print-on-demand industry has seen tremendous growth in recent years due to the rise of digital media and awareness of innovative products in the global market. Laser engraving is seen as a technique that is preferred by SMEs and big corporations alike to print high-quality images on desired products. Within this, Lightburn is considered a software that is highly compatible with the majority of laser engravers.
The experiment performed in this article was done through ComMarker B4 fiber laser engraving machine. The software comes with a variety of modes, among which Jarvis Mode is popular choice due to its pristine result created in the experiment conducted. We hope this article was of maximum help to you.
For a more detailed demonstration of the photo engraving process using LightBurn with the ComMarker B4 laser engraver, you can view our video here: https://youtu.be/UAq0SaKYz4I?feature=shared